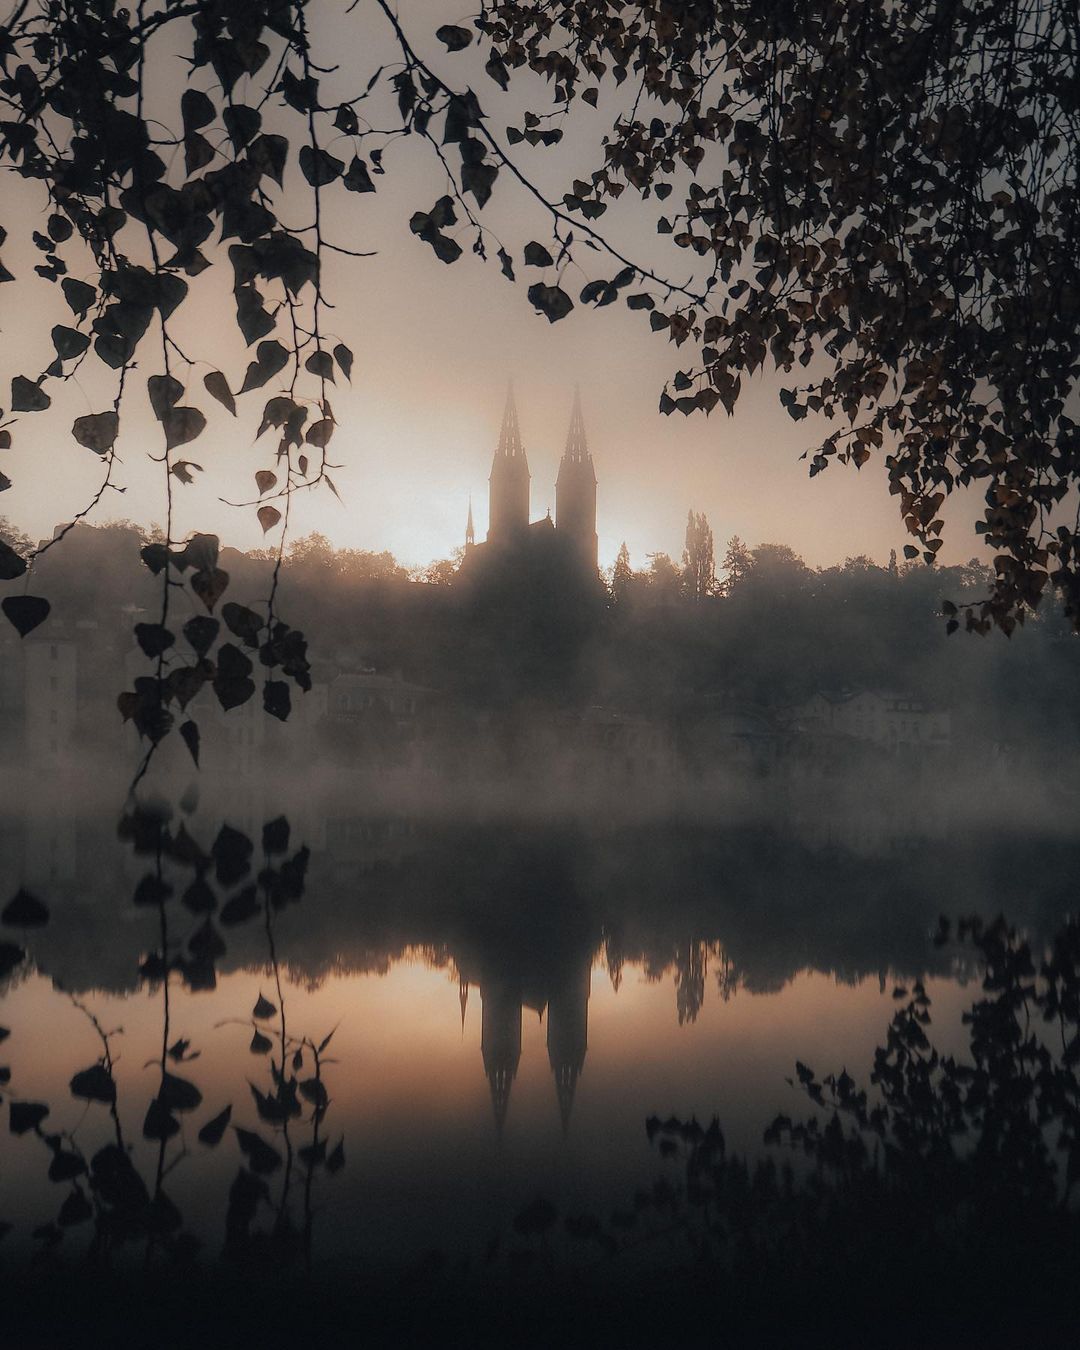
Premium/ Atmosphere and Mood – A step-by-step tutorial for your post-processing
Introduction
I am honored to once again contribute my work, and this time a little insight into the whole process from the very RAW beginning to the final photo going out into the world. I’m Anna, a recreational photographer who strives to capture the everyday moments, mostly coffee, people and their feelings, and finally, the most diverse nature I have around me.
I am honored to once again contribute my work, and this time a little insight into the whole process from the very RAW beginning to the final photo going out into the world. I’m Anna, a recreational photographer who strives to capture the everyday moments, mostly coffee, people and their feelings, and finally, the most diverse nature I have around me.
From the very beginning of my foray into the world of photography, I was clearly instructed that it was of utmost importance to shoot in RAW. Now I realize the importance.
A Raw photo carries a lot of important data, such as preserving detail after the shadows are pulled out, emphasizing darker areas after the highlights are pulled back. All that magic doesn’t do much with the Jpeg format.
So for me, the go-to setting is: RAW & Manual exposure mode.
The atmosphere and mood of the photo reflect a lot on the season.
Spring and summer for me are marked by dark green with a hint of mysterious mood.
Autumn is very variable, but I usually try to pull out more warm colours like orange, red and yellow. The photos are underlined with a friendly and joyful mood. When I can snag photos from a brisk autumn, it’s a predominance of white, greys contrasted preferably with dark colours (black, blue, green). In these conditions, I like to shoot portraits that have arrogance, melancholy and sometimes sadness.
Winter is a chapter in itself. It’s the only season I always let myself be surprised by.
I’ve been editing primarily on my phone lately, using Lightroom for basic editing. In case I don’t like something in the photo or need to tweak something or add text, then the go-to app is Snapseed.
Lightroom is the go-to for me on the computer as well.
Through the following 3 image samples, I will guide you through my post-processing workflow, describing it step-by-step and illustrating it with screenshots for better understanding.
CASE 1
Unedited image from RAW file
Step 1 Framing
• Starting in LR, I straighten the photo in the first place so that the horizon doesn’t fall to one side or the other. I use an axis to do this, which I stretch from one corner to the other.
• Cropping a significant portion of the photo is a bit of a risk for me because the sharpness and quality will not be the same then. However, that’s the case here, haha, so this is an excellent example to evaluate how much these files can handle.
• Before cropping, I lock my ratios (lock on the right), then set the aspect ratio (in this case, it was for sharing on Instagram, so the ratio is 4:5). The last step is cropping and comparing the photo to pull out the essentials for the eyes to focus on.
Step 2 Adjust Exposure and Curve
• Tone Curve
◦ Classic S curve
◦ Pulling out shadows, slightly pulling back highlights
◦ The important thing is not to be scared of what colour it will turn out, because everything is adjusted in HSL, Color Grading and also Temperature and Tint
• Curve application for red, green and blue
Step 3 Basic, Tone
• Temperature – 3
• Tint + 4
• Exposure + 0.25
• Contrast – 73
• Highlights – 3
• Shadows + 53
• Whites + 17
• Blacks – 39
• Clarity – 50
• Dehaze – 5
• Tint + 4
• Exposure + 0.25
• Contrast – 73
• Highlights – 3
• Shadows + 53
• Whites + 17
• Blacks – 39
• Clarity – 50
• Dehaze – 5
Step 4 HSL | Color
CONTINUE READING…
Only for Premium Subscribers!
To access these articles you must be a PREMIUM subscriber to Olympus Passion.
SUBSCRIBE NOW and get instant access to all Premium articles, all prior and upcoming magazines, all special editions, all previous videos, discounts and offers. If you are seeking relevant information about this camera system, or useful tips from photographers using the Olympus system, this is the most valuable place for you.
BASIC Plan subscriber? Upgrade to PREMIUM!
- Access your account HERE and sign in with your email address and password as always
- In this step click the ‘Subscriptions’ tab and then ‘Change plan’
- Now you can change from the BASIC plan to the new PREMIUM PLAN
- Finally, the system will only apply a proportional value to the remaining charge and change the plan immediately.
Already a Premium Subscriber?


