Olympus into Art
Hi everyone, my name is Brad Hedgman, an enthusiastic amateur photographer from Australia, and enthusiastic Olympus user. Maybe some of you read my feature in Olympus Passion magazine, Issue #37 back in June 2020. I was very honoured to appear in my favourite photography magazine. The variety of incredible photography and stories by excellent photographers using Olympus gear continues to inspire me. At that time, my photography primarily revolved around travel, landscapes, and wildlife. My story was titled “An Unexpected Passion for Photography”, and it reflected my relatively recent journey into the world of photography.

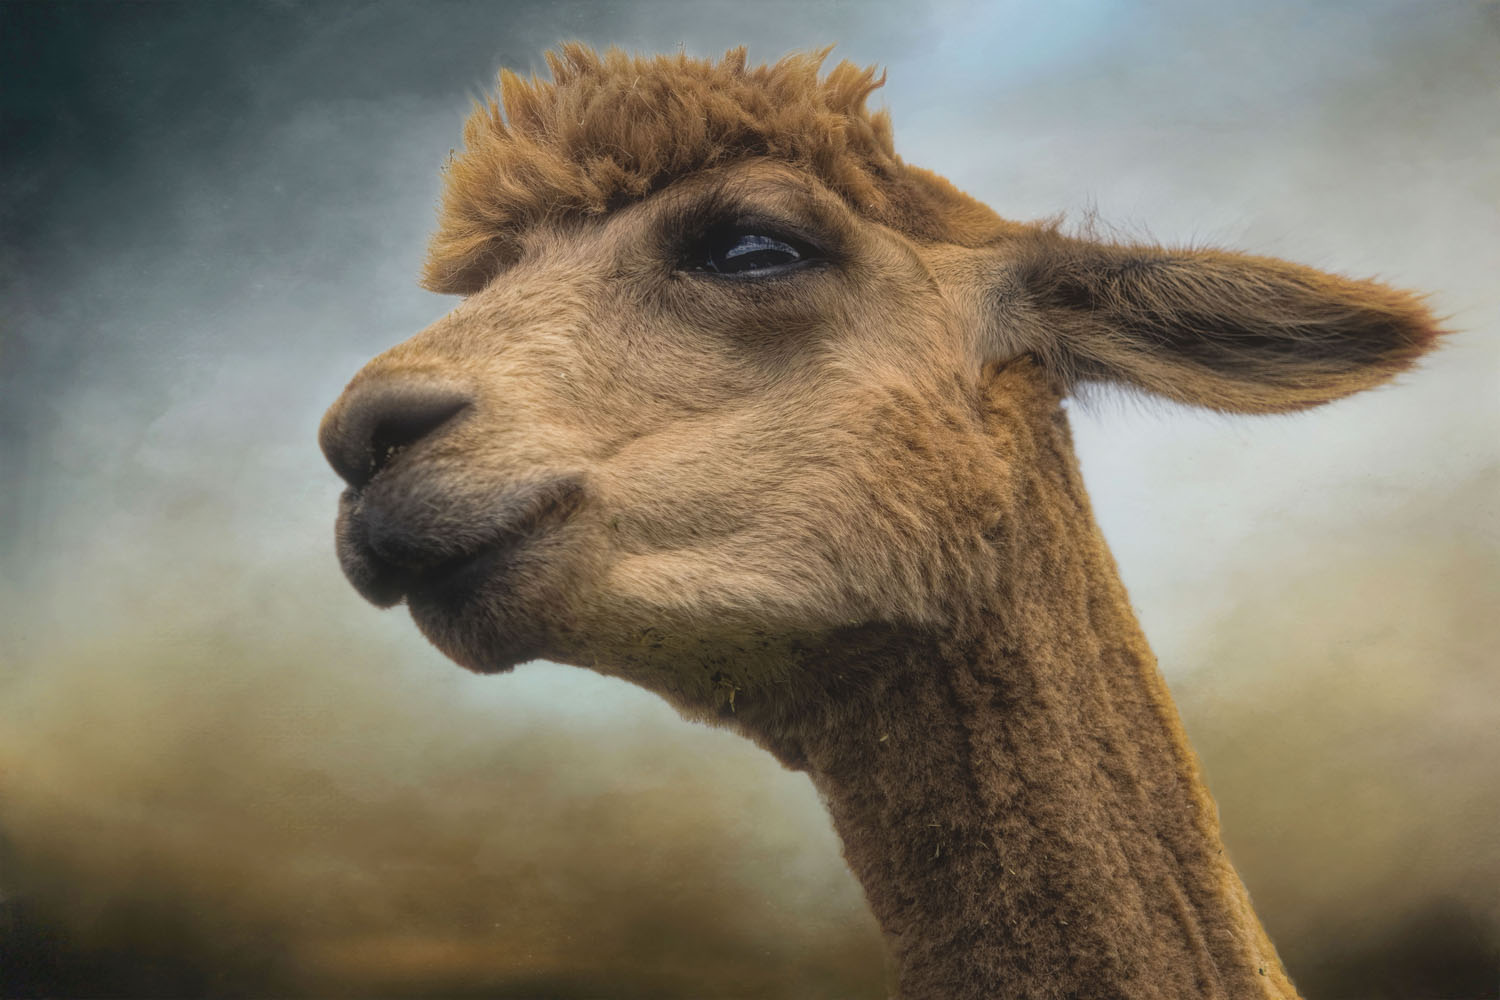
RIGHT: Olympus E-M1 MK III . Olympus M.Zuiko 40-150mmF2.8 @85mm . F/2.8 . 1/800” . ISO 200
I am very honoured that Maurício & Hugo are sharing my new chapter in that photographic journey through their Olympus Passion site, one that has changed the way I view photography. I was tempted to title this article “An Unexpected Passion for Textured Backgrounds” because it encapsulates the essence of what this article is about – using textures to replace backgrounds to transform a photo, to transport your subject elsewhere.
Every photographer has their own unique perspective on editing and the extent to which it should be used. My view has always been to do whatever feels right for you. After all, it is your photography, your vision and your art. In this age of artificial intelligence, the boundaries have blurred, but I would like to clarify something – I am about mixing photography and art, not AI manipulation. It’s about replacing the background with a textured background while preserving the integrity of the main subject. For me it has been a journey into the world of photography and artistry, using textures to elevate images, and transport subjects somewhere else.
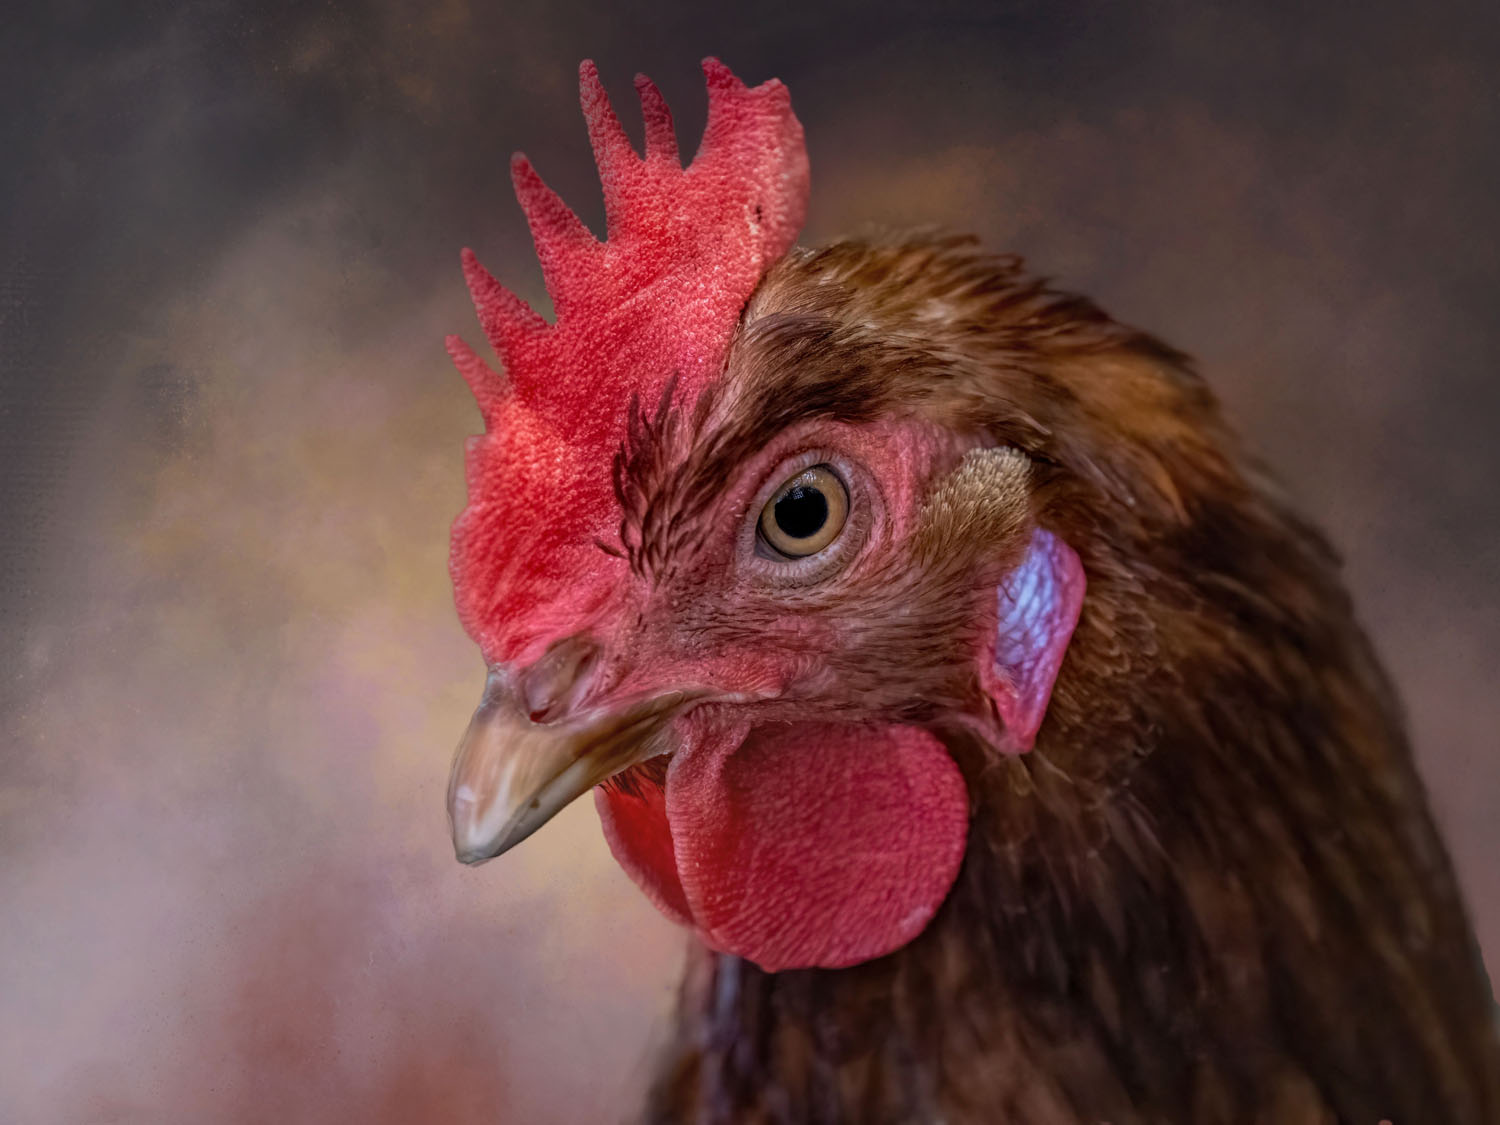
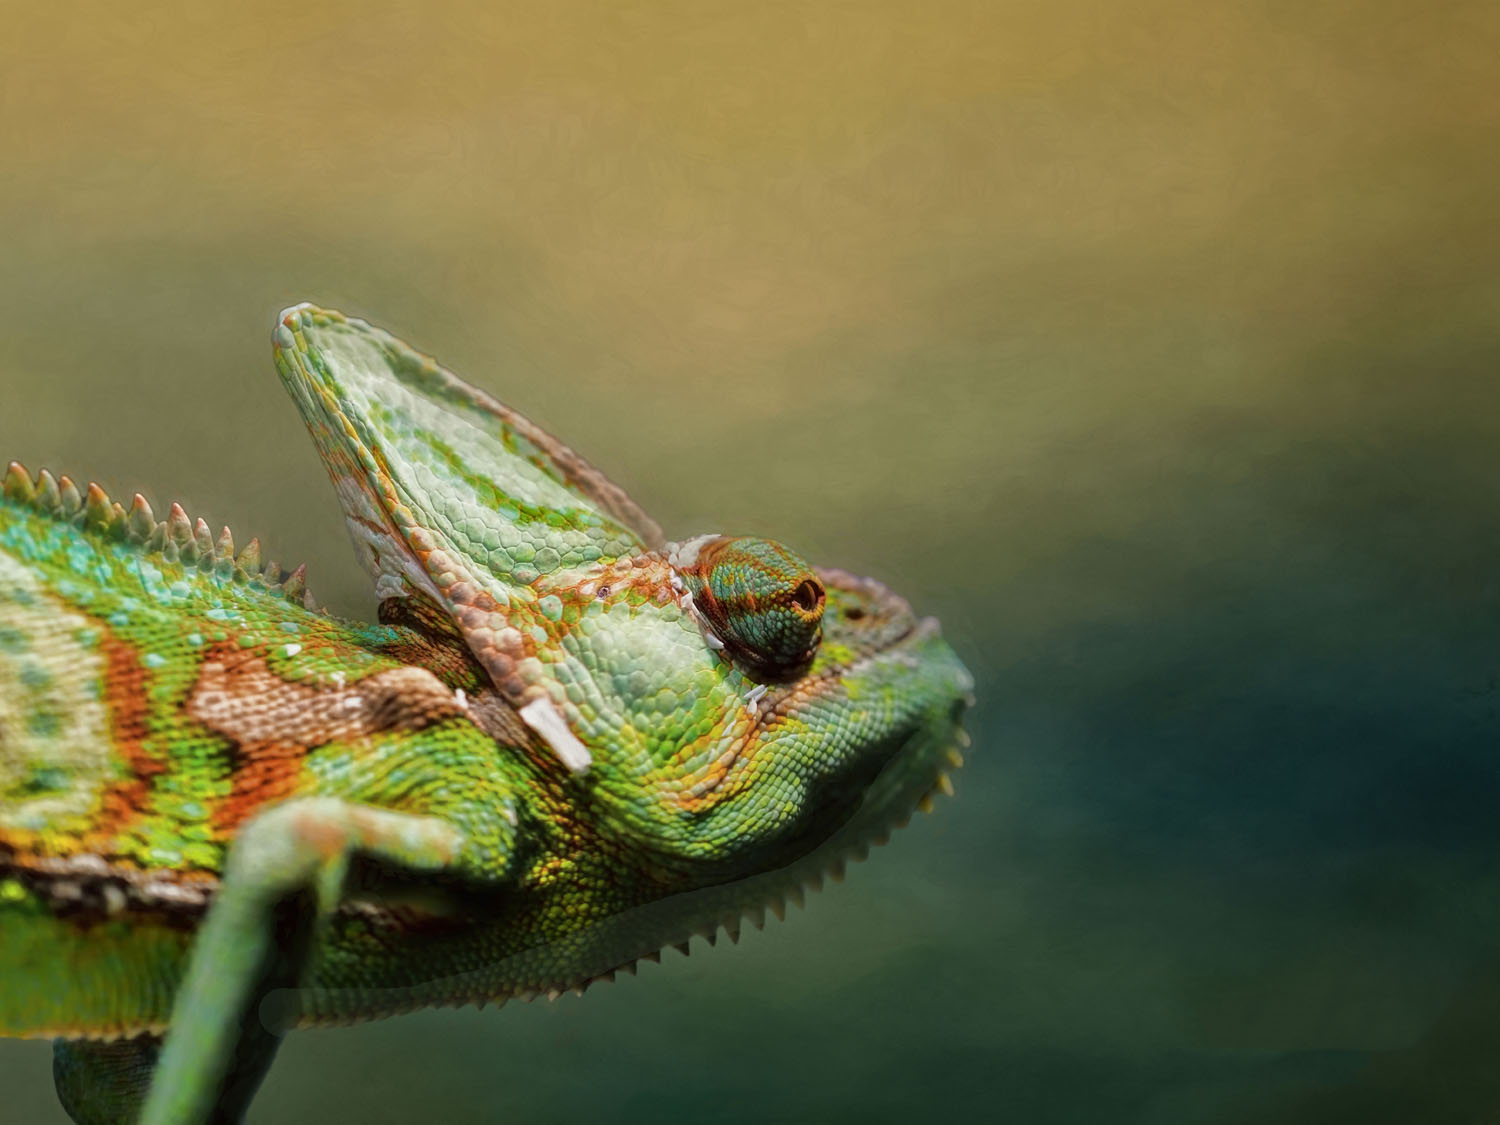
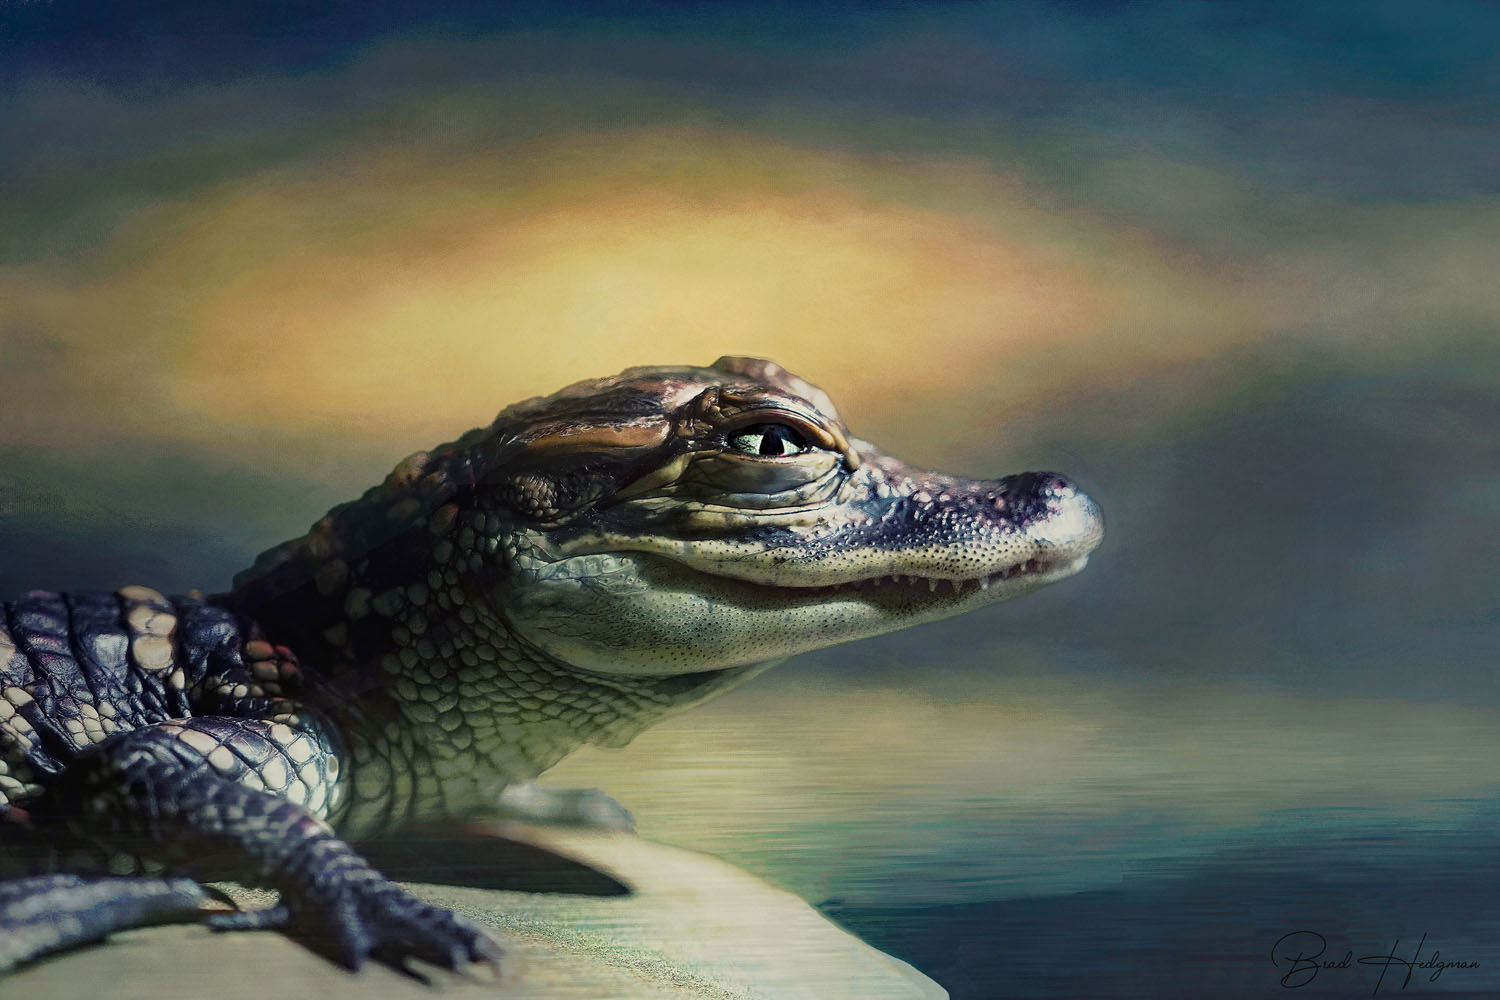
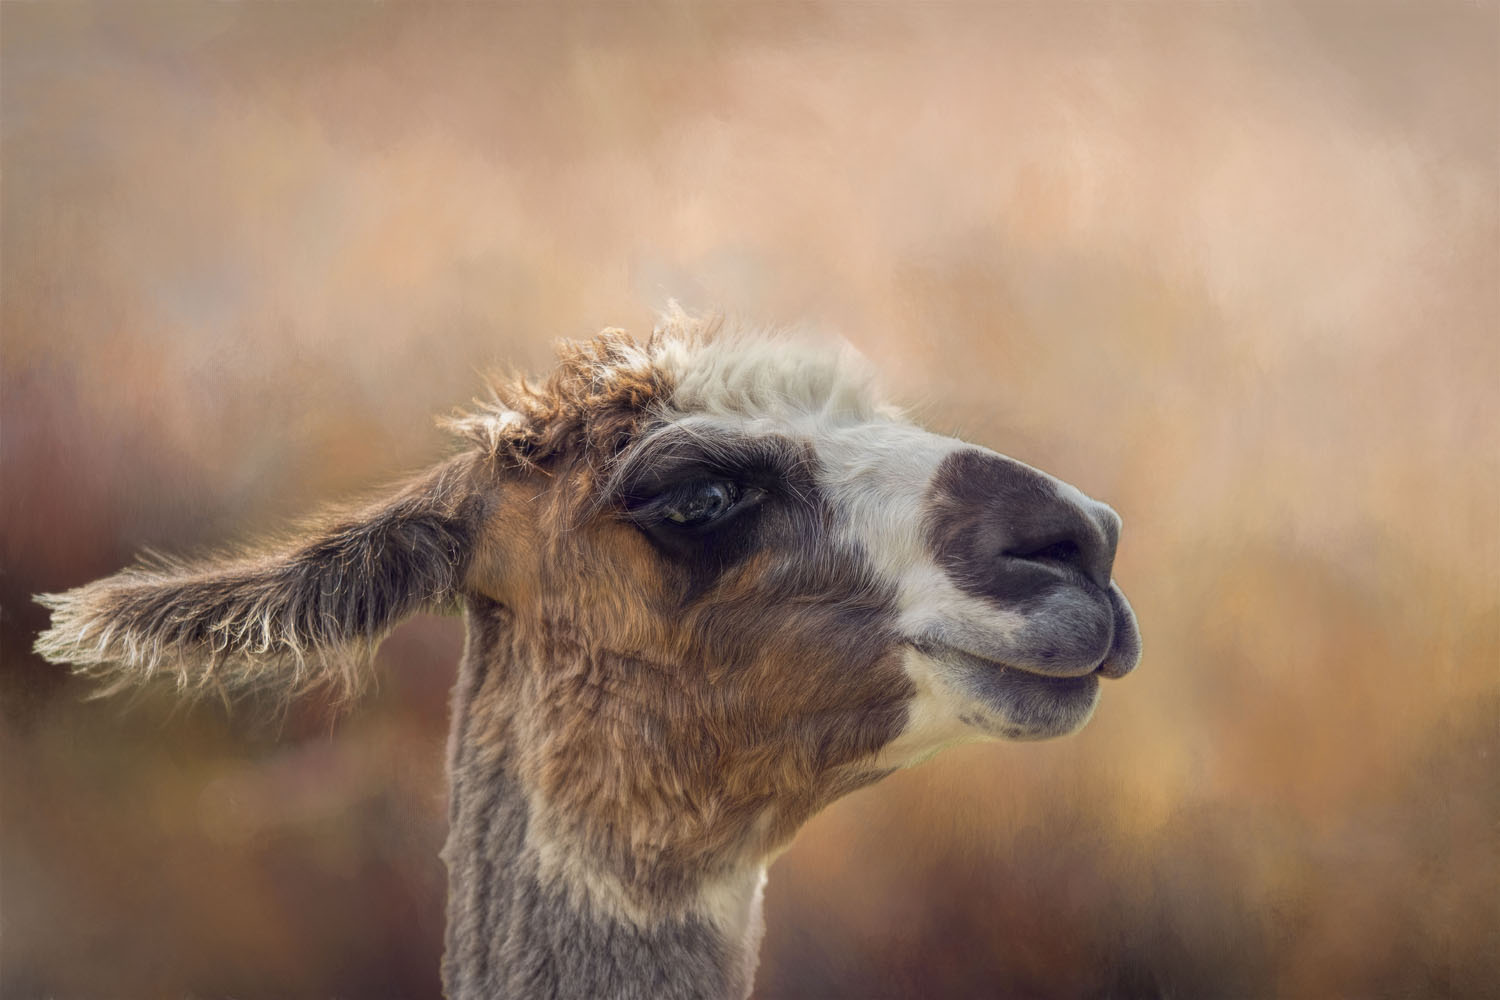
RIGHT: Olympus E-M1 MK II . Olympus M.Zuiko 40-150mmF2.8 @110mm . F/2.8 . 1/250” . ISO 4000
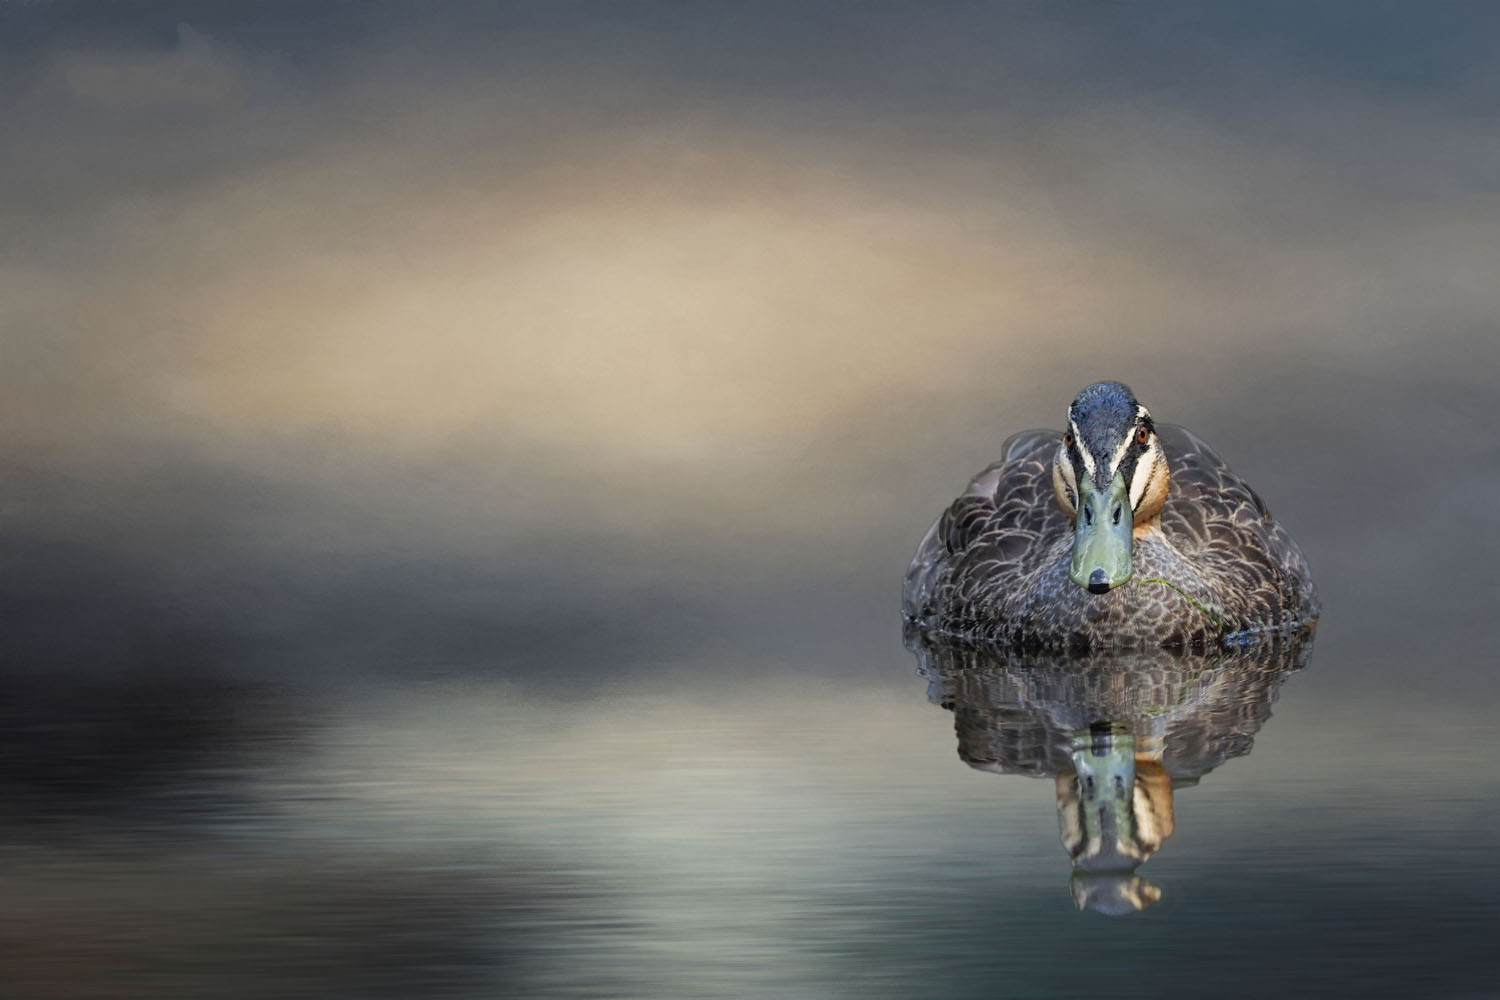
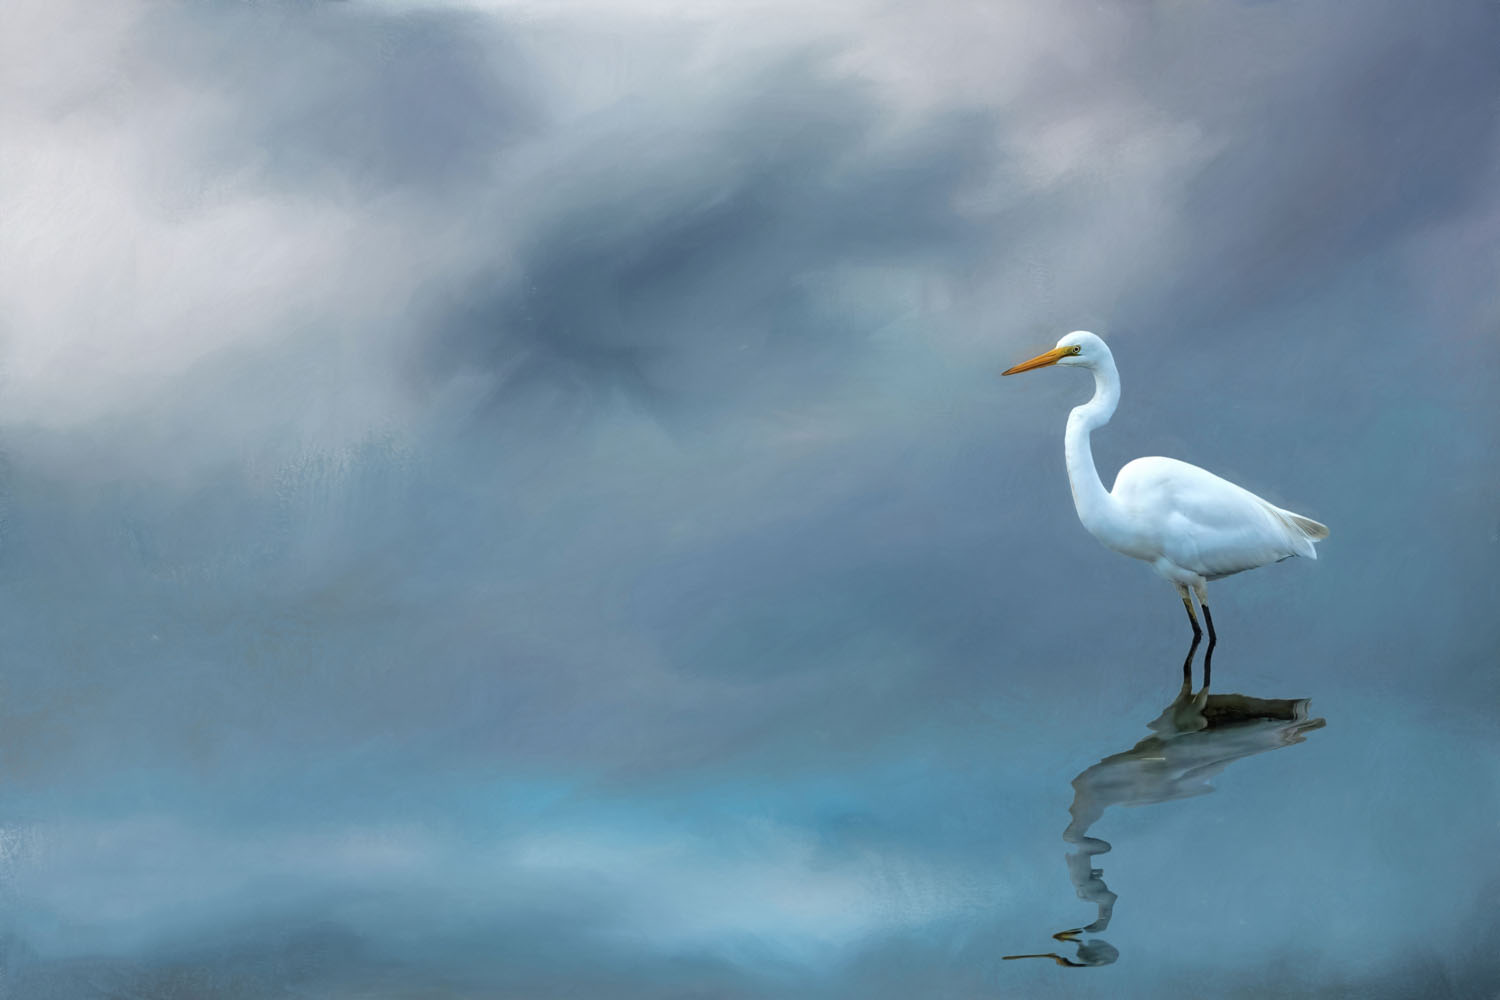
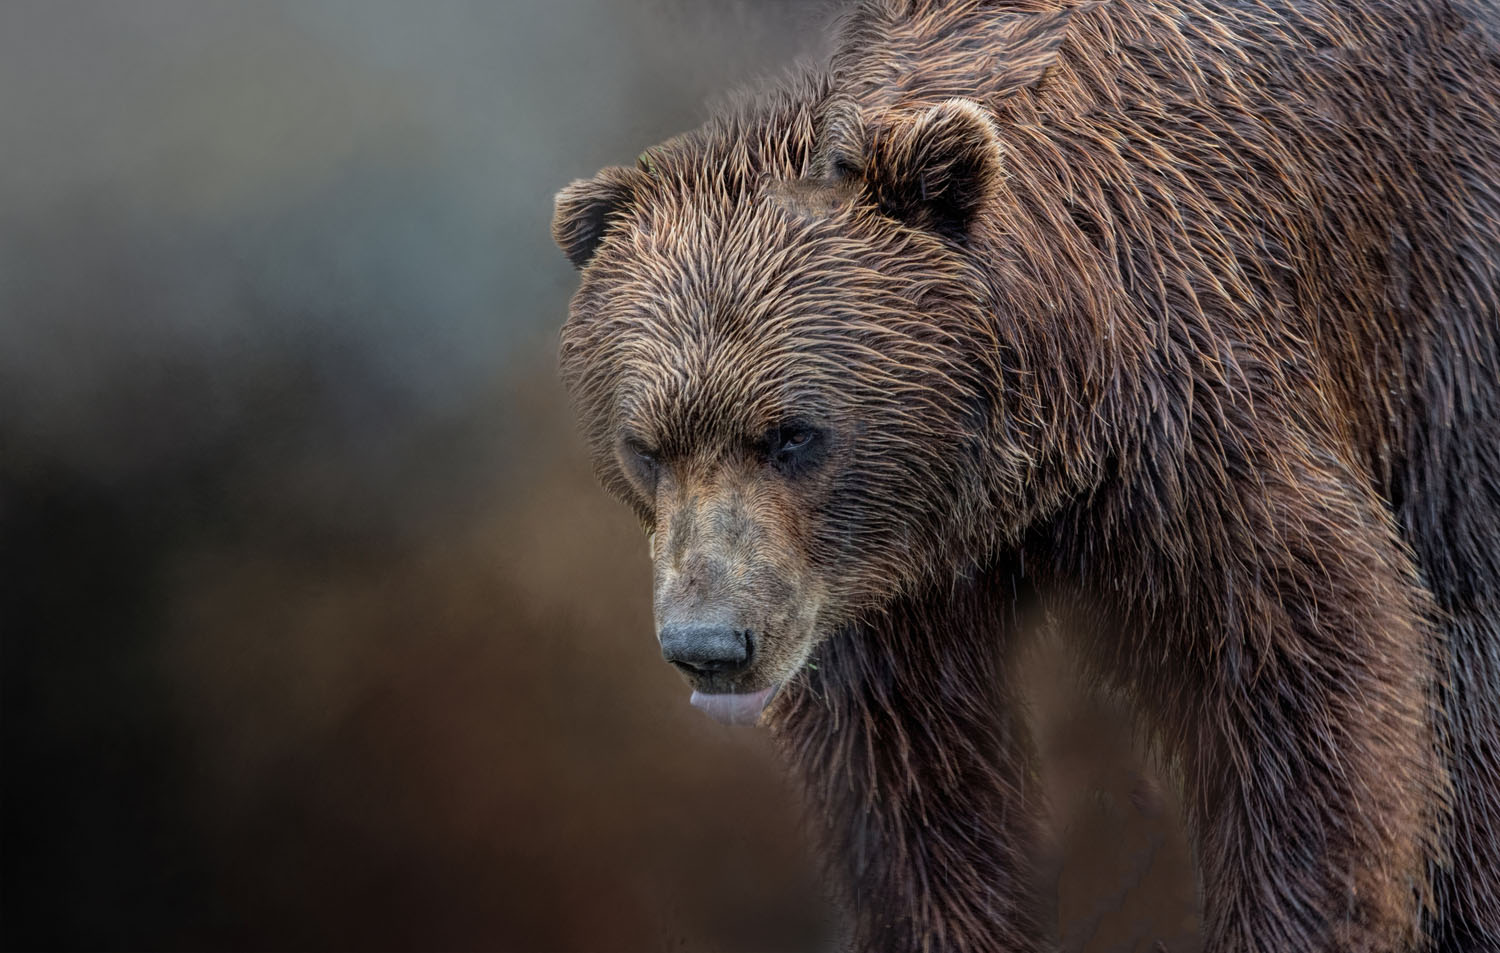
RIGHT: Olympus E-M1 MK II . Olympus M.Zuiko 40-150mmF2.8 @120mm . F/4.5 . 1/1600” . ISO 800
I still love Olympus gear. My trusty old E-M5 and E-M1 Mk1 have now found new homes, replaced by the OM-1, a camera that has seamlessly fitted into my photography lifestyle. I still dream of owning the remarkable M.Zuiko 150-400mm IS PRO lens for wildlife photography, but being retired now I think that might be an unfulfilled dream. My favourite lens for wildlife and nature is still the M.Zuiko 40-150mm f/2.8 PRO. I understand photography is not just about the gear but about the stories we tell with our photos and the moments we capture. Every image we create is a masterpiece in its own right, to ourselves anyway, regardless of the equipment we use. Needless to say, every photo here was taken with Olympus gear.
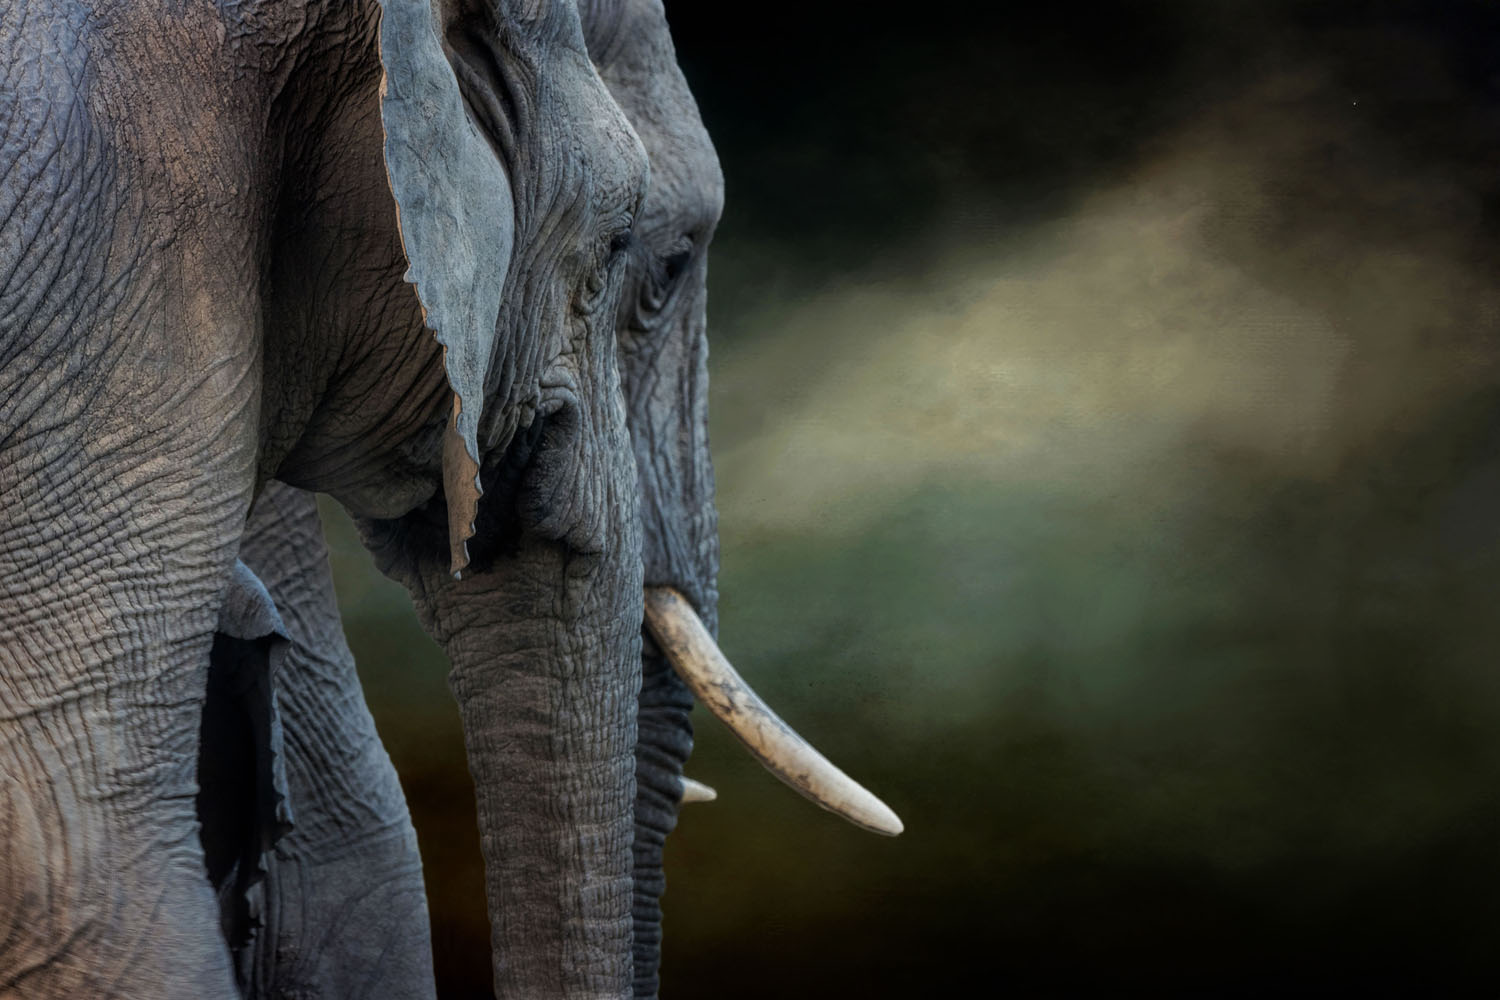
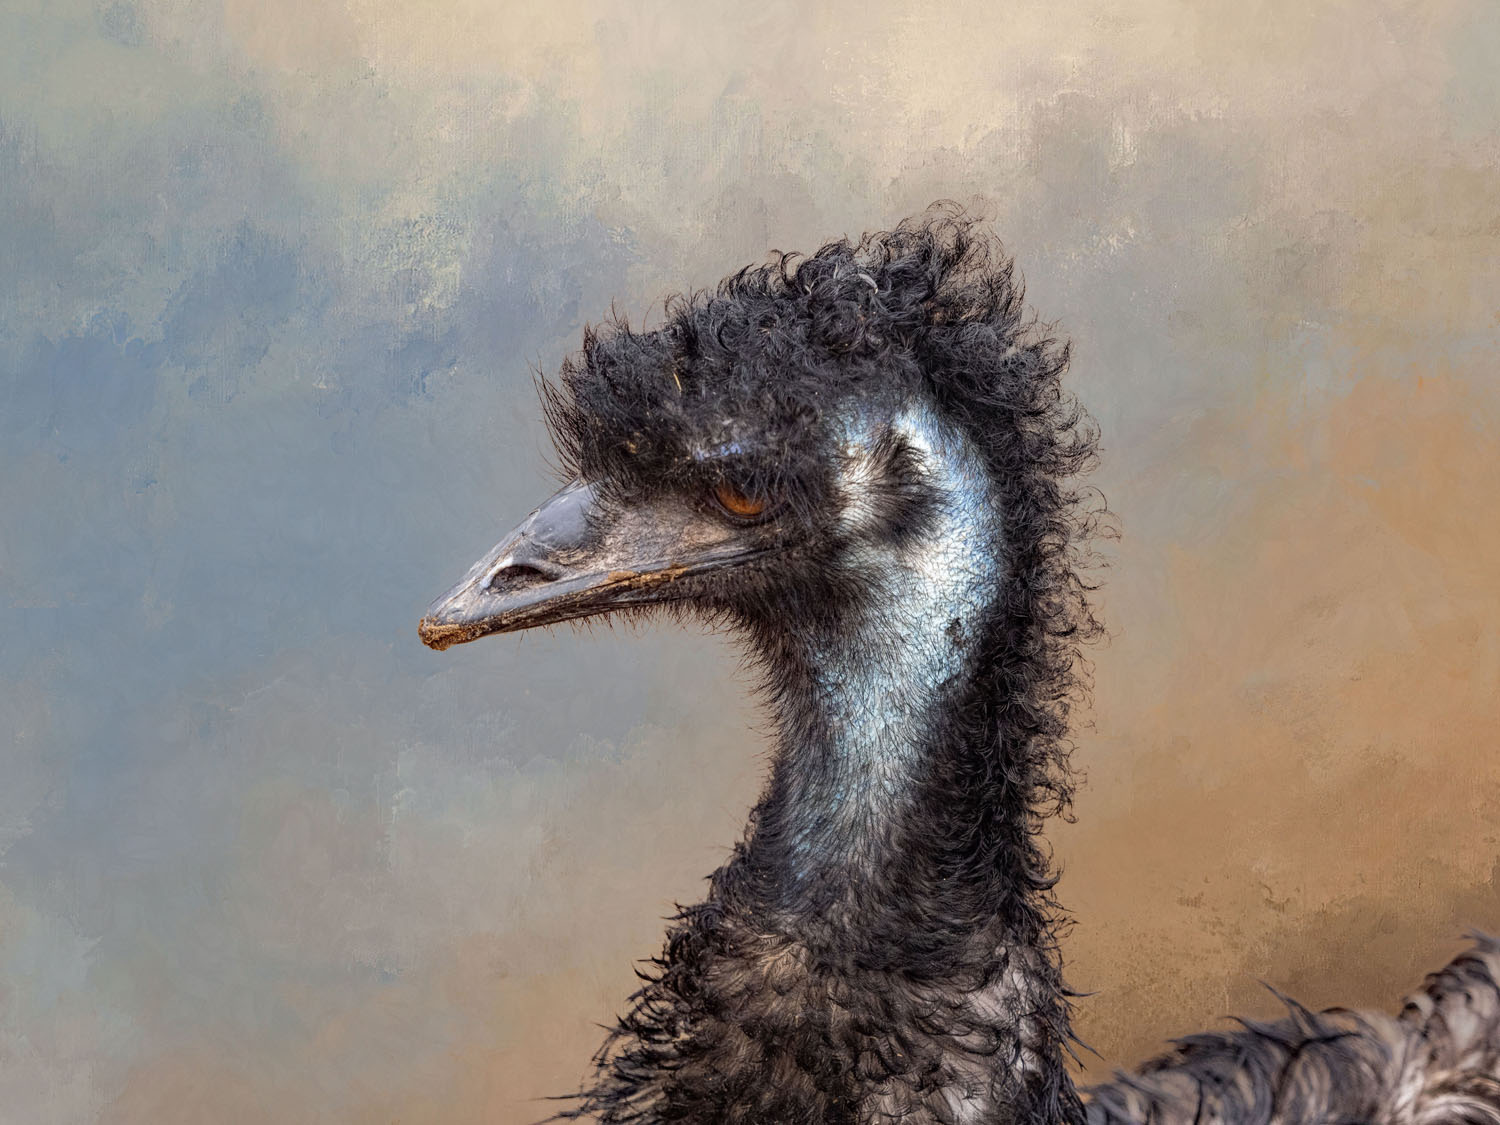
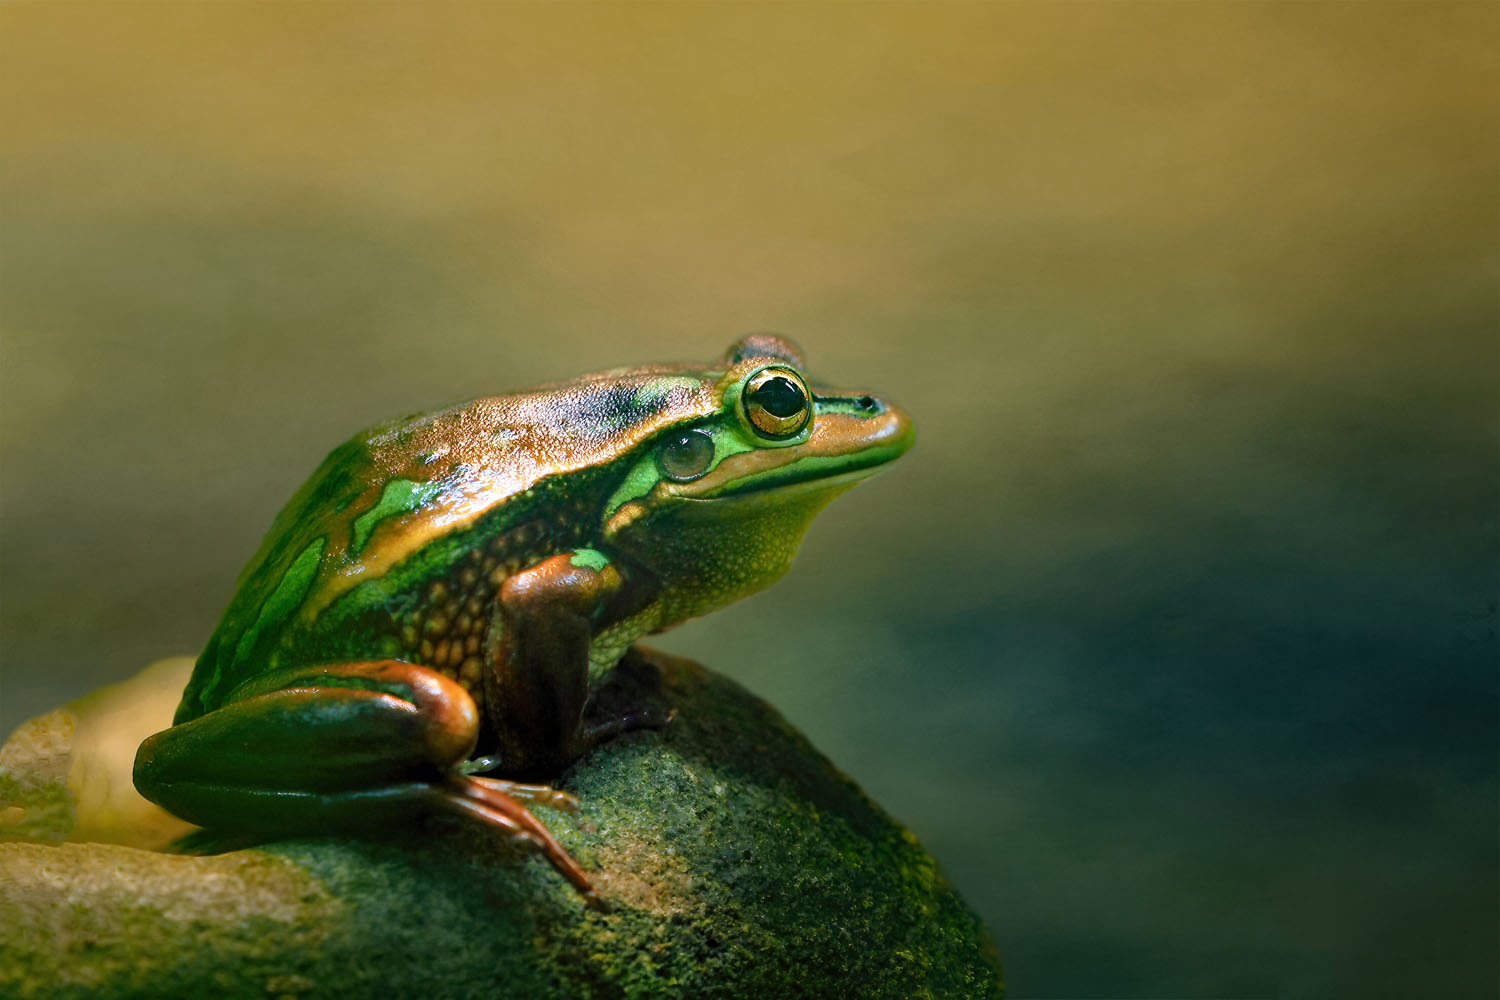
RIGHT: Olympus E-M1 MK III . Olympus M.Zuiko 40-150mmF2.8 @135mm . F/4.0 . 1/60” . ISO 500
How I got into Textured Backgrounds
During the Covid-19 lockdowns, I came across an article in an Australian photography magazine that caught my attention from an Australian photographer Julie Pallant. Julie used textures to replace backgrounds to transport zoo animals elsewhere. It was very eye-catching and the concept piqued my interest so I decided to give it a try. I found an eBook written by an American photographer, Kathleen Clements which enlightened me on the whole process. As I experimented with textures in my wildlife and nature photography, I was pleasantly surprised by the results. Please note, you do need some software capable of handling selection and layers to work with backgrounds and textures. If I can do it, anyone can! This type of photography into art became a bit of an addiction, offering a creative escape during those now long-forgotten lockdown times. Although I continue to learn and explore this area, the journey has added a new dimension of excitement and newness to my photography. And also, to some of my older photos that I otherwise may have discarded, never to be looked at again.
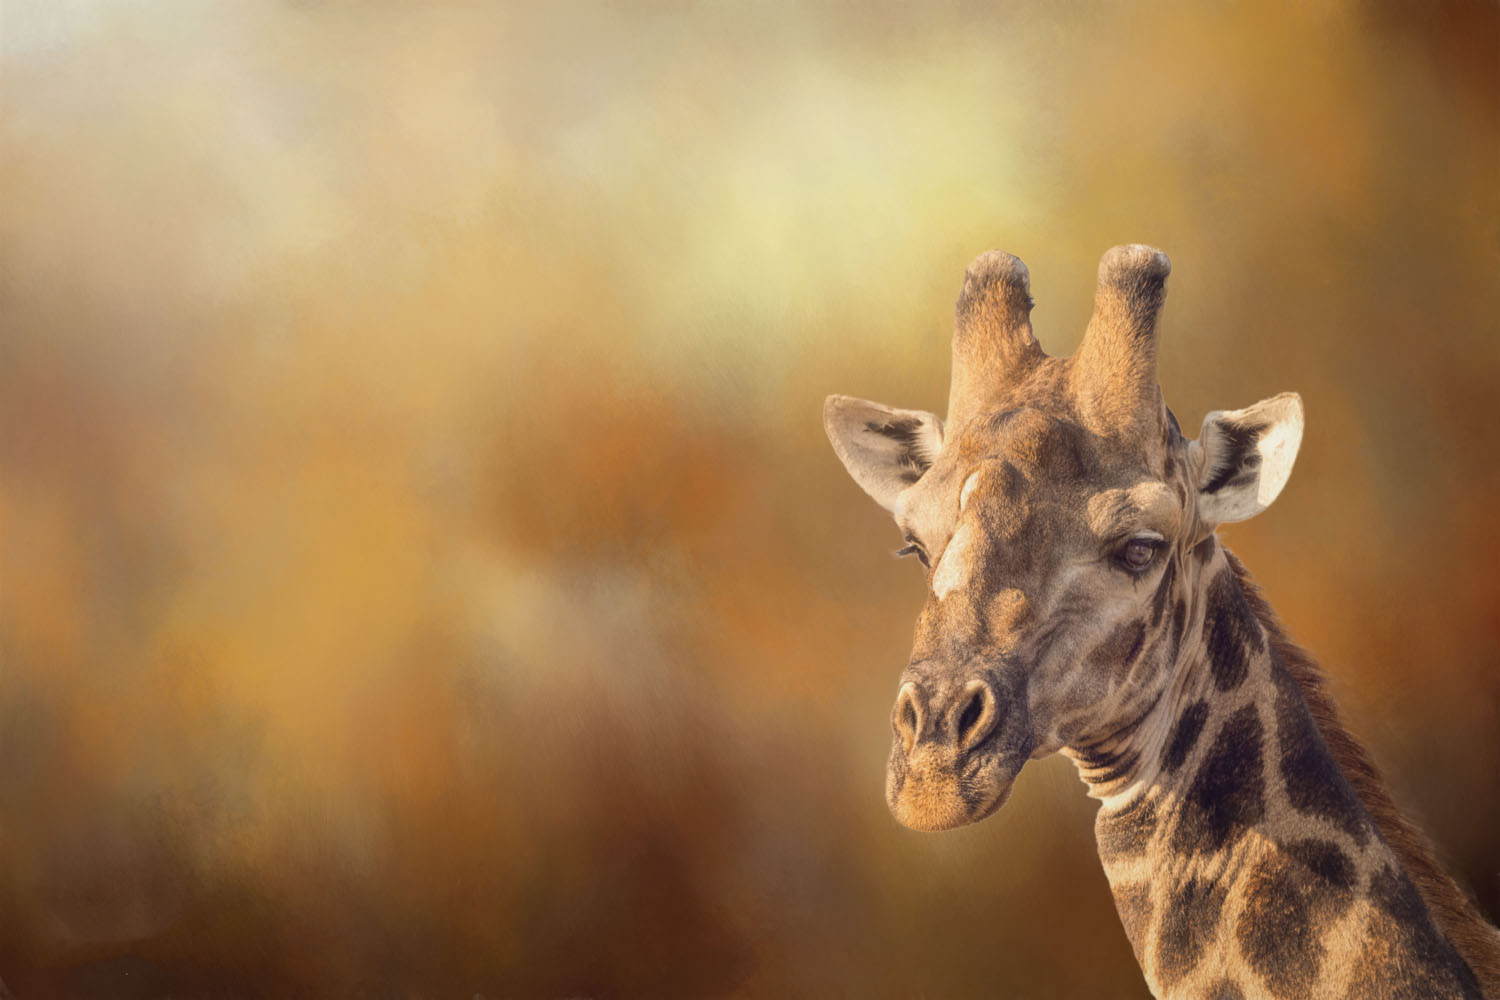
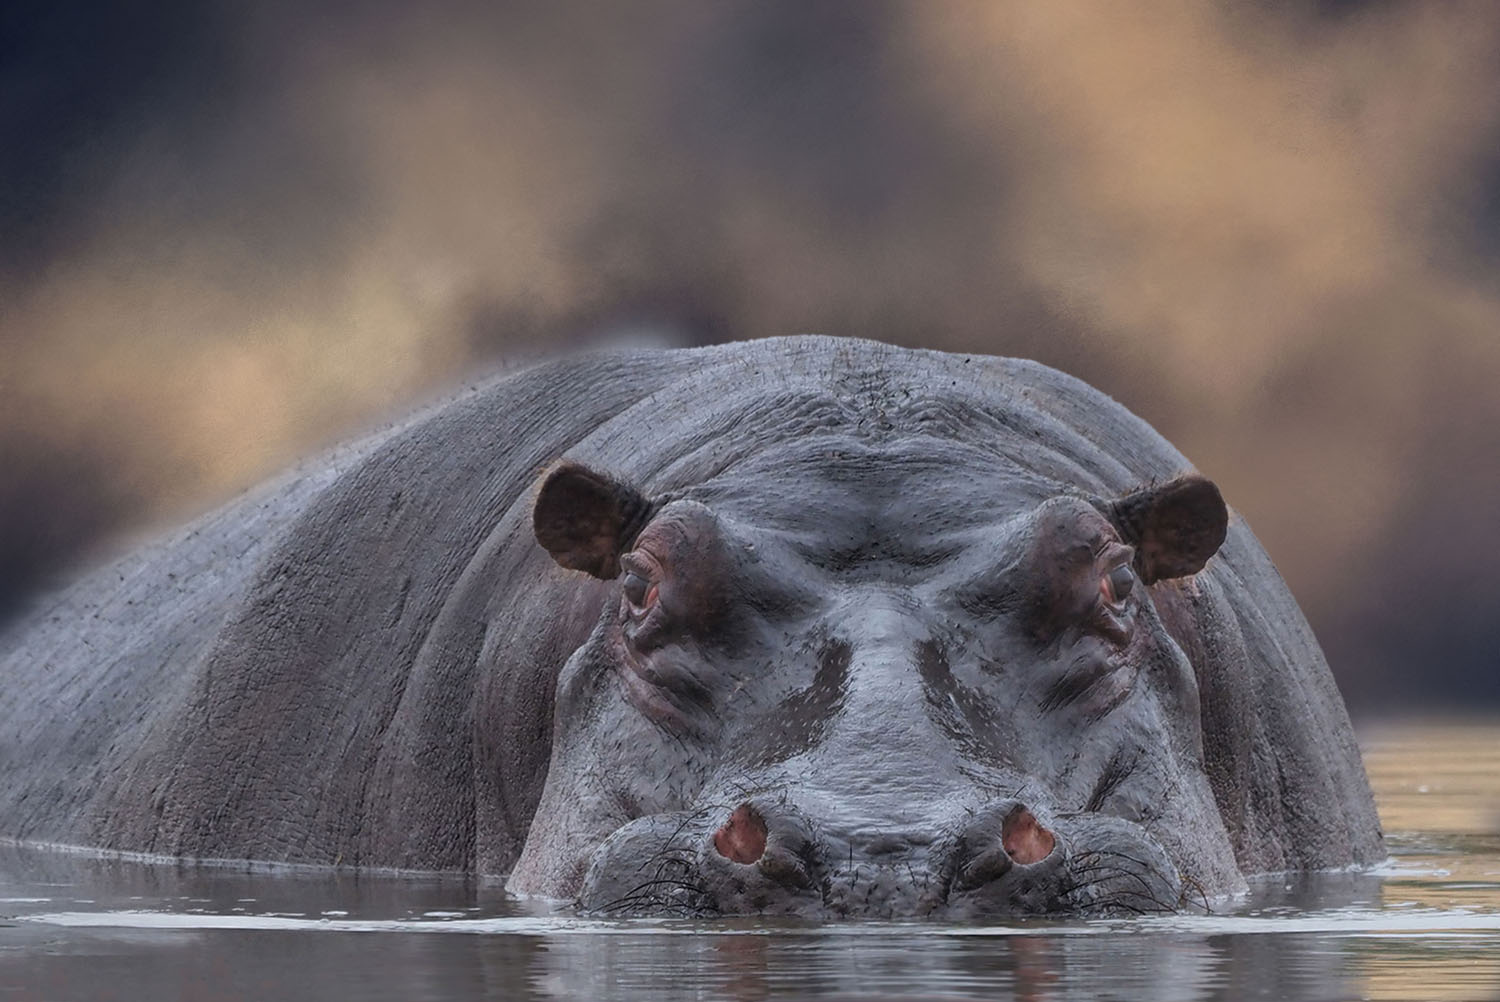
RIGHT: Olympus E-M1X . Olympus M.Zuiko 300mmF4.0 . F/5.6 . 1/640” . ISO 500
Why use Textured Backgrounds
A textured background can take a less-than-ideal scene and turn it into something different, giving your subject the spotlight it deserves, even in challenging surroundings. It’s like breathing new life into some photos you may otherwise dismiss because of the background.
Sometimes, the subtle addition of a textured background can transform an already interesting subject into an even more appealing one. The art of using and layering textures onto photos has become a popular and engaging way to bring a fresh look to your photography. You only need to look at all the apps out there with “filters” which are basically texture overlays.
Using textures as a background can change your photo’s story. They can infuse the empty spaces in your photos with a creative backdrop, altering the mood and tone of your shot. They can add depth and punch to your photos. It is an art technique that can become quite addictive once you get started. If you are stuck indoors for any reason, or maybe revisiting your old photos, this approach can be very rewarding.
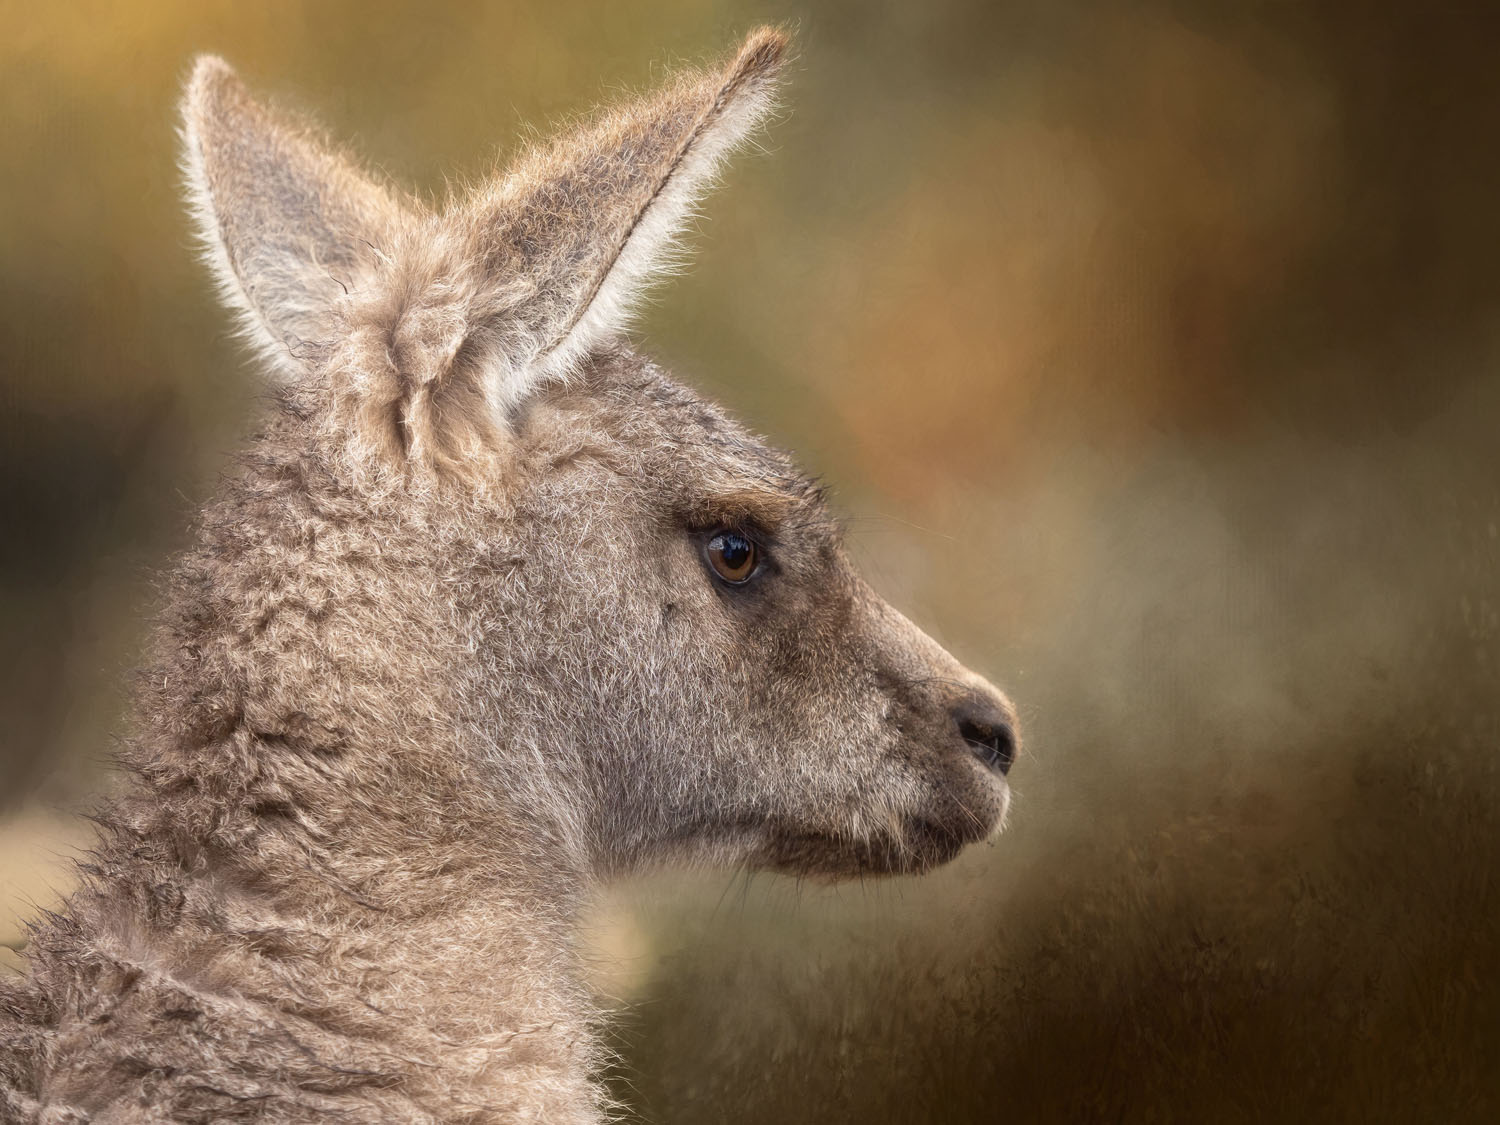
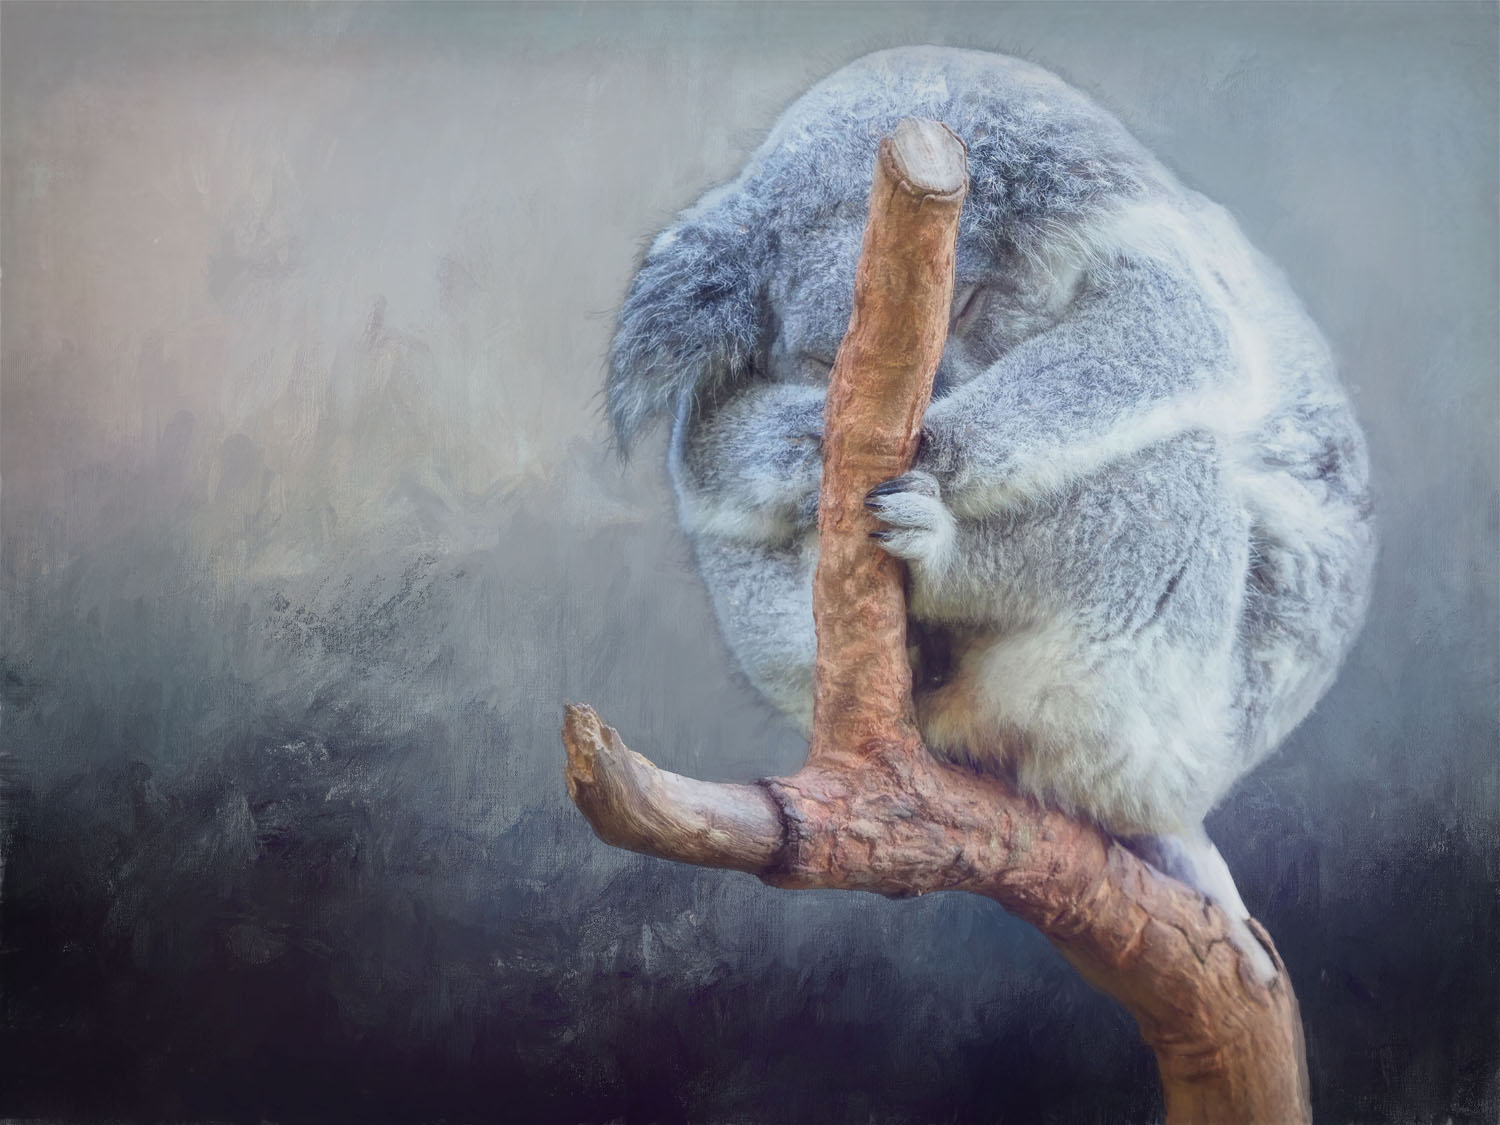
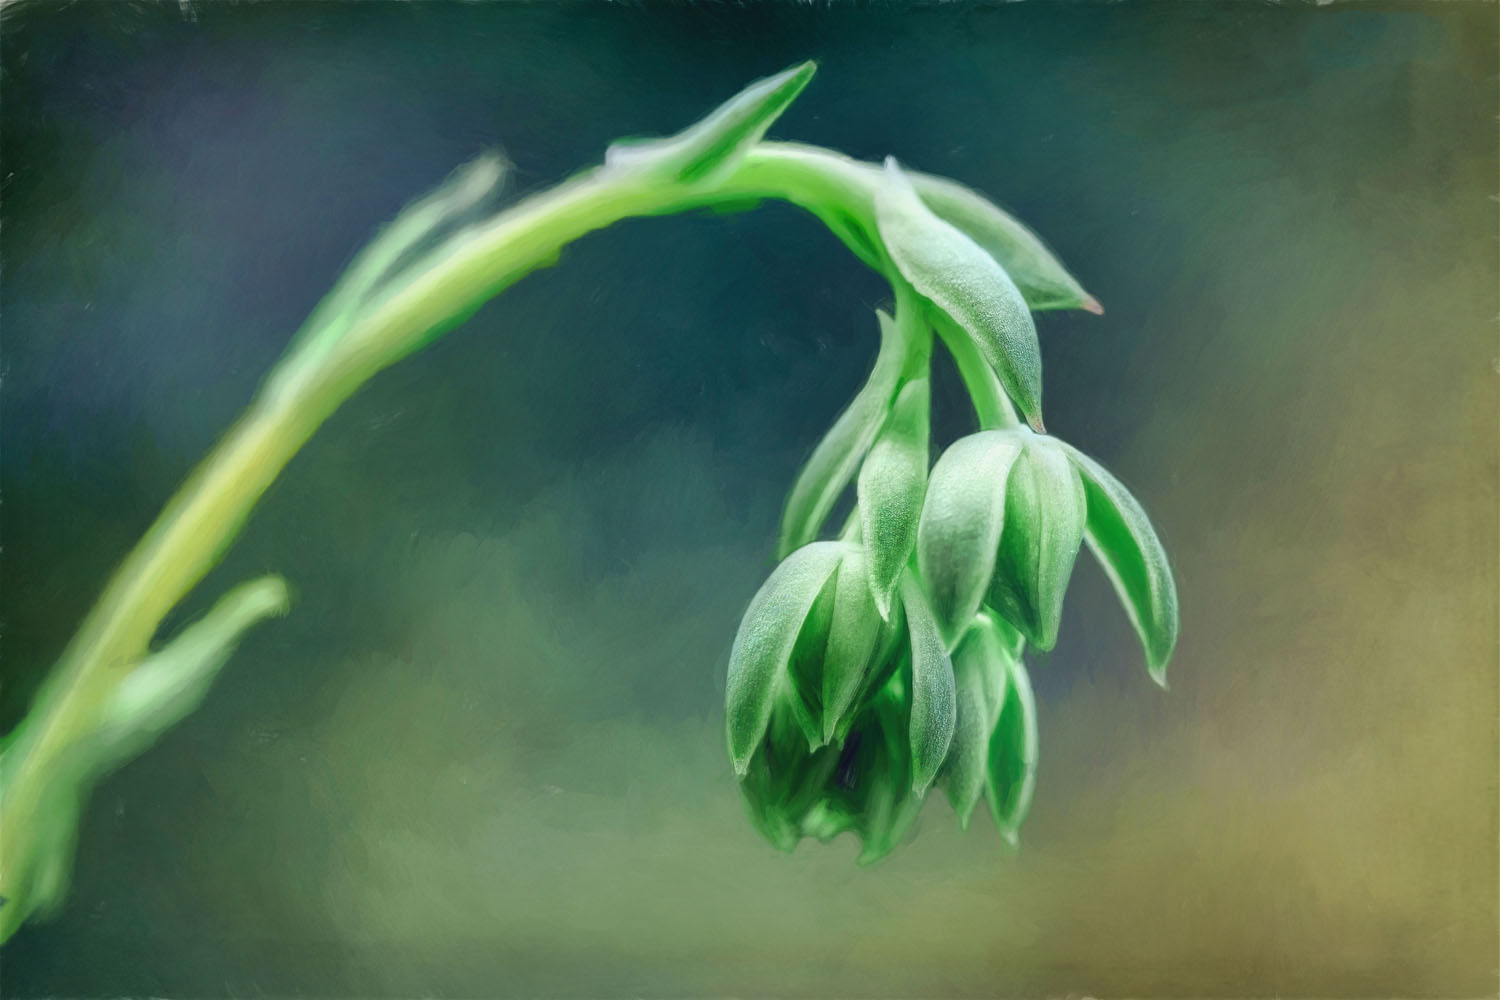
RIGHT: Olympus E-M1 MK II . Olympus M.Zuiko 40-150mmF2.8 @150mm . F/2.8 . 1/250” . ISO 1600
How to choose Textures
Selecting a texture simply comes down to personal preference. Experimenting can help you discover your own preferred styles and vision. Your final choice may differ hugely from what you initially intended as you experiment and a particular final result jumps out at you. Make sure the chosen texture enhances your image and highlights your subject – lovingly captured on your reliable Olympus/OM camera of course. The usual “rules” of photography still apply – if you choose. Things such as composition, rule of thirds, uncluttered and simple photo, clearly defined subject, sharp focus on eyes, empty space, balance etc. The selected texture’s colours and tones should match your subject. Or contrast to them! It all depends on what look you are aiming for, or accidentally discover. Explore options, and let your images guide you toward the ideal textured background to achieve what is pleasing to you.
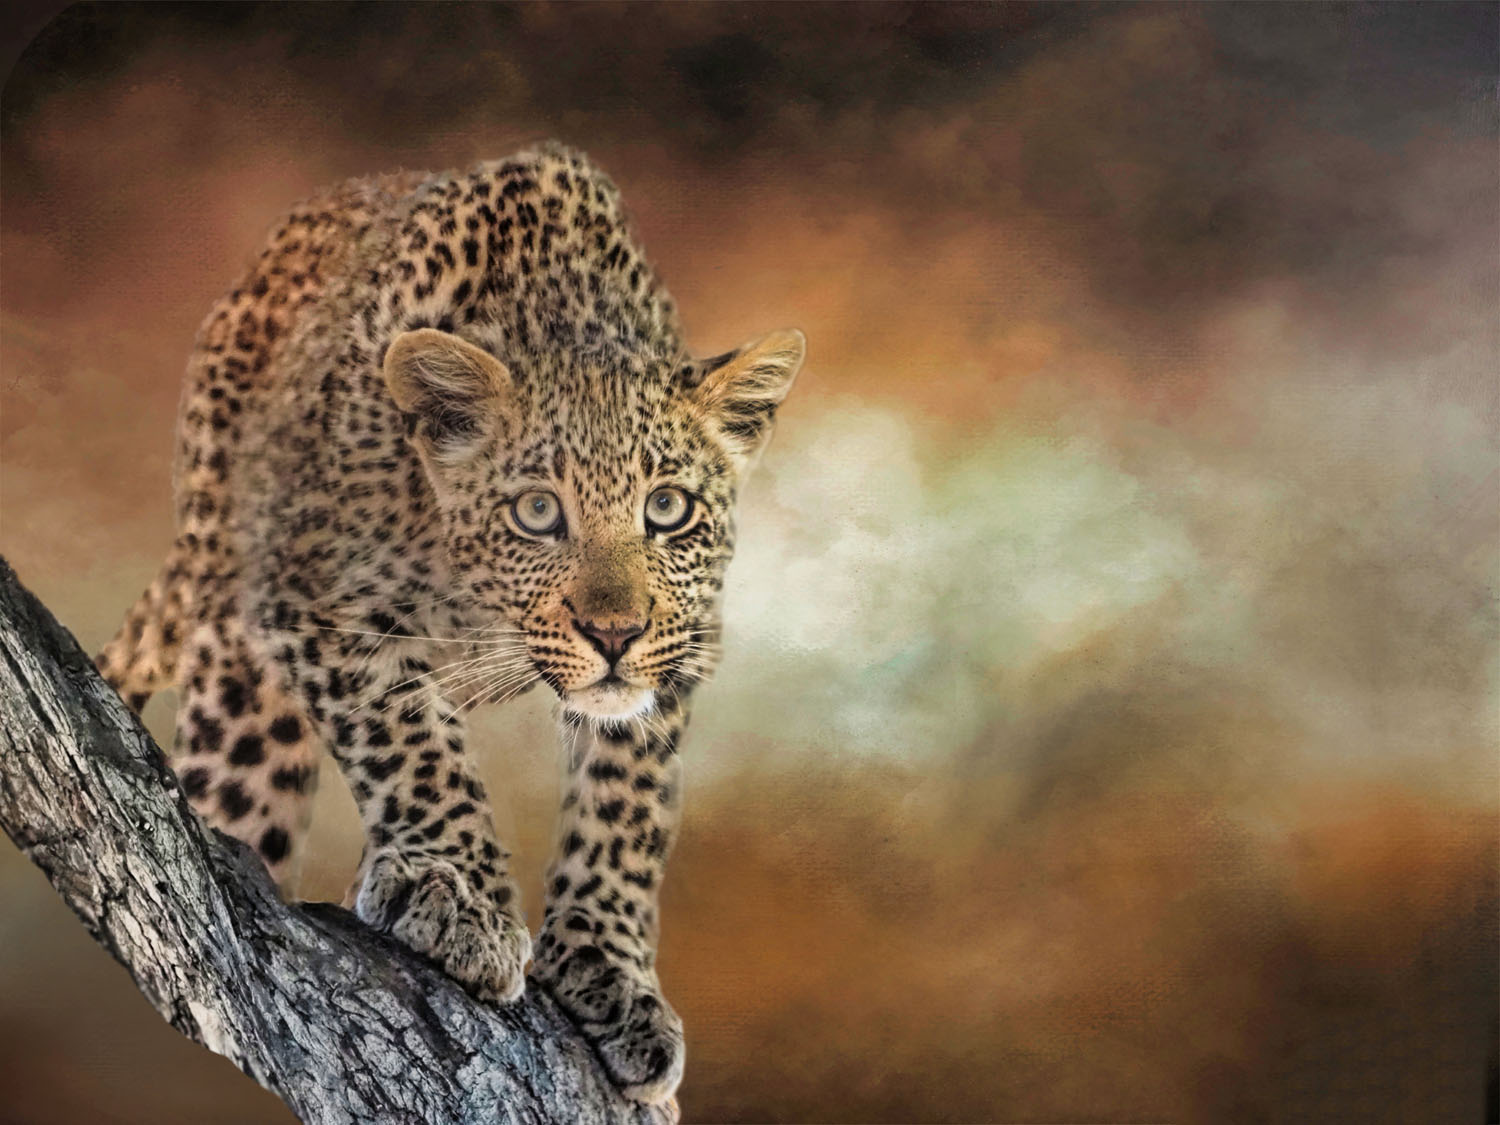
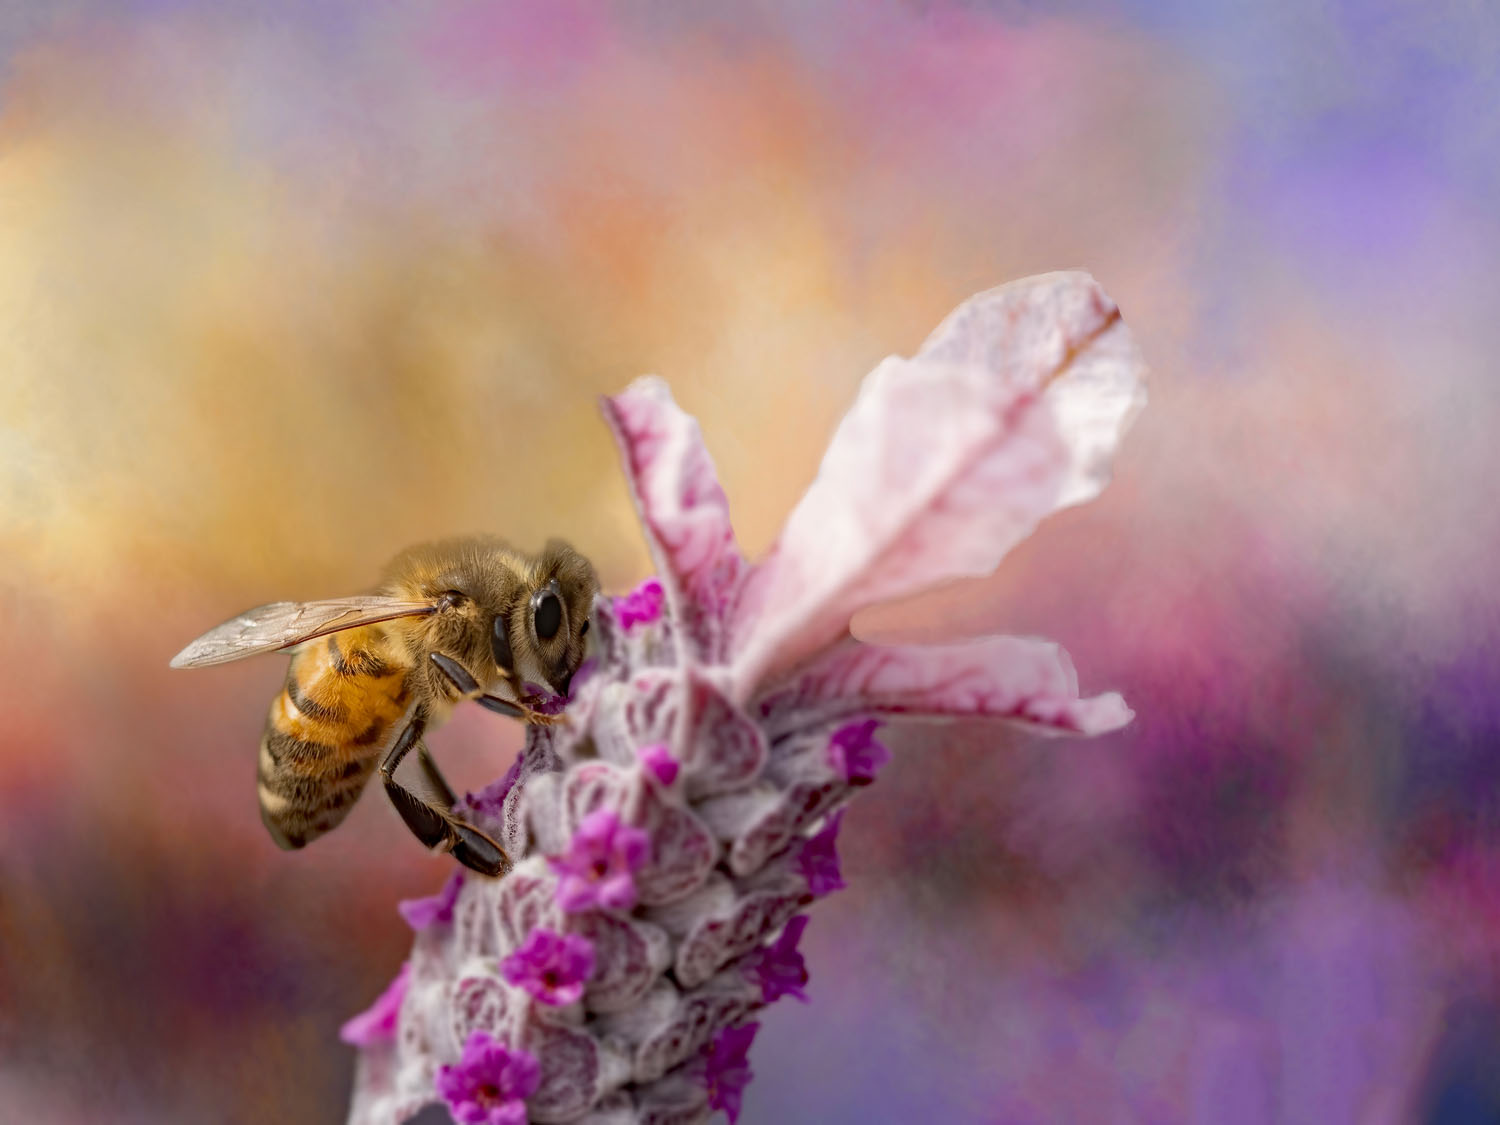
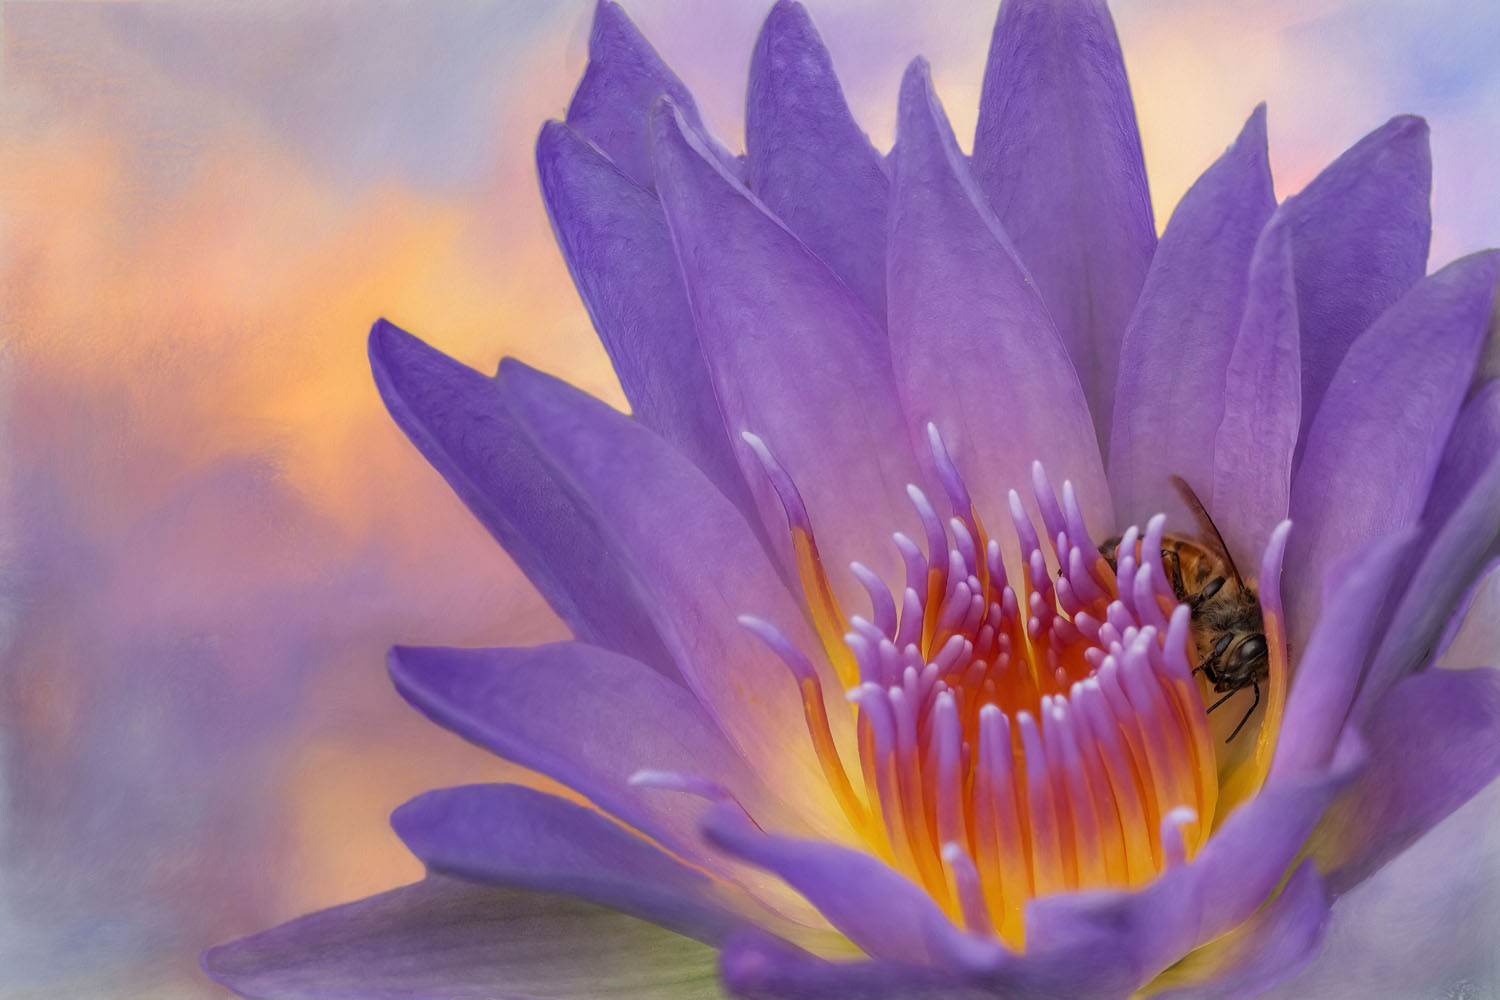
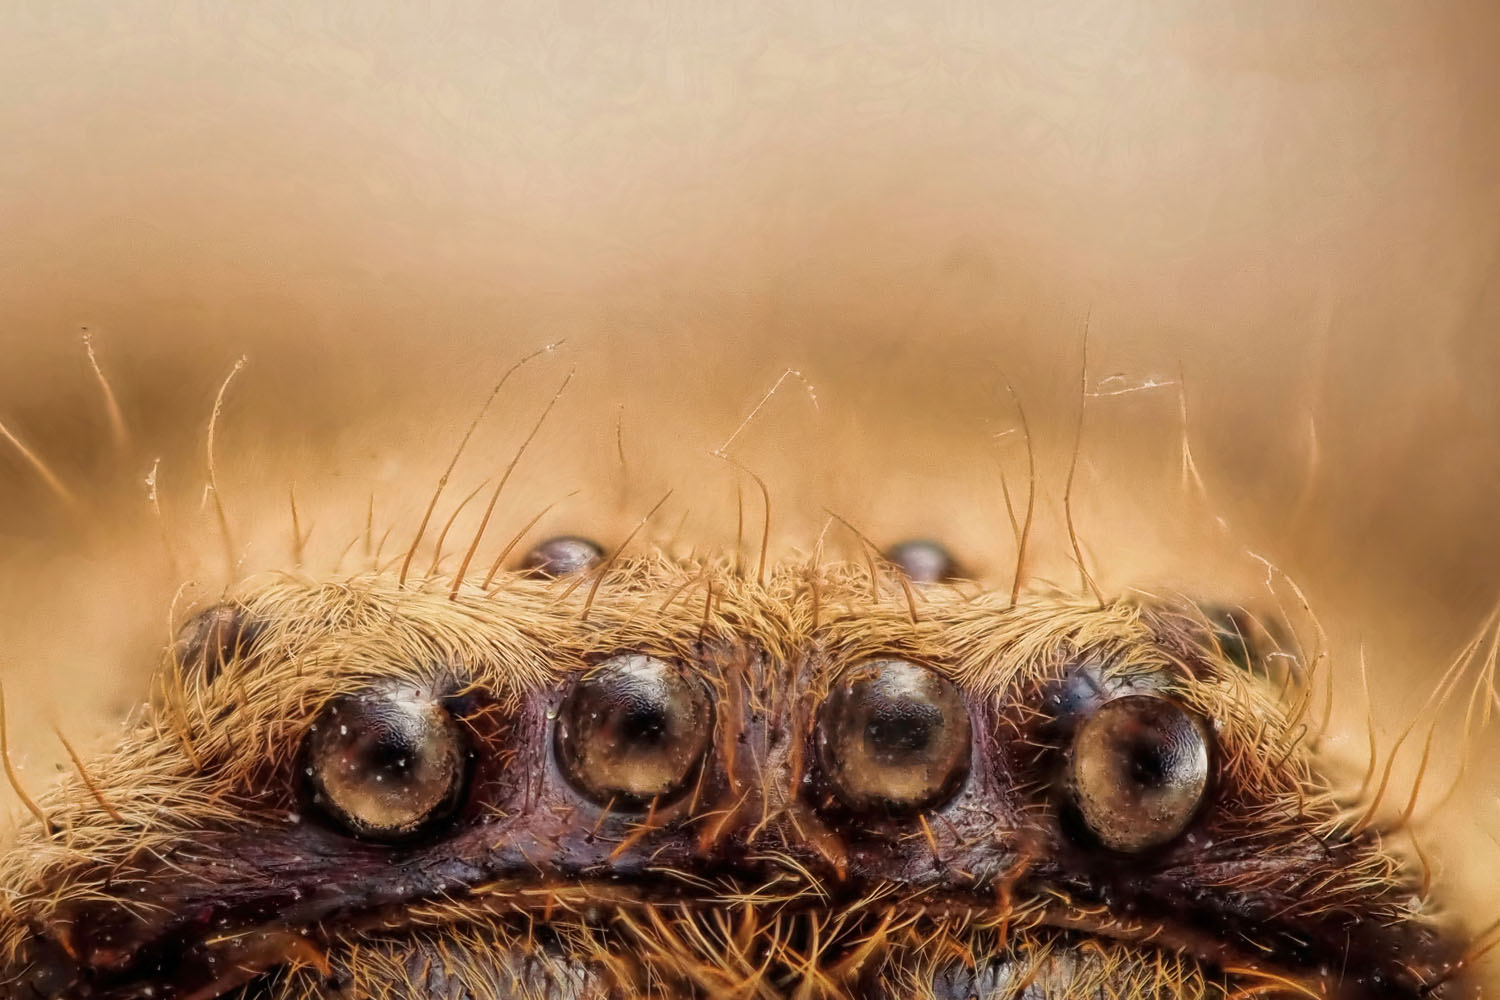
RIGHT: Olympus OM-1 . Olympus M.Zuiko 300mmF4.0 . F/5.0 . 1/1600” . ISO 200
Where to Find Textures
In the large world of textures, you are spoiled for choice. A quick Google search of “textures” lists a staggering 1.7 billion hits! There are many out there, some free and some worth investing a little. Some of my personal favourites among the paid options include the Daily Texture Company, Kathleen Clemons, French Kiss and various artists on platforms like Etsy who have crafted inspiring textures. You’ll find a treasure trove of free textures on most large stock photo websites and dedicated texture sites. The possibilities are endless. And if that isn’t enough you can Make your own with your own photography. Textures are everywhere around us, in nature and manmade objects. For the tech-savvy there’s the intriguing world of AI-generated textures, although I haven’t delved far into that area myself. Yet. And, of course, you can always combine photos and textures, edit, twist, recolour, combine and transform them any way you like.
It’s all about finding what resonates with your style.
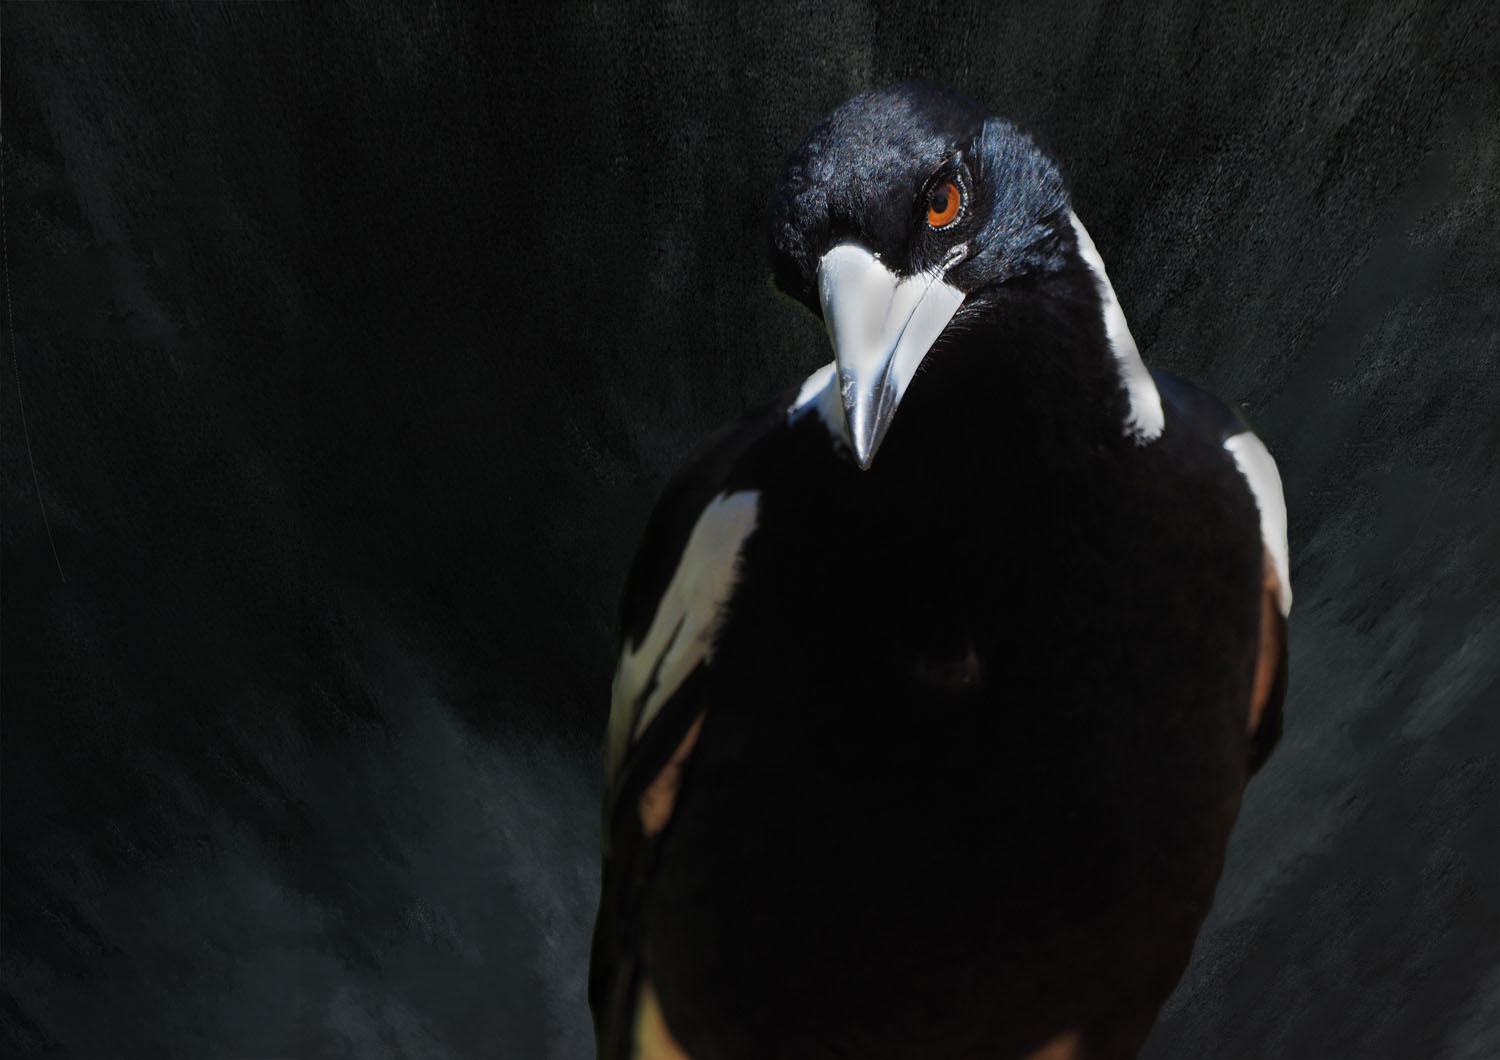
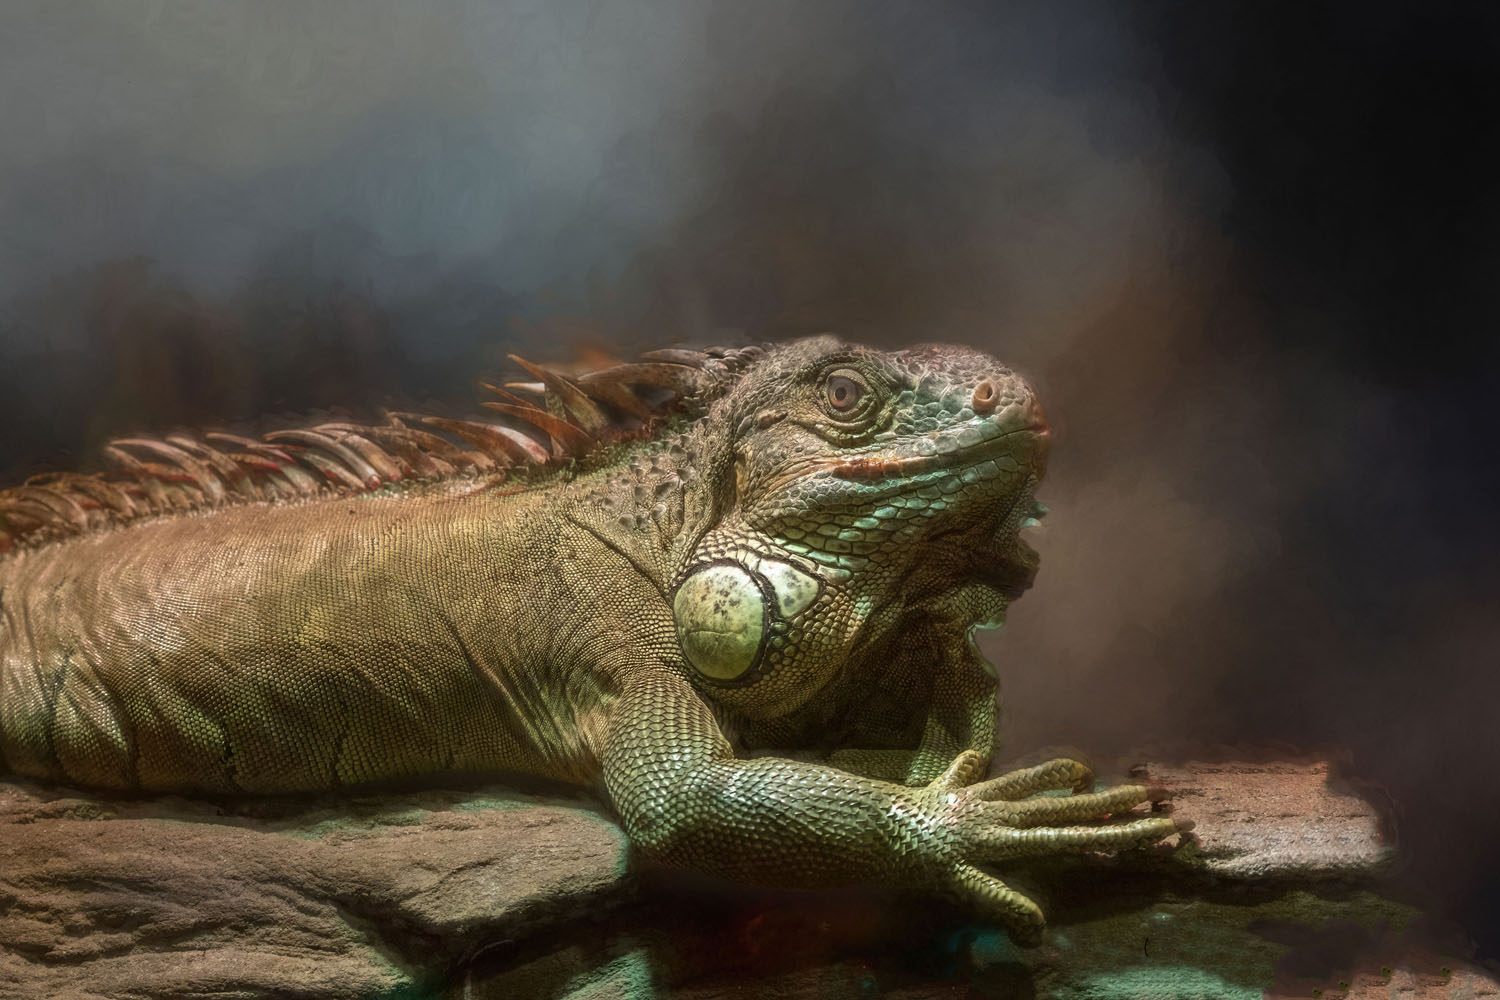
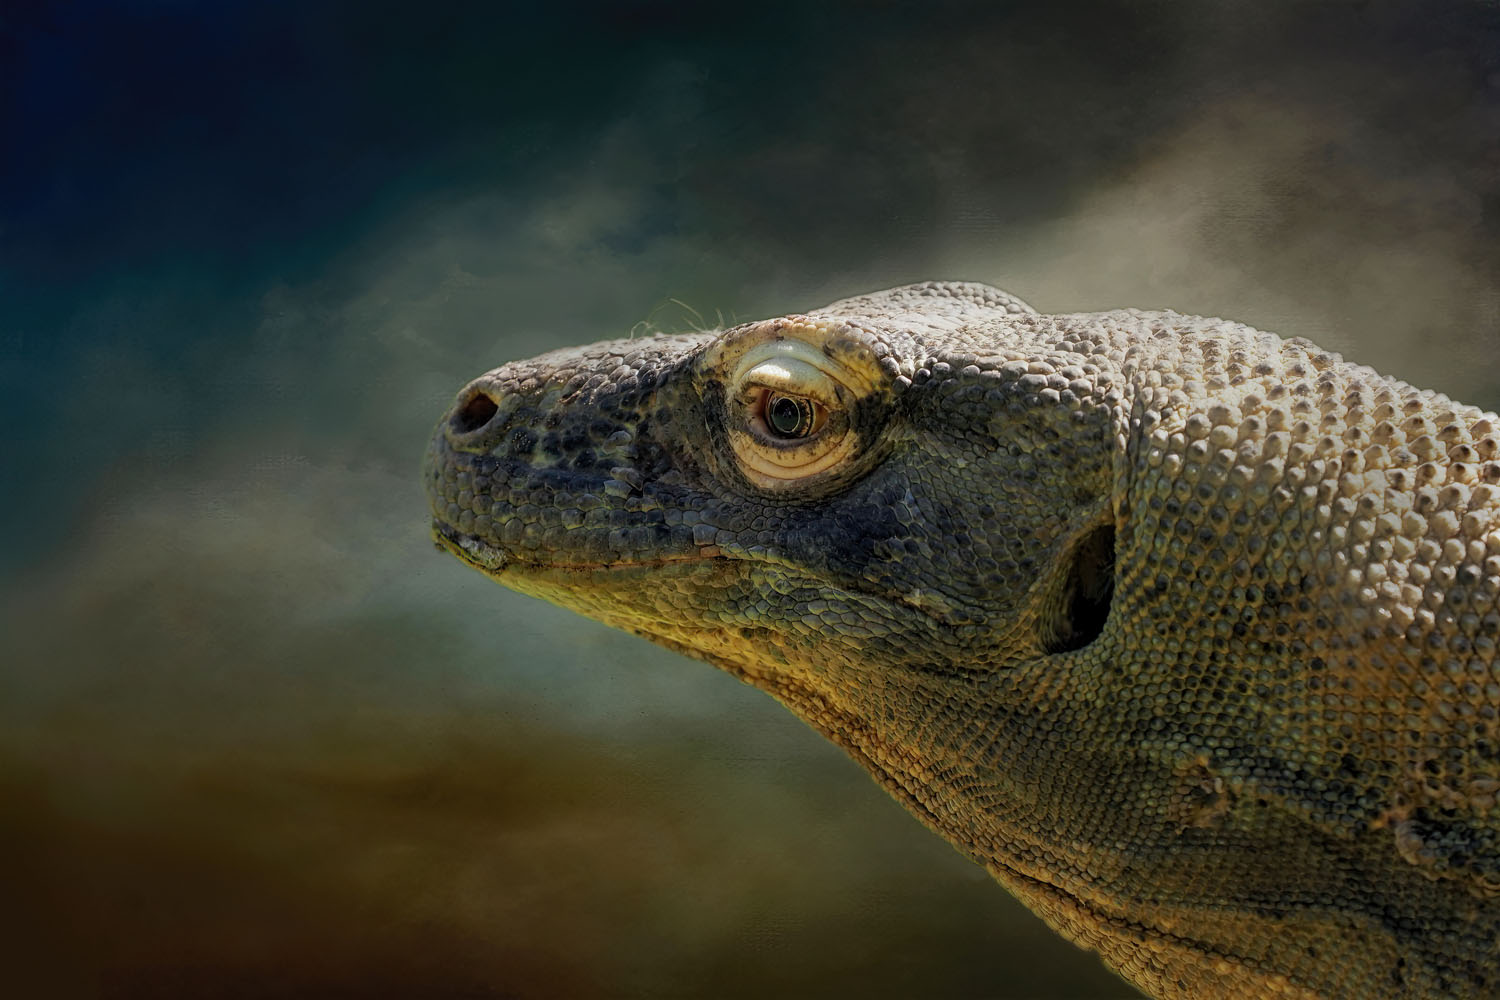
RIGHT: Olympus E-M1 MK III . Olympus M.Zuiko 40-150mmF2.8 @150mm . F/4.0 . 1/640” . ISO 200
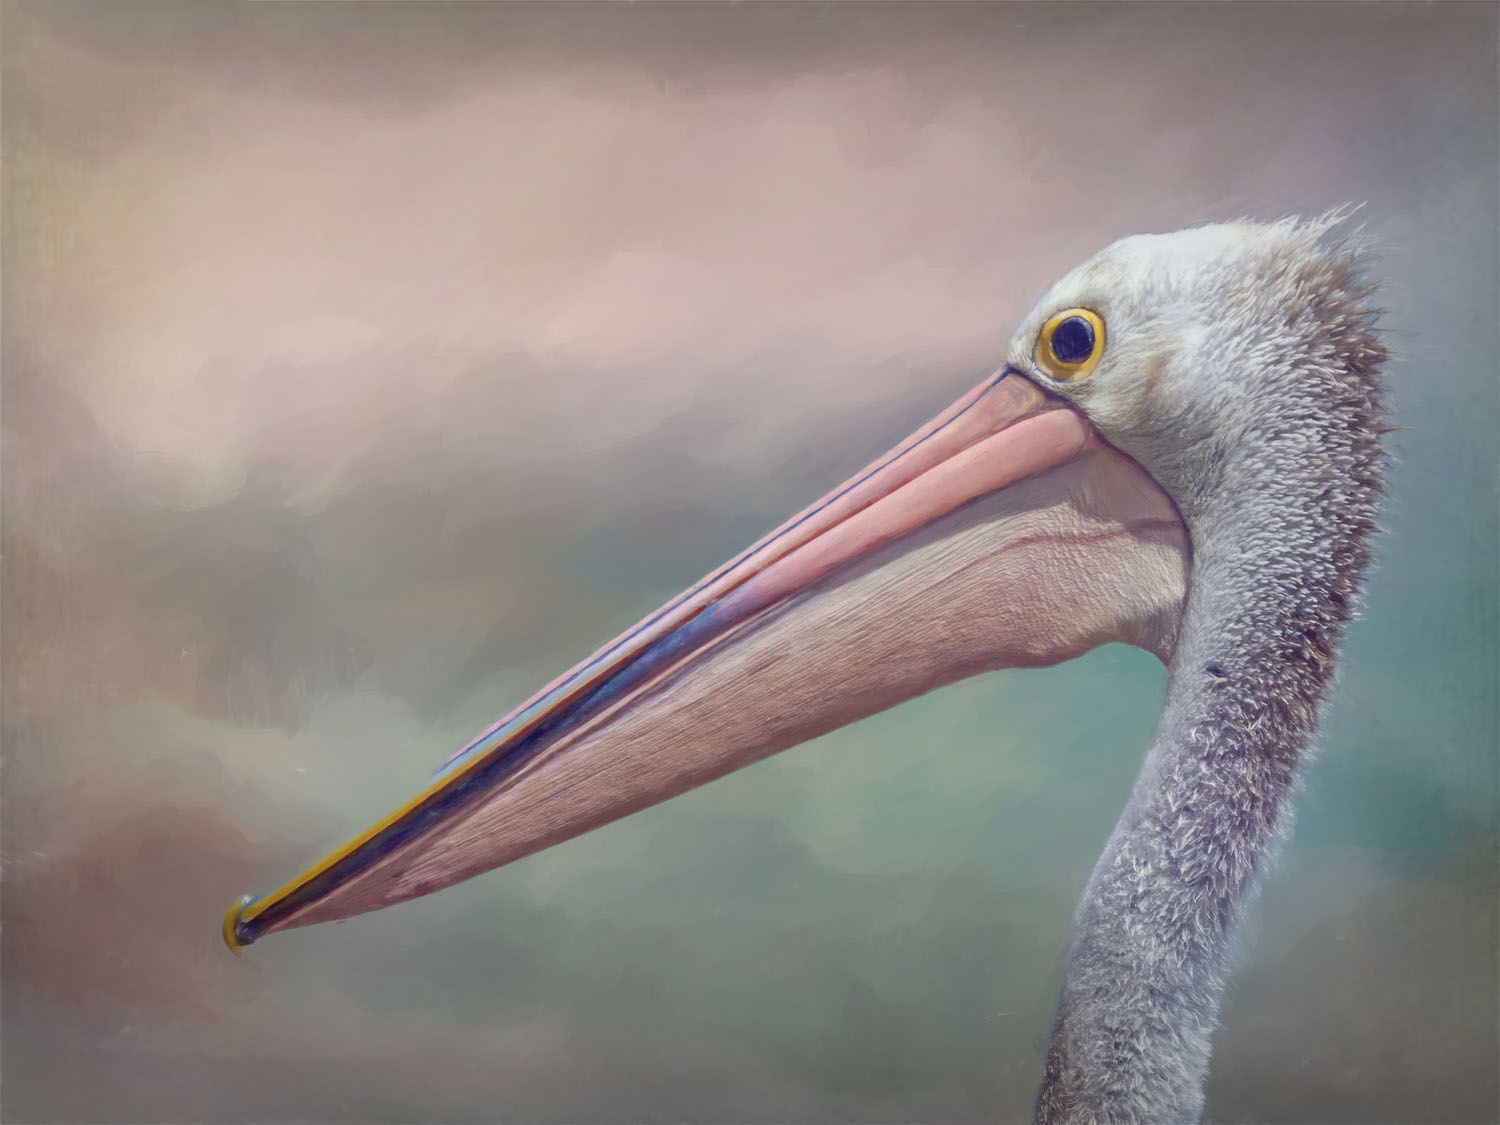
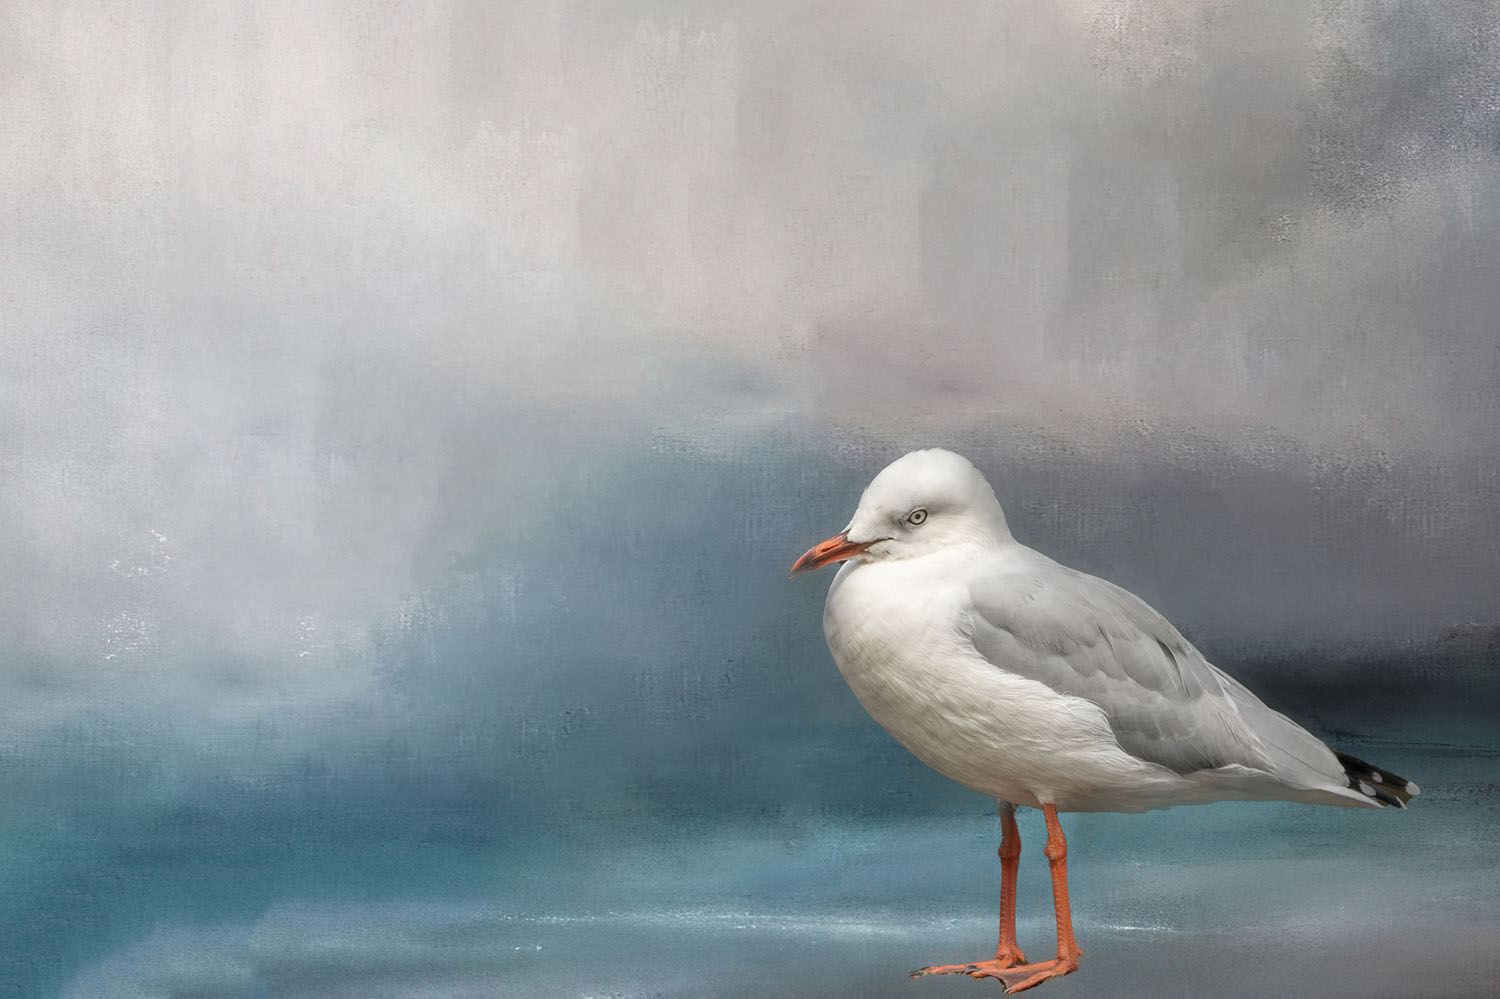
RIGHT: Olympus E-M1 MK III . Olympus M.Zuiko 40-150mmF2.8 @150mm . F/2.8 . 1/2500” . ISO 200
How to Use Textured Backgrounds
Despite not being particularly adept at Photoshop I found the process surprisingly manageable. I only use Photoshop Elements, and I’m a bit lazy when it comes to editing. And I am sure there are many photographers out there who know multiple ways to manage layers, masks and brushes much better than I ever will.
The steps are basically to select the photo with the subject you think will work well, select a texture to use as a background, isolate your subject using your preferred method (masks, selections etc), paste or place the background behind your layer with the masked subject on it. You can then tidy up by using brushes to blend the subject in, applying another texture on top, or any number of different approaches depending on which software you are using. These are a bit beyond the scope of this article or my knowledge level!
I hope that some of my photos here may inspire some fellow Olympus fans out there to try unleashing a different creative side. If you are looking for something new to try with your old, or new, photos, consider dipping your toes into the creative world of textures. You have everything to gain and nothing to lose.
Wishing you happy shooting and happy texturing!
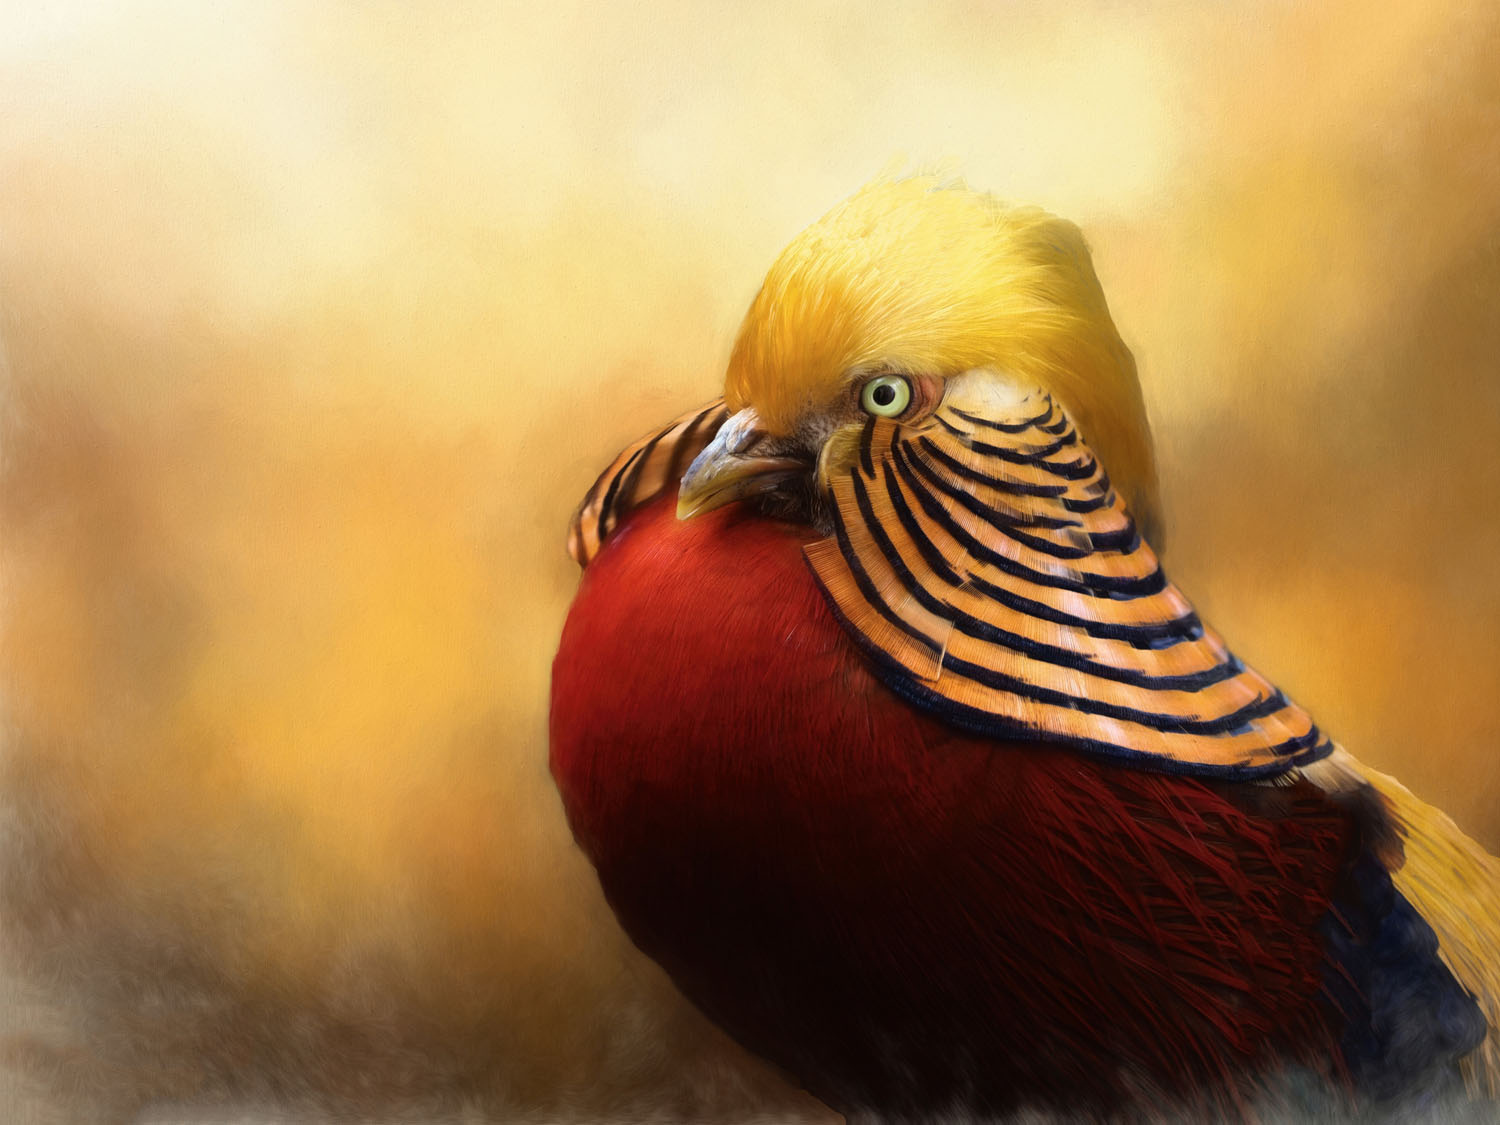
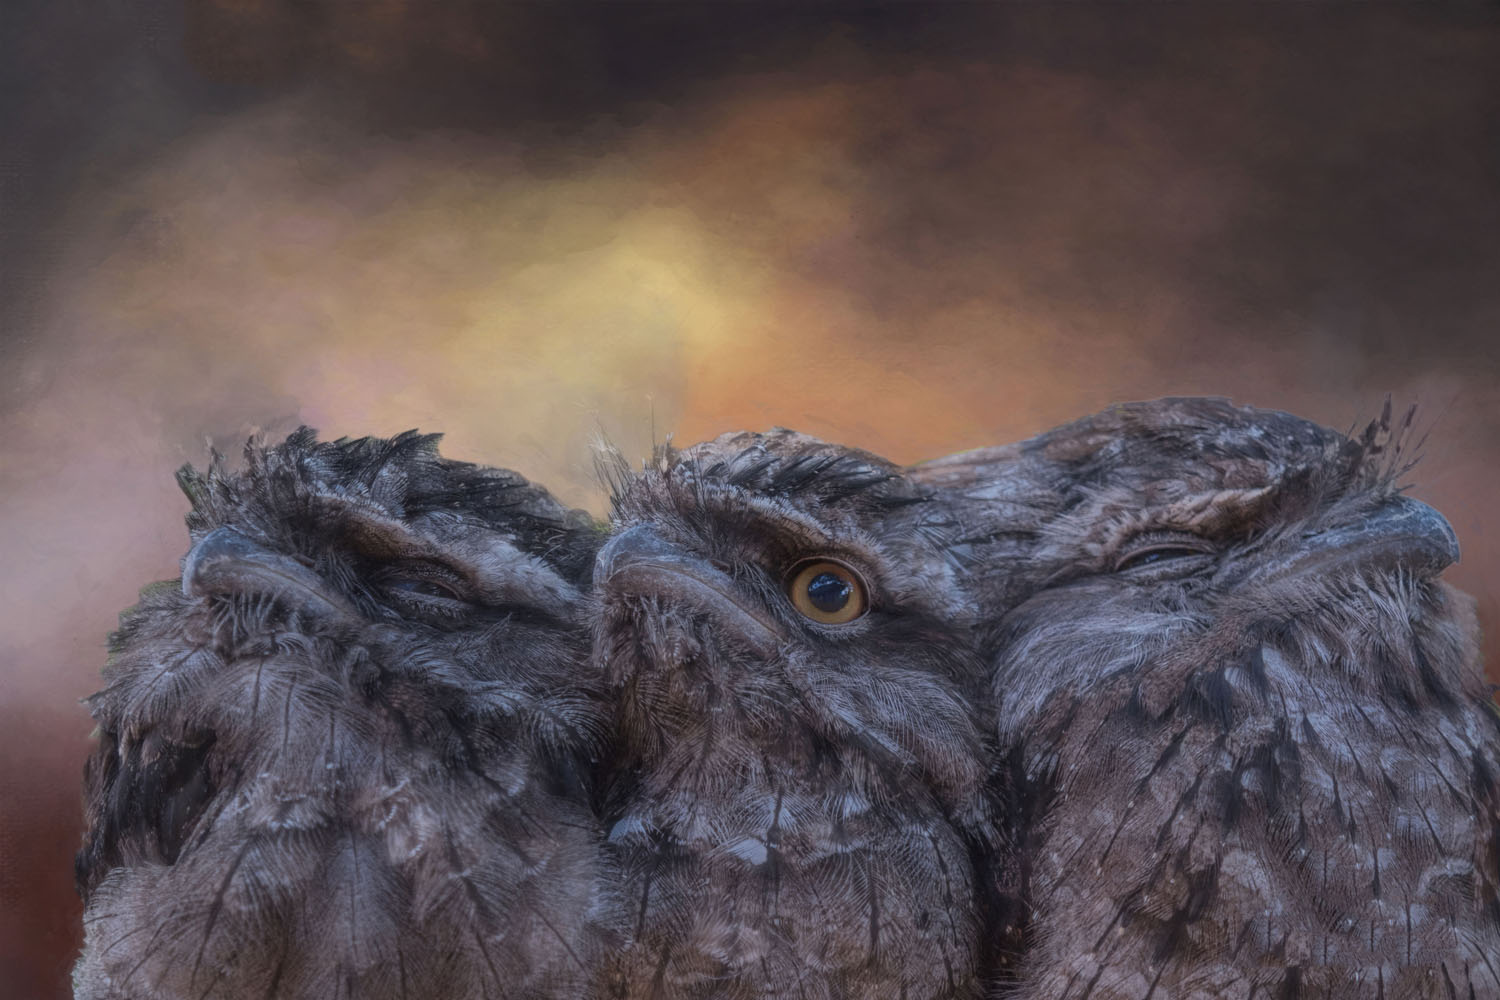
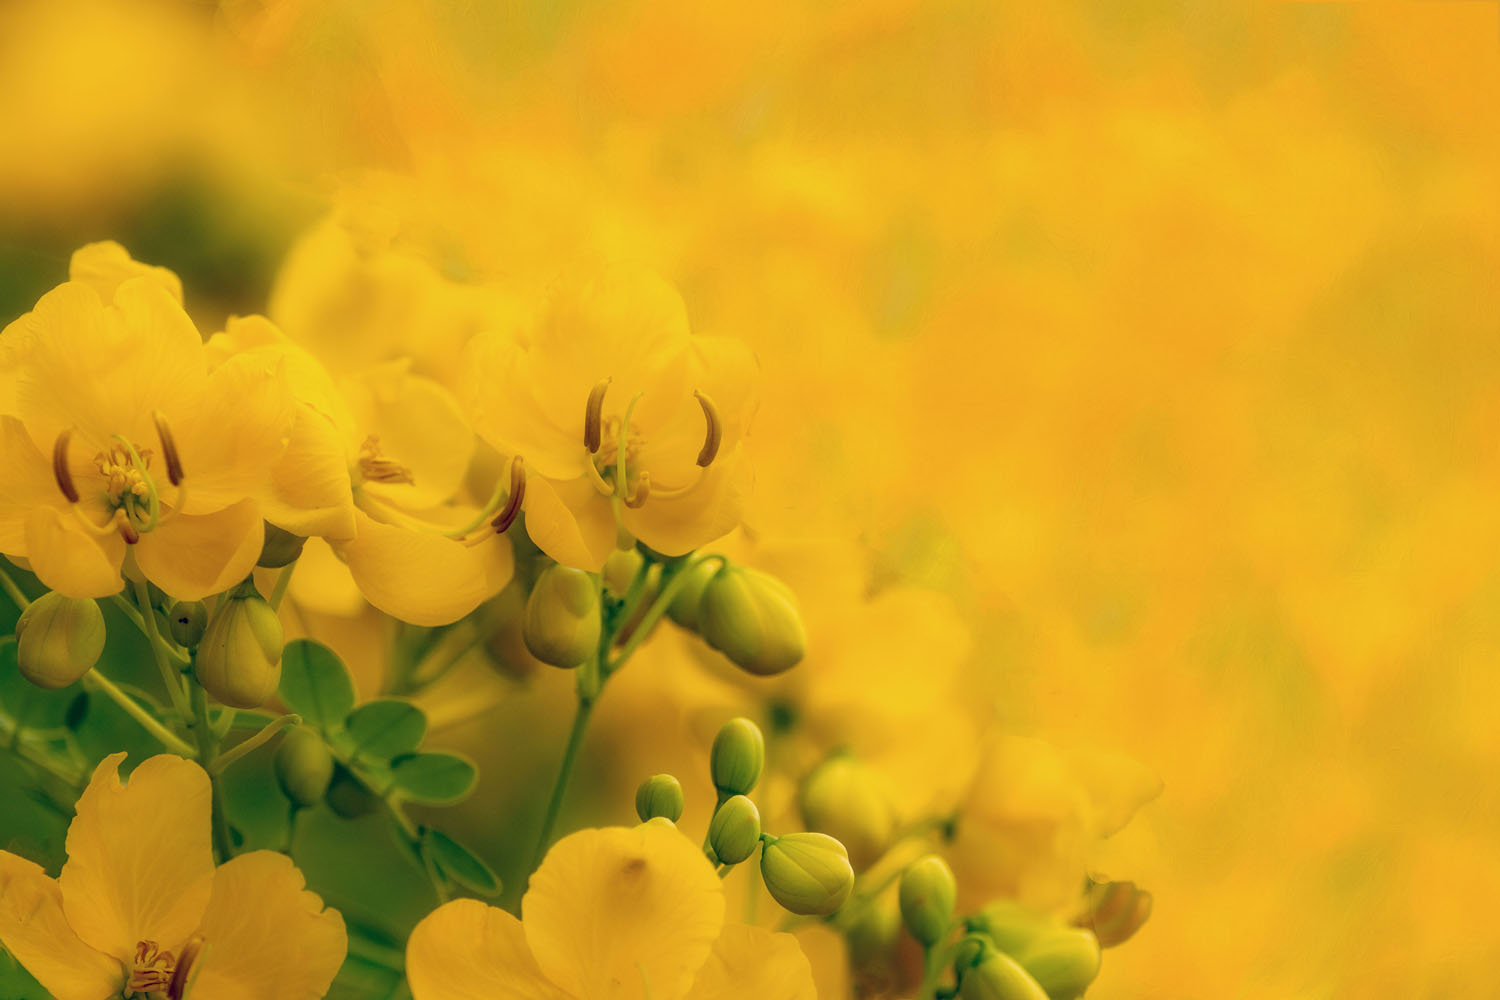
RIGHT: Olympus E-M1 MK III . Olympus M.Zuiko 40-150mmF2.8 @150mm . F/4.0 . 1/400” . ISO 200
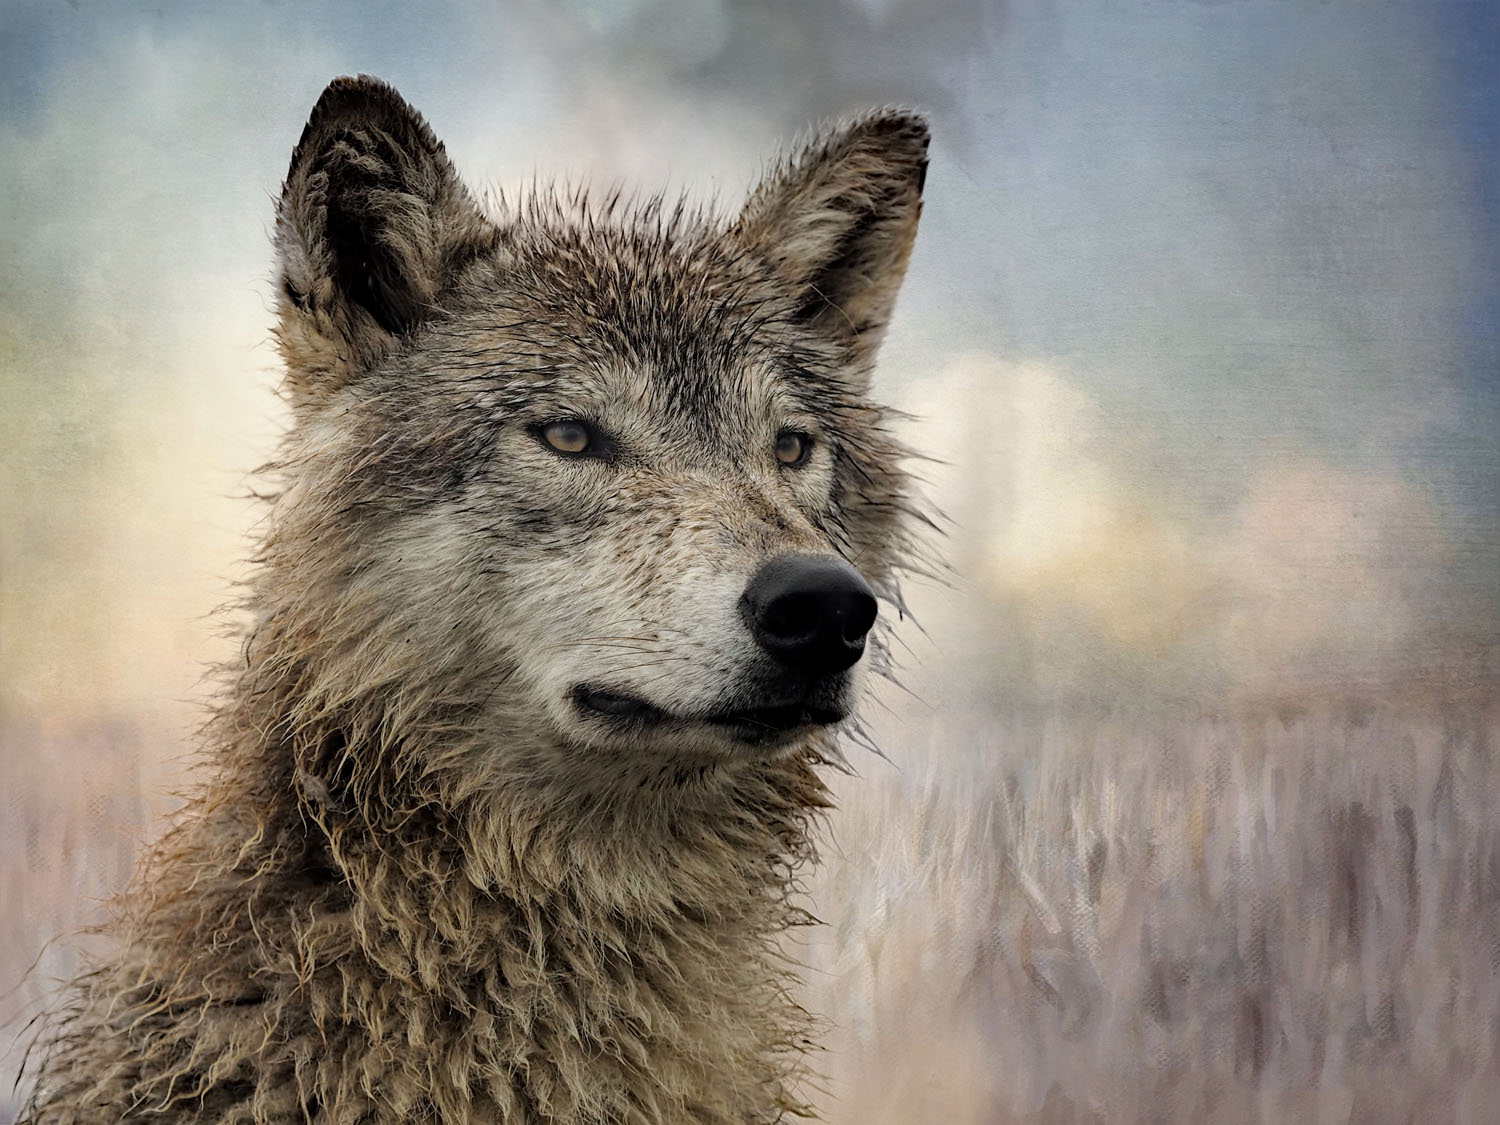
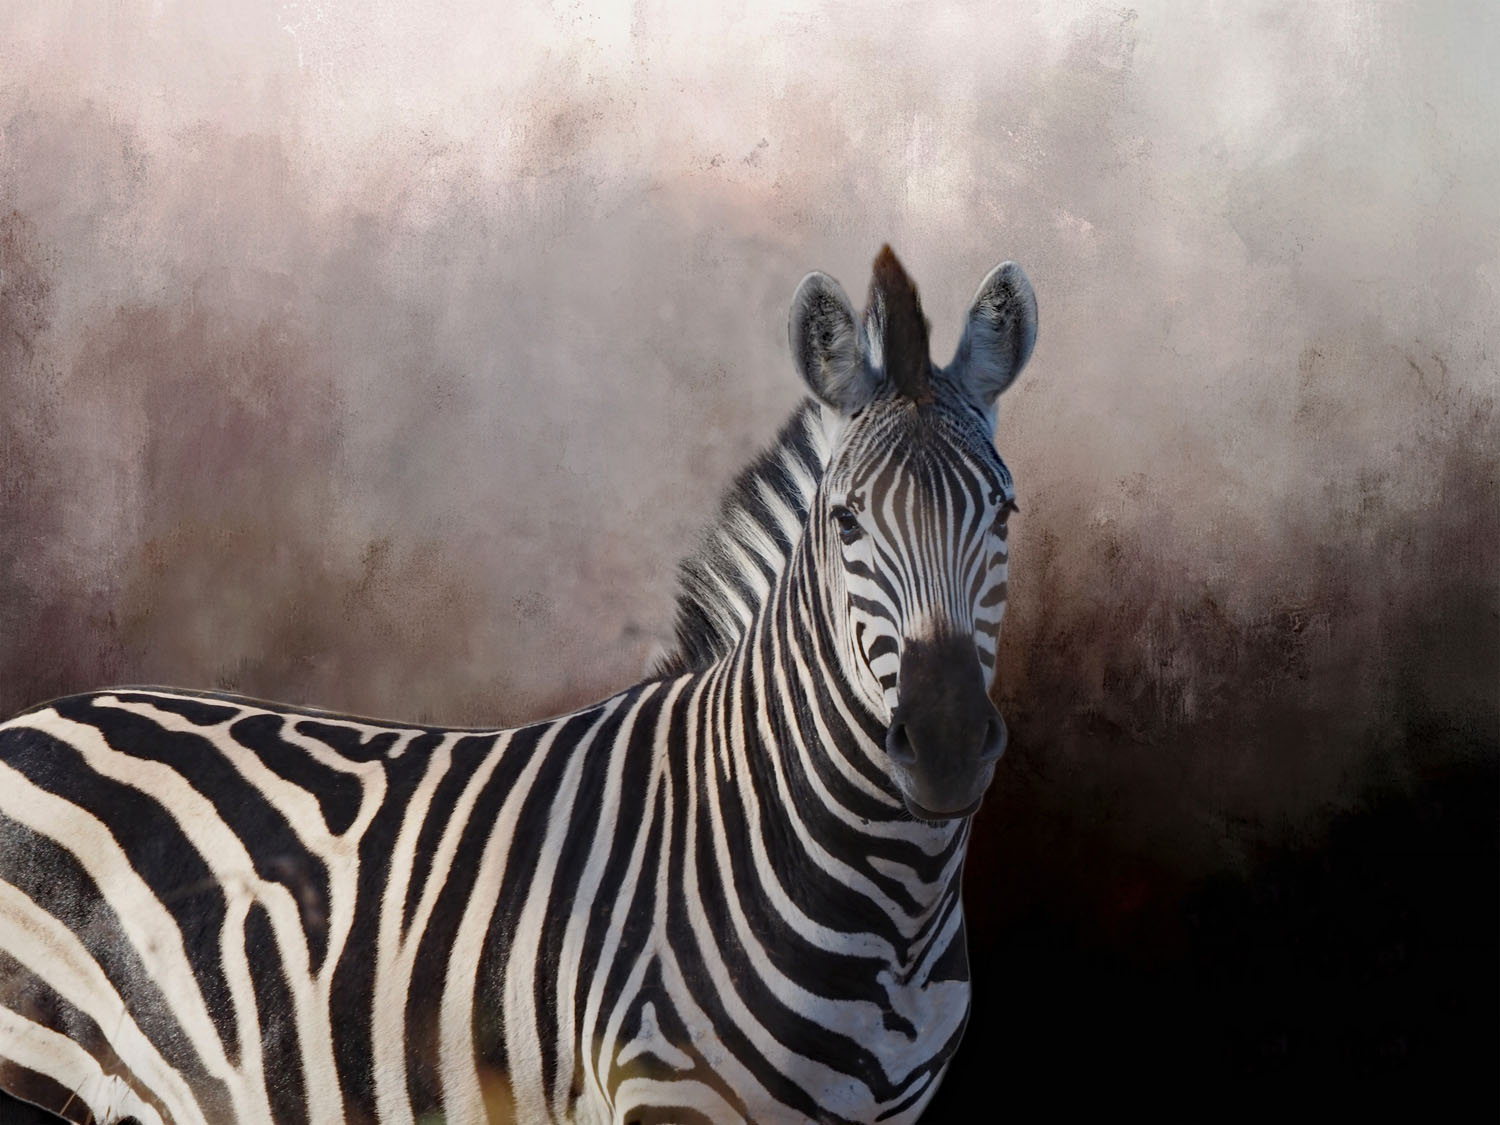
RIGHT: Olympus E-M1X . Olympus M.Zuiko 300mmF4.0 . F/7.1 . 1/640” . ISO 640

“Hi everyone, my name is Brad Hedgman and I am lucky enough to live on the Central Coast, a beautiful little part of Australia. We are surrounded by nature – pristine beaches, lakes, rivers and many national parks.”


