How to photograph using only the available light
Most of my work, what I really like to do, is documentary photography and that usually involves making portraits. But unlike the studio photographer who is able to manipulate light through the use of flashes and diffusers, documentary and street photographers have to work with available light.
So, what is available light? “Available light can be any source of light that isn’t explicitly supplied by the photographer for the purpose of taking photos.”
What this definition means is that there is no interference on the part of the photographer because he aims to document reality just as it is. But, available light, isn’t necessarily natural light only. As the name implies, it refers to light emitted from a source, whether natural or artificial. Documentary and street photographers have to adapt to any light source, colour and direction. They have to know how to make the most of it, whatever the situation.
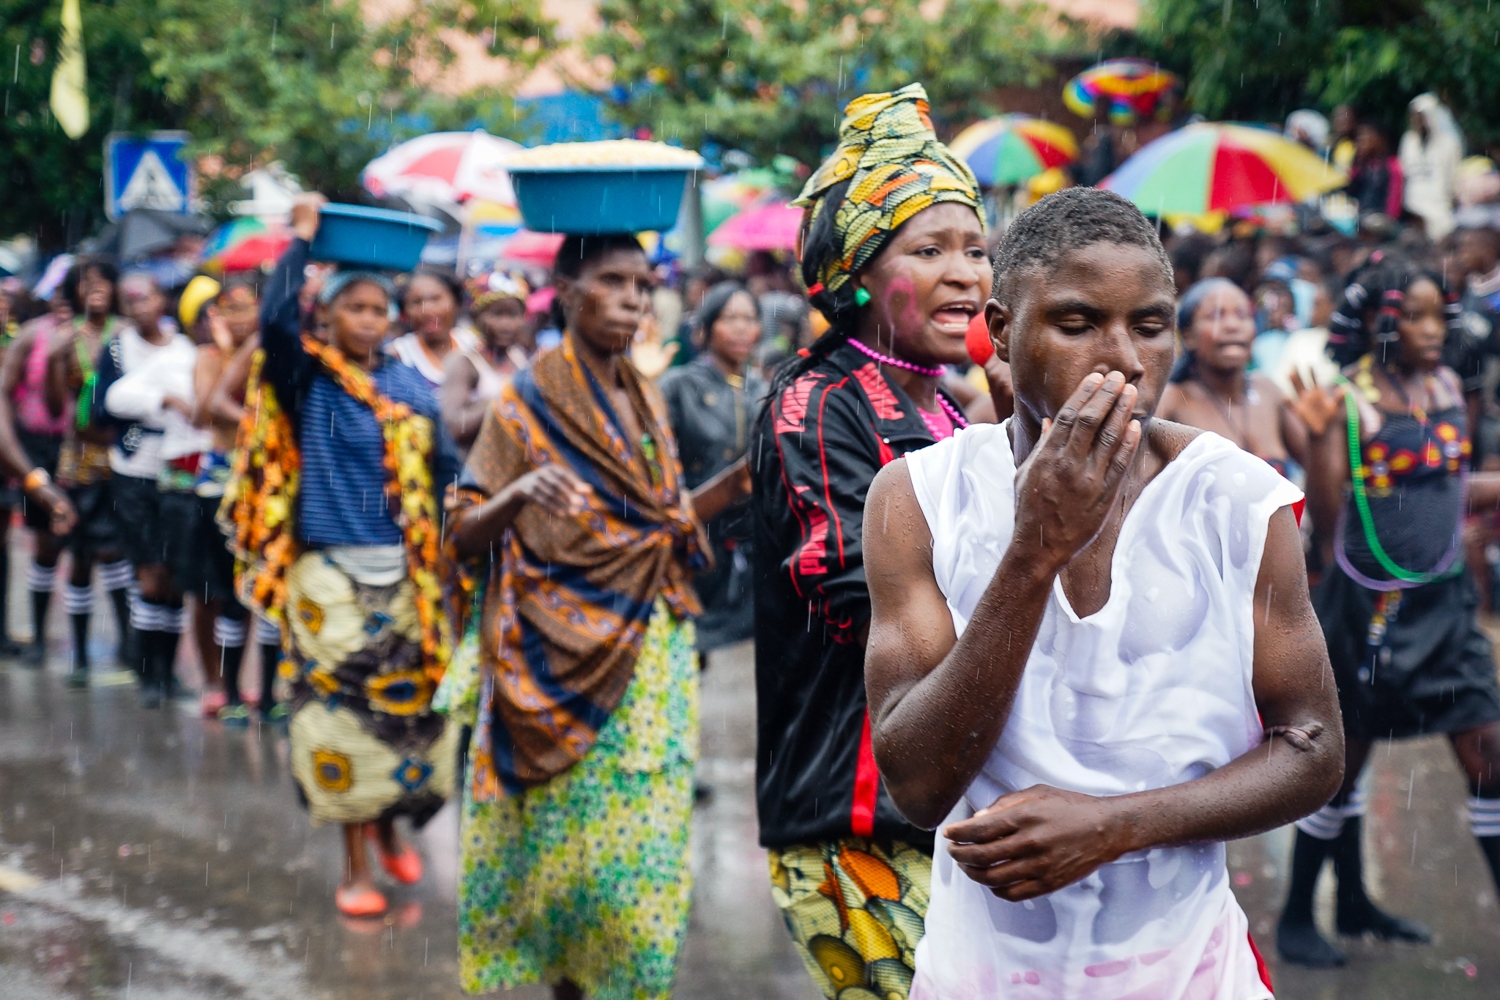
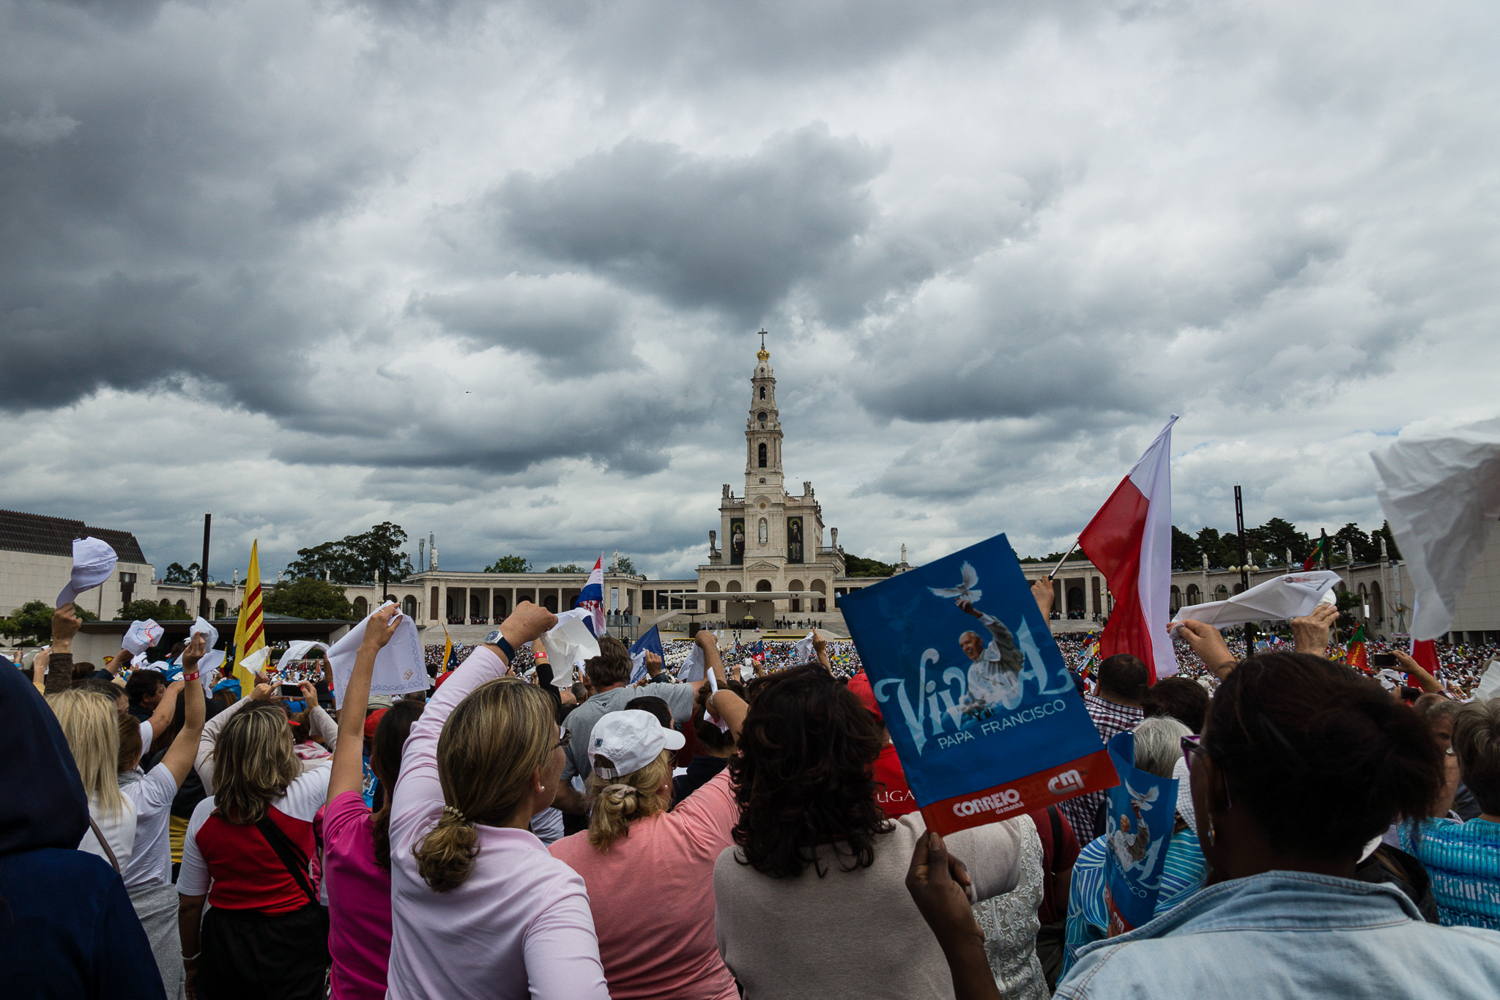
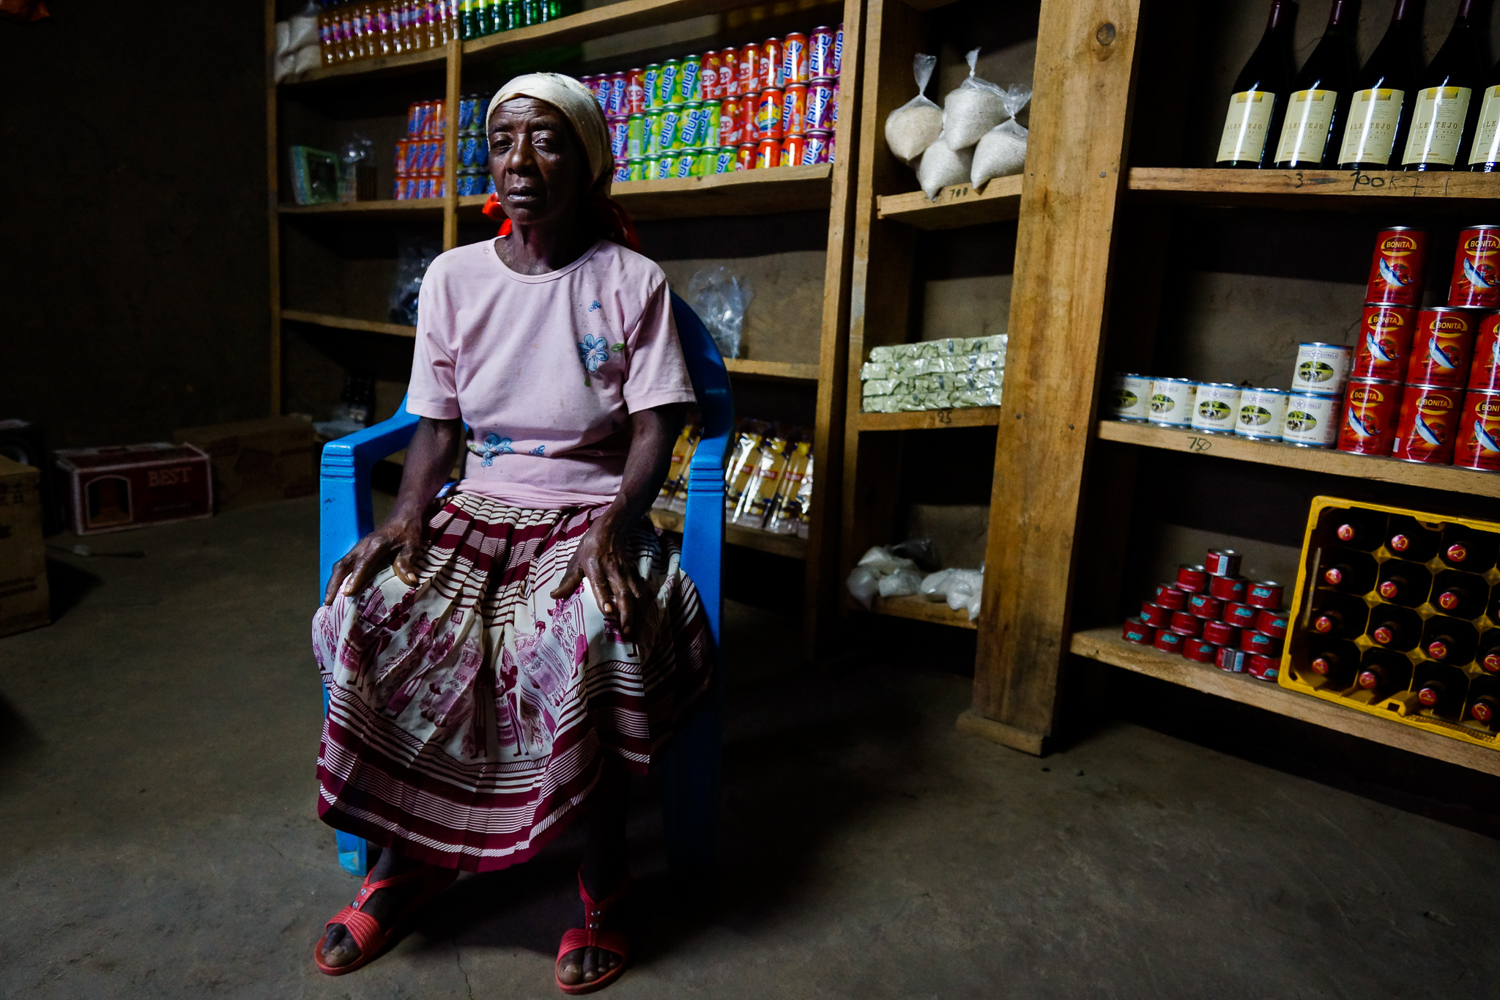
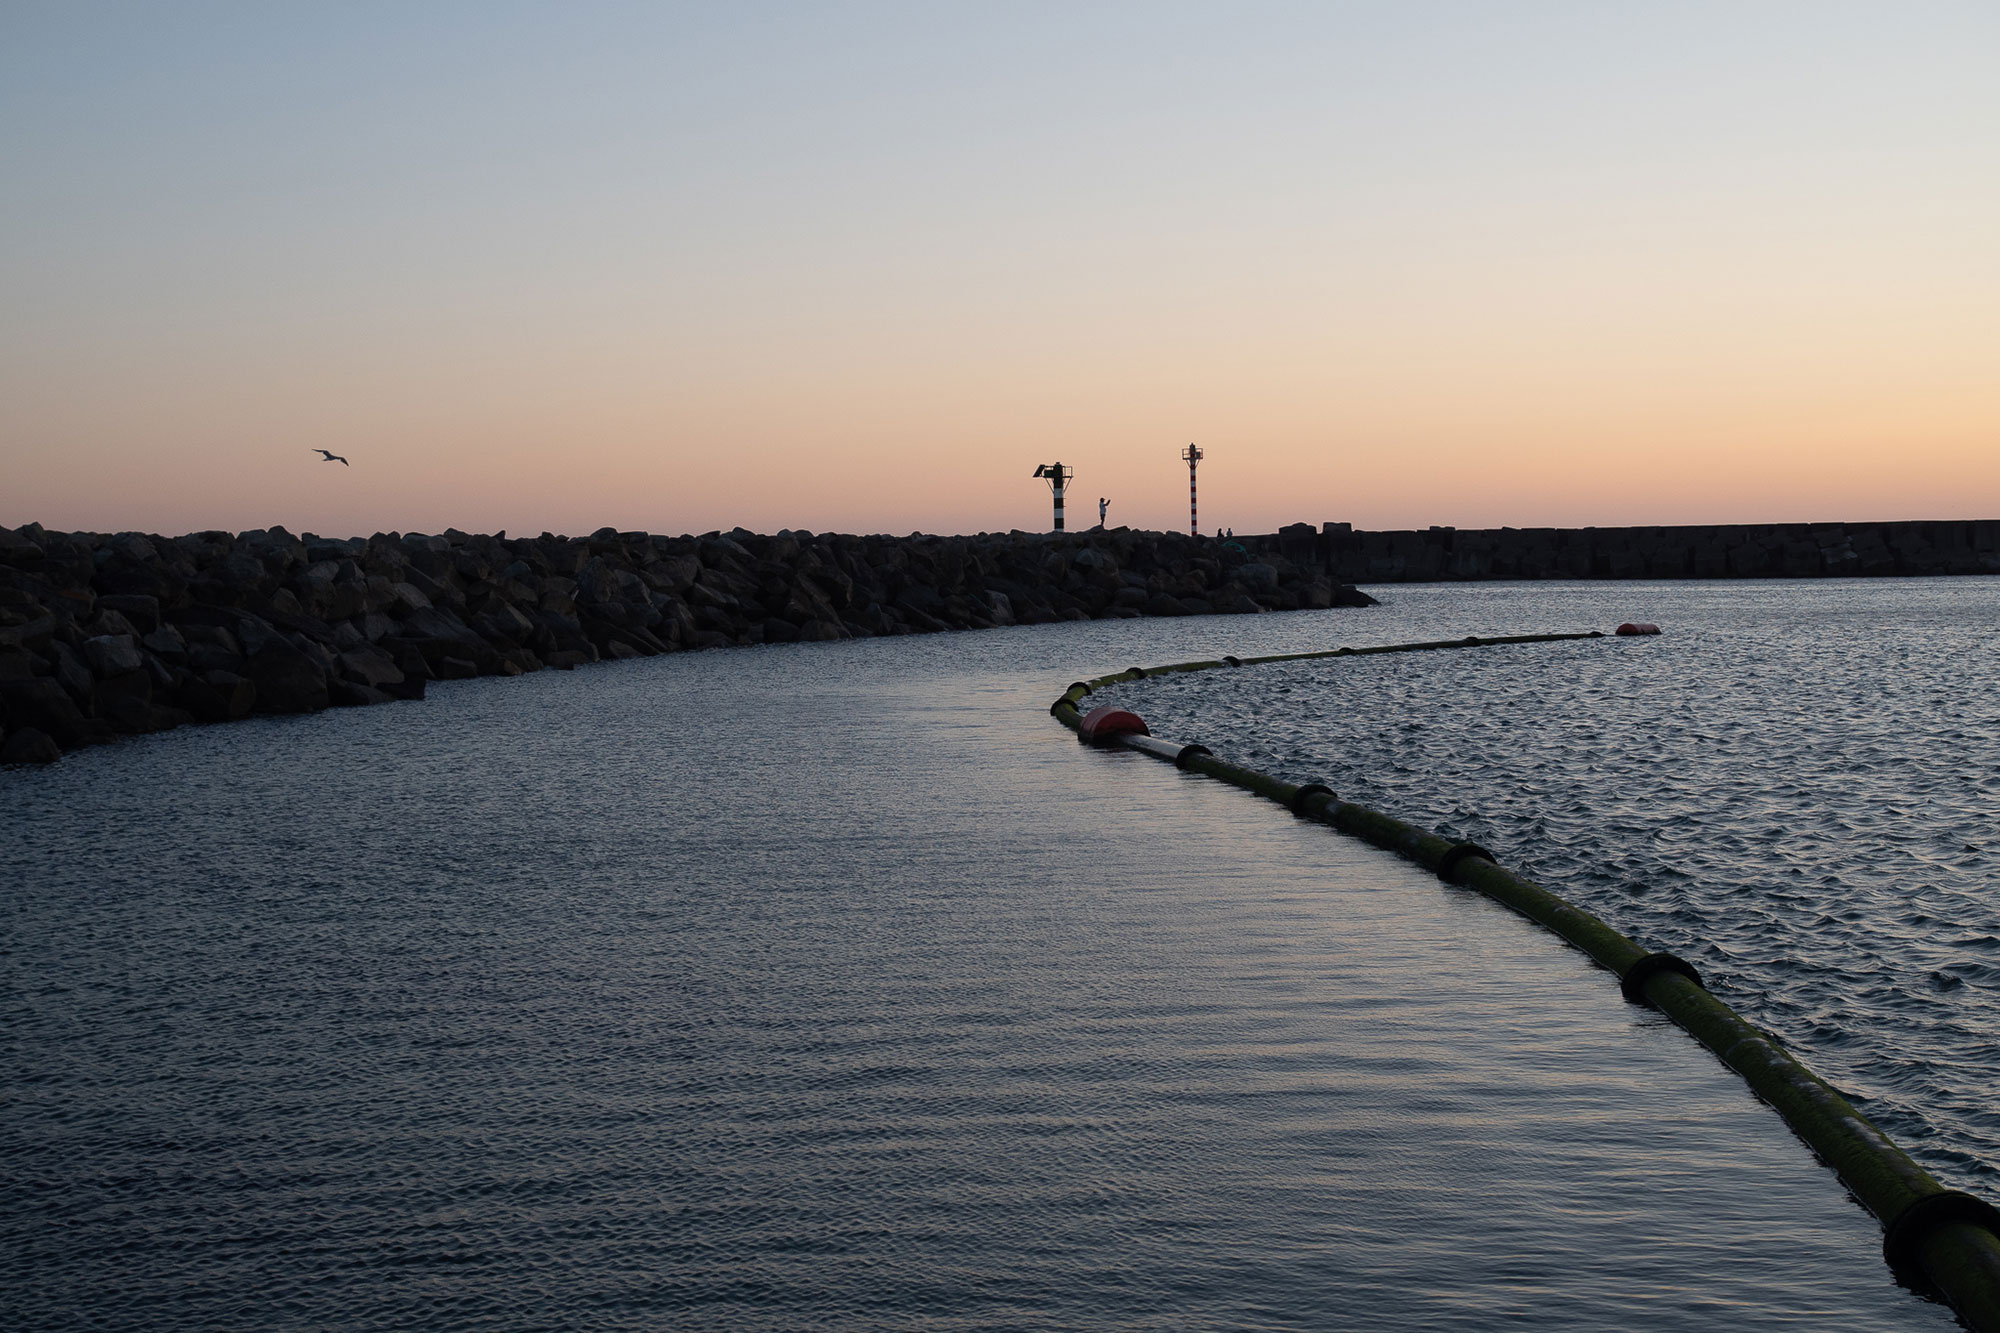
I will now use a set of photographs I’ve taken in Angola and Fátima to analyze the most common available light situations and describe what options we have for working with each of these types of light, whether natural, artificial or mixed:
Sunlight (golden hour): If it’s early morning or late afternoon, there are no reasons for you to worry. Almost all directions are good to photograph, whether the light is gently illuminating our subject or a backlight situation which can be equally interesting.

Direct sunlight: Harsh direct sunlight is the most difficult type of light to work with. The results can vary according to the direction in which you are regarding: (a) The sun; (b) Your subject. But remember, your subjects are not models to be directed. You are the one who must work your way around them in order to make the photo to work.
If you have the sun behind you, facing your subject, you will get a picture with a lot of contrast, well-defined contours but not very flattering. But if you position yourself towards the sun, your subject will be lit from the back. Using spot metering or exposure compensation, you will now expose the photograph for the subject’s face.


Shade: Portraits captured in the shade have low contrast and almost no shadow. Leaving the camera in Auto white-balance, the photo may have some blue cast to be corrected in post-processing.

Overcast sky: One of my preferred conditions to shoot, that may produce some dramatic backgrounds. However, beware of the chance of rain if your camera isn’t weather resistant. If it is, shooting in the rain can be a highly rewarding experience, with unusual results.
Window light: Windows and open doors will produce a strip of unidirectional light. Shooting indoors it’s a great option to use at noon, to avoid the direct sunlight. When the subject is lit by this source and it’s placed against a dark background, it produces a beautiful contrast. If using matrix metering the exposure must be corrected, otherwise the camera will try to lighten the dark background. You can switch to center-weighted or spot metering to expose for the illuminated side of the face.

Artificial light: May result from sources such as fluorescent, tungsten or led lamps. Should be done a careful on-site white balance measurement (preferable) or post-processing correction (possible but avoidable). These types of light can usually be found when shooting indoors, but also outdoors, such as public spaces.
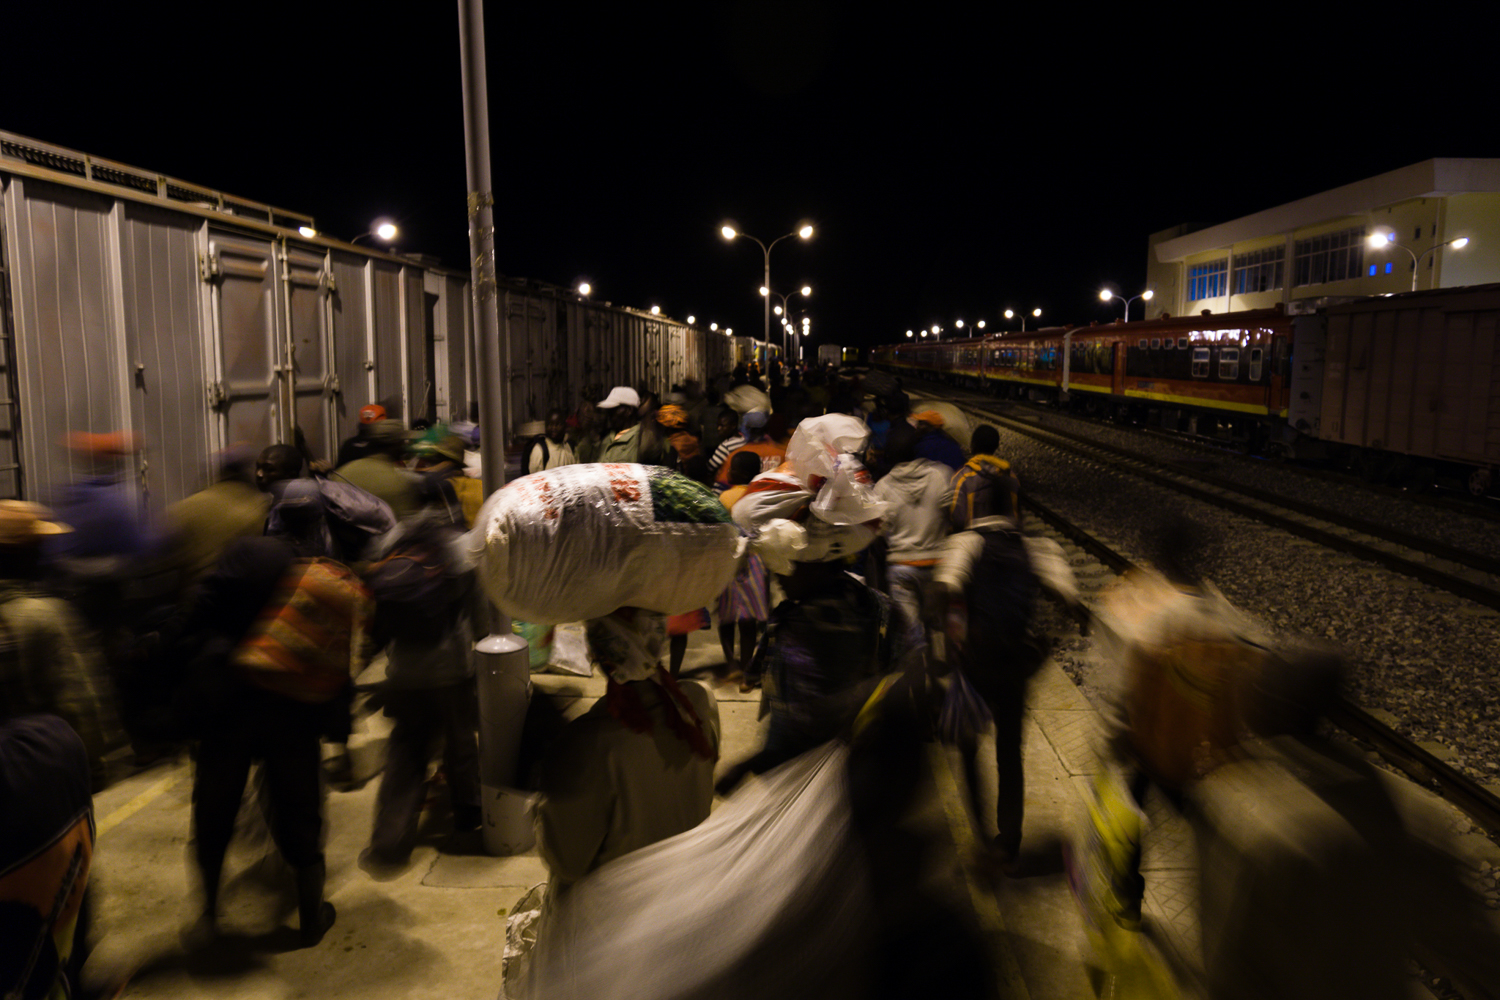
Mixed light sources: Sometimes we have 2 or more of these light sources coming together, which makes the situation difficult as they can vary in their intensity, colour and direction. In this case, it’s necessary to identify the main source of light and to work on it, ie by adjusting the white balance according to it. Secondary light sources will certainly introduce a certain colour cast, usually more located or only in one direction, but it is something we should assume in the photographs made under those conditions.

I hope this article has been helpful in understanding how to make the most of every lighting situation. In Documentary and Street Photography there are not only “golden hours”, we do not seek to enhance the beauty of each situation, but to record it as faithfully as possible. However, by using these little tricks, we can turn any lighting situation, even the most complicated, into perfectly workable circumstances that can produce good results.
The important thing is to start by understanding what the light source do we have, analyzing it and deciding how to approach it.

Co-founder of the Olympus Passion Project.
Travel and documentary photographer from Portugal, using mirrorless cameras since 2012.



Jim France
May 24, 2020 @ 22:48
New premium subscriber. Most of the pictures in this article did not show. Makes the article pretty useless. Using an iMac running macOS Mojave (V. 10.14.6), 3.2 GHz intel core i5, 16 GB of RAM, AMD Radeon R9 M390 2GB graphics card. Why am I having a problem?
olympuspassion
May 25, 2020 @ 10:08
Dear Jim,
Most likely, the issue you’re facing has nothing to do with your computer or hardware, but with the server load at that moment. We try to have a good ratio between the quality and the dimensions of the images, but sometimes, when we have e lot of visitors using the website, the images may take some time to load.
We’ll try to improve this server issue to offer even more pleasure navigation.