Capturing Star Trails Using Live Composite
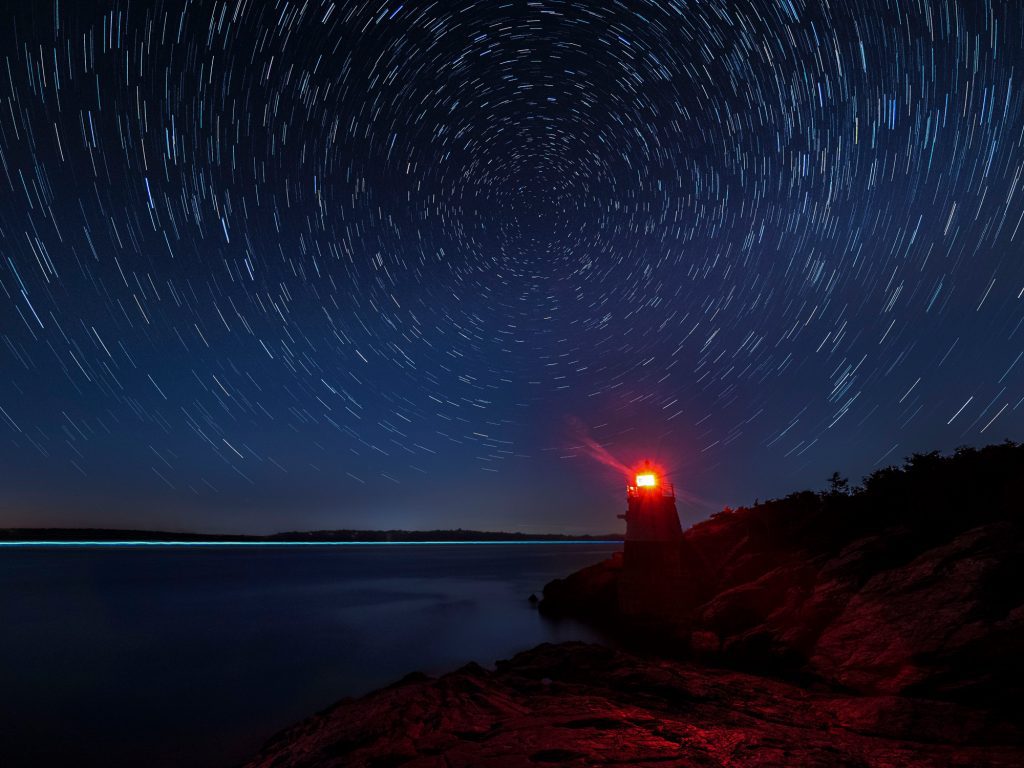
This image was created with the Olympus E- M1X and the 7- 14mm F2.8 lens (FYI, I had my E-M1 Mark II on a Platypod pointed in the other direction to photograph the milky way). The camera was on Bulb (Live Composite) mode (20 sec, f5, ISO 1600). I left the shutter open for 48 frames. The 48 images were blended in-camera (on Lighten blend mode) for a total exposure of 16 minutes.
This is a great use of Live Composite, as the lighthouse would have been overexposed and completely blown out in less than 60 seconds (see next image). Since the first exposure was only 20 seconds and only NEW light is added, the lighthouse does not get over-exposed and only new light (from the earth turning giving us star trails) are captured.
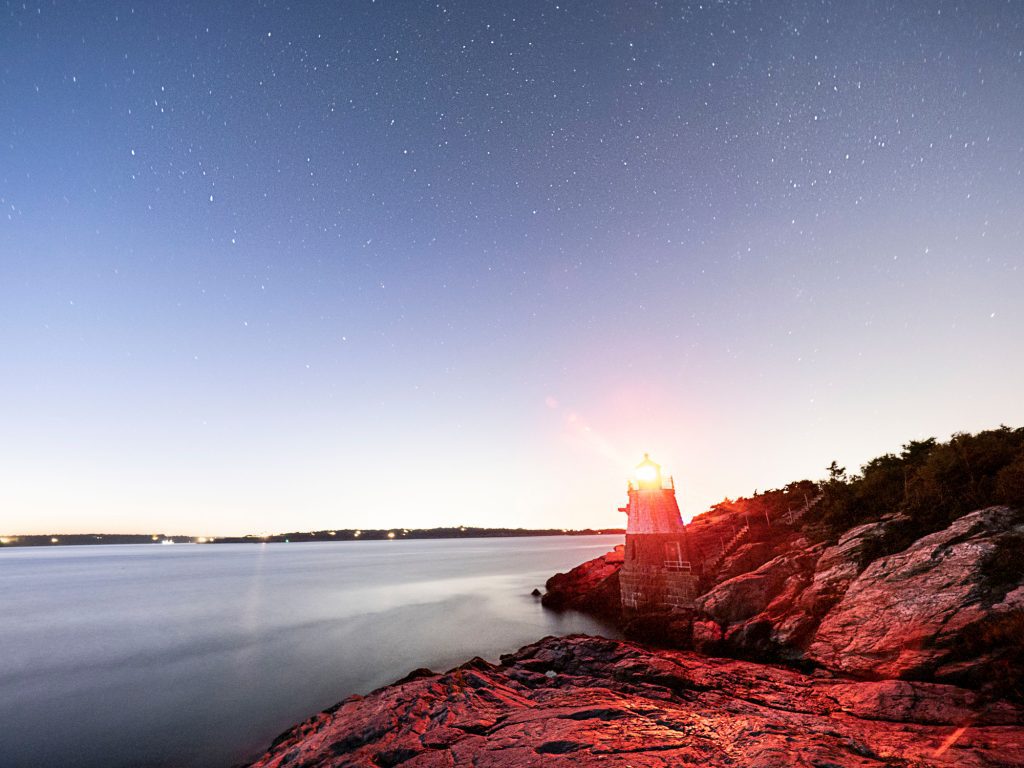
Compare the 16-minute exposure created using Live Composite (48 20-second frames) to the image on the left which (90-second exposure without Live Composite). The Live Composite image is ONE image — to achieve that without Live Composite one would have to take 48 images and then layer them in Photoshop (or similar software). It is soooo nice to come home and have the images ready without needing to edit them using all those layers.
1) Set your camera to M on most cameras (B on the EM1X). FYI, almost all Olympus cameras have the Live Composite feature (even the Tough cameras). We mainly use the EM1 Mark II and EM1X cameras.
2) Set your exposure to Live Composite (go past 60 seconds to get there)
a) Tip: Focusing and composition can be easier using Live Time
b) Tip: Turn Live View Boost On

3) Typically for star trails, we set the ISO at 800 or 1600
4) Use a sturdy tripod and a cable release. If you have a cable release use it, if not then use a 2-second delay.
a) A sturdy tripod is needed for long exposures/star trials. Even though we use our tripod much less overall than we did with our previous DSLR cameras, and we use typically use a lighter Travel MeFoto when we do use a tripod, we still prefer our heavy-duty Gitzo for night photography to stabilize the exposures from wind, etc.
5) Typically for star trails, the aperture is wide open (2.8 or larger/faster)
a) We especially love the Olympus 12-40mm and 7-14mm lenses for night photography. The 8mm is fun too.
b) TIP: Invest in lenses with low light capabilities (f2.8 and faster). Wider maximum aperture lenses will allow more light in and allow you to shoot at lower ISO and thus have less noise. Prime lenses can really excel at night (constant f2 .8 1.8 or1.4)., “The 8mm f/1.8 and the 17mm f/1.2 lenses are excellent choices for night photography, but if this is out of your price range, try the ‘nifty fifty’ 25mm f/1.8. It will make a huge difference in your night photographs as the difference between f3.5 and f1.8. is HUGE.
6) Take your base exposure by pressing Menu and selecting 0.5 to 60 seconds (the camera will show you minus number or plus numbers if it thinks that you have chosen a time too short or too long).

a) This base exposure amount depends upon how much or little ambient light exists in your scene. A dark area in the Western USA will be very different than a lighthouse, village, street, etc.
b) The base exposure for a dark scene with little to no ambient light could be 10-60 seconds (we often choose 15-30), but this could be less time (0.5 to 15 seconds) if there are lights in your scene.
c) The exposure bar shows the difference between the exposure produced by the selected settings and the optimal exposure metered by the camera.
7) Press your shutter and the camera LCD will display “Press shutter button once to prepare for composite shooting”.
8) The camera will then display “Press shutter to begin composite shooting”
a) Look at the first exposure when it refreshes onto the LCD, if you have a lit subject (lighthouse, streetlights, shoreline, village, etc. in your scene then assess the image now after the first refresh;
b) If it is too dark, stop the exposure and increase the time by pressing menu to display the composite settings. Or If it is too bright, stop the exposure and decrease the time by pressing menu to display the composite settings. If it is still too bright you may also have to decrease your ISO or increase your aperture (stop down more).
c) Tip: decrease your LCD brightness (GEAR E2; Set Bulb/Time monitor to -5 or -6)

d) Tip: use the histogram to assess image brightness. Remember your eyes have night vision (your pupils are dilated to let in extra light) and the bright LCD can fool you. The histogram will be accurate so assess it after every night image.
9) The exposure will refresh often (the exact time is based on the base exposure that you chose 0.5 to 60 seconds).

10) Watch on the LCD screen on the back of the camera and press the shutter release to stop the exposure when you’re happy with the image.
a) When you press the shutter to stop the exposure it will perform a noise reduction equivalent to the amount of time in your base exposure (0.5 to 60 seconds).
To take Circular Star Trails:
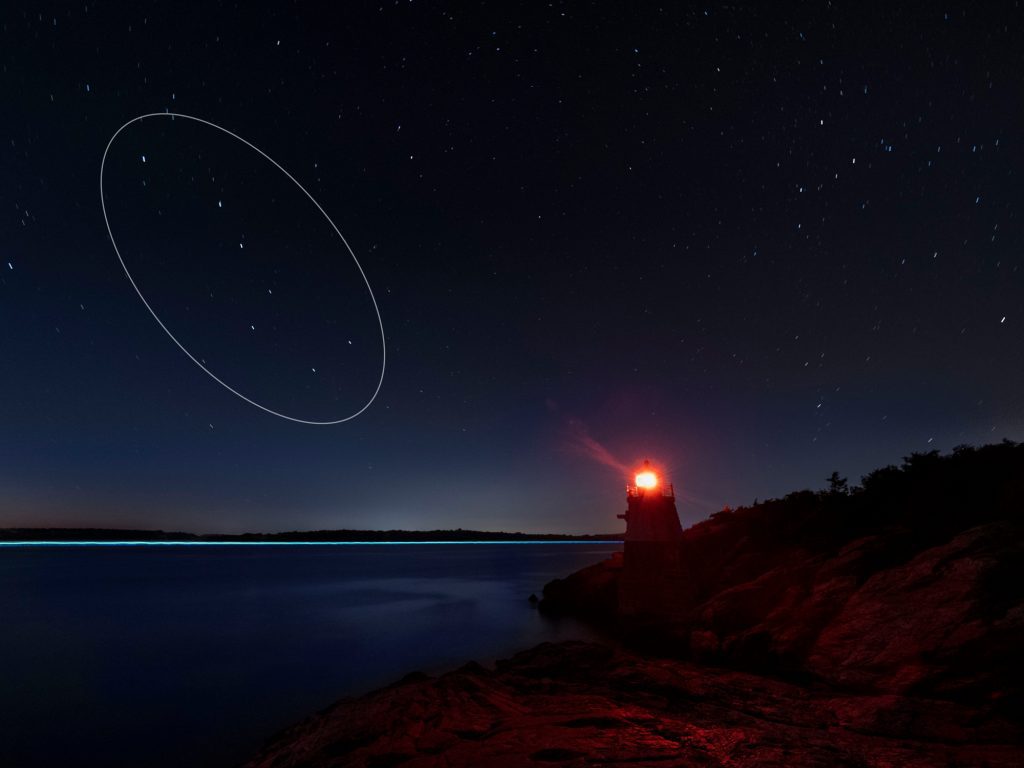
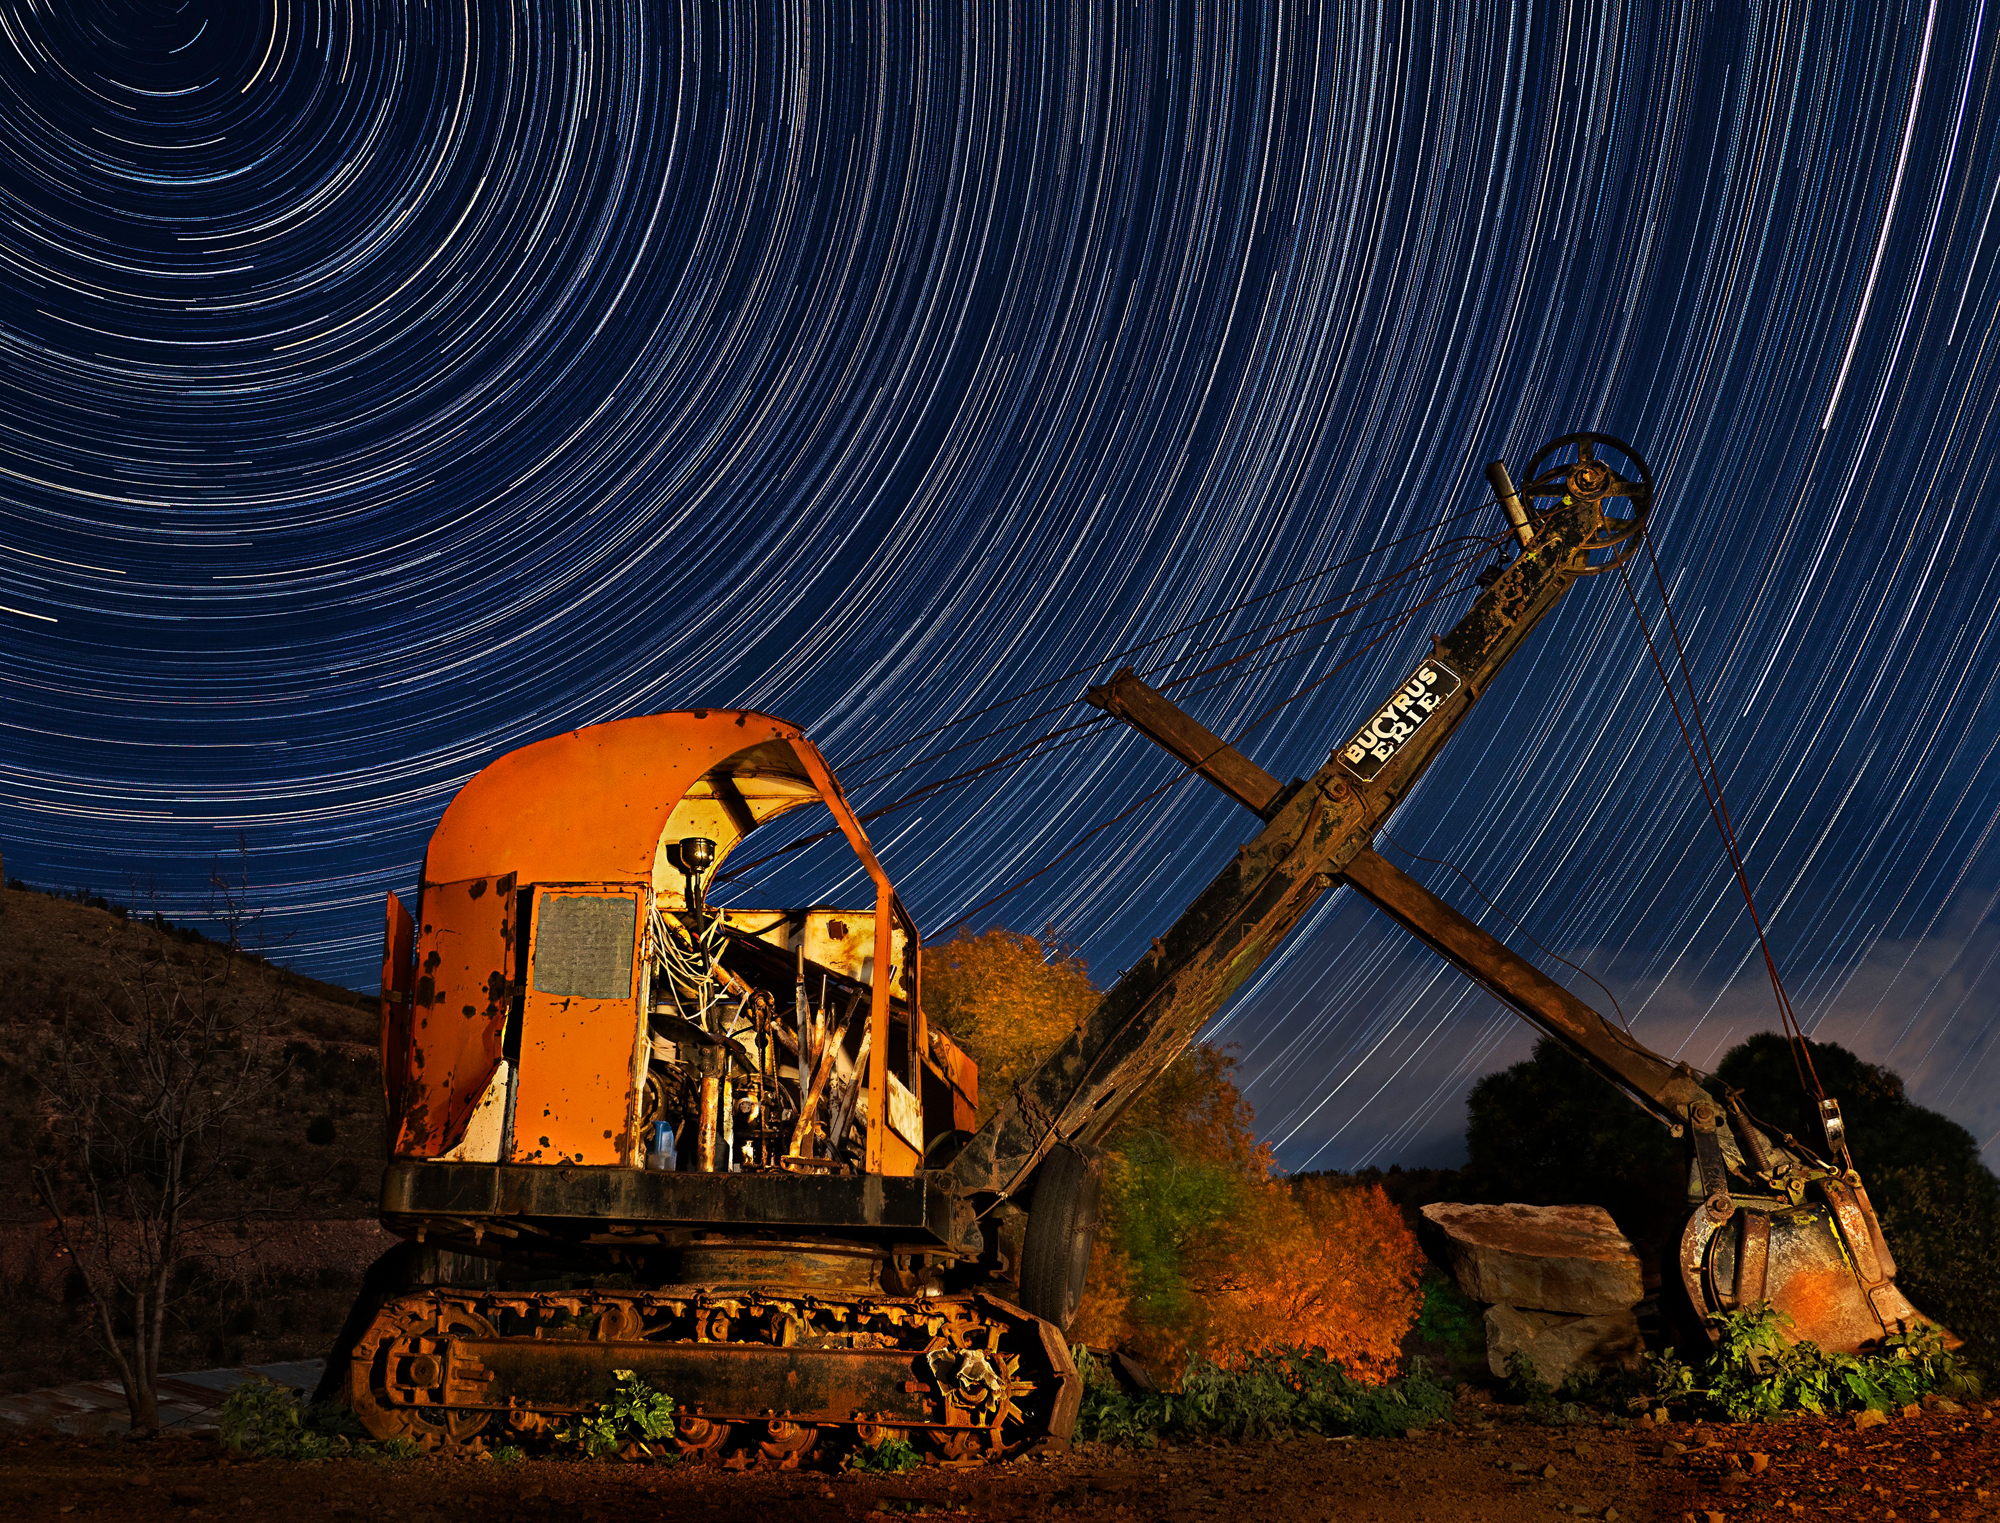
Find the Big Dipper and that will point you to the North Star. Follow the cup to the North Star for composing circular star trails. Note that the cup of the Big Dipper faces in different directions in different seasons.
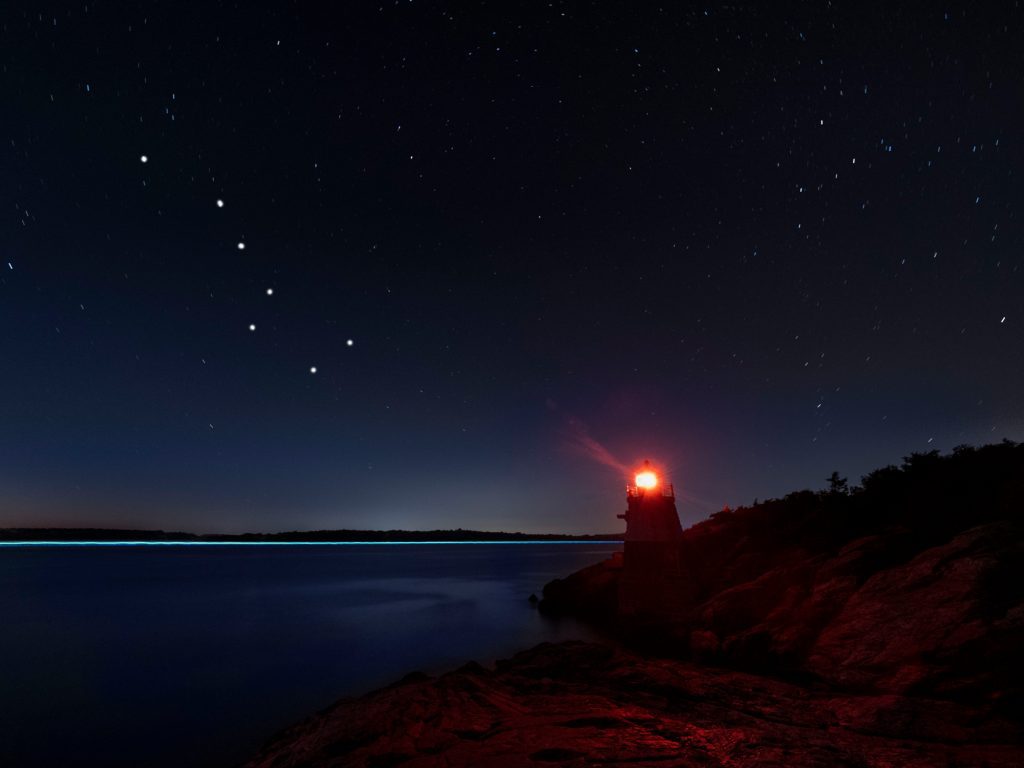
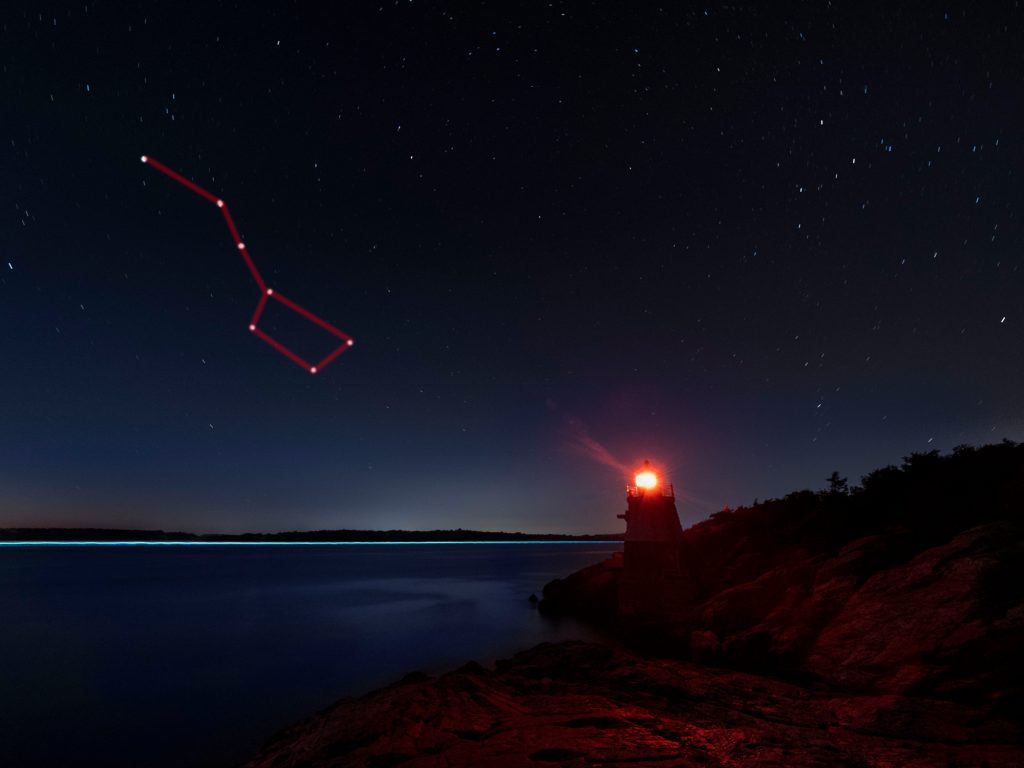
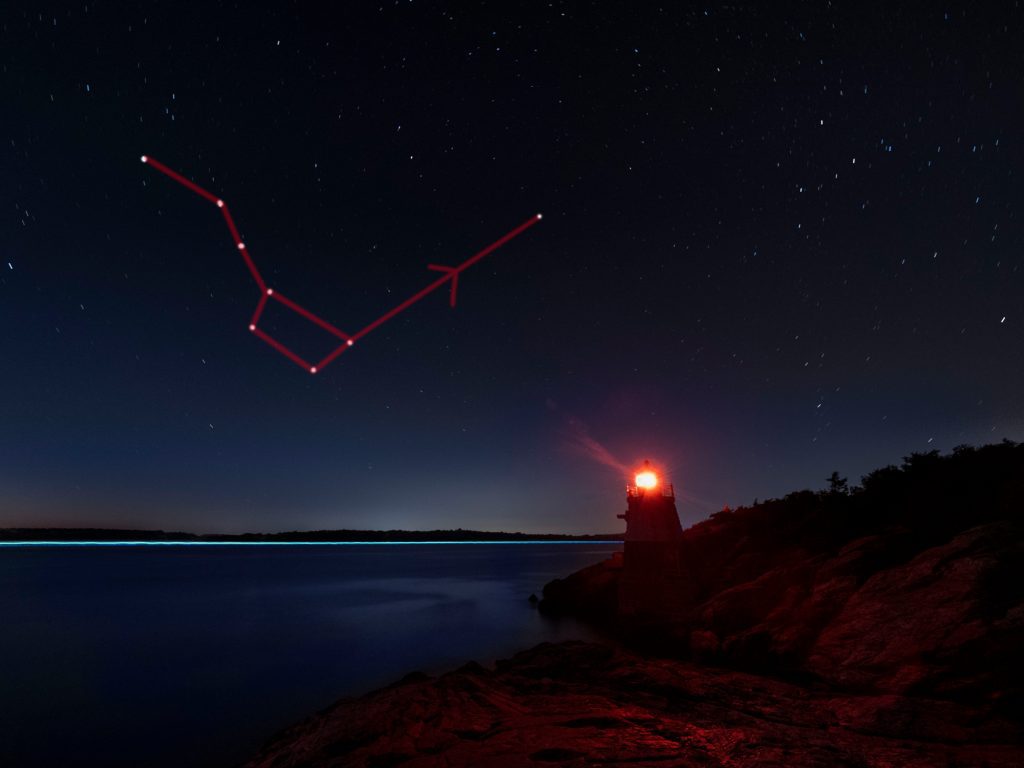
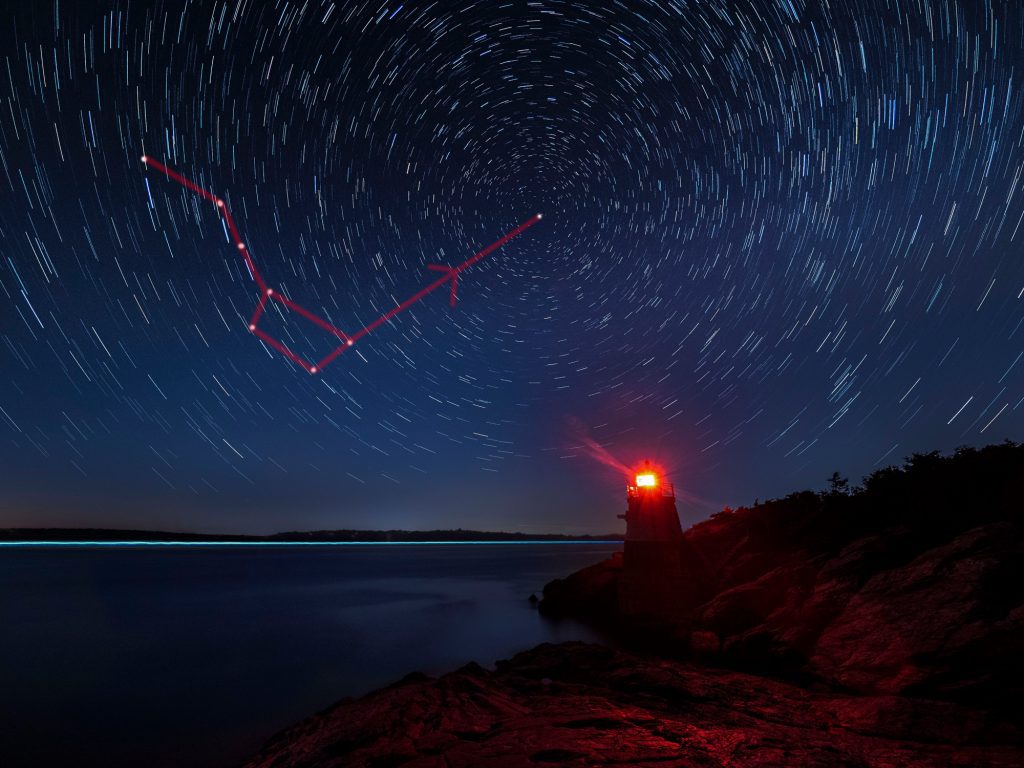
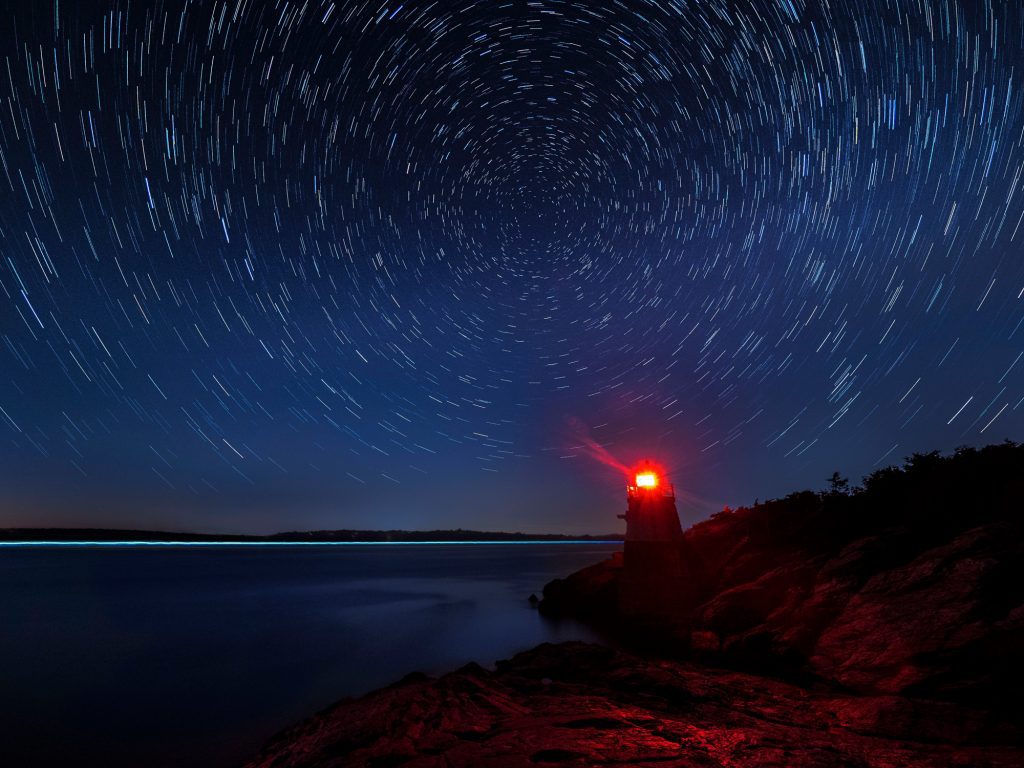
Samples:
Olympus Educators Lisa Cuchara, PhD, Master Craftsman (PPA), Master of Photography (PPA), HonNEC and Tom Cuchara, MNEC, are passionate about photography, both behind the lens and in the digital darkroom. Lisa and Tom are known throughout the Greater New England Area for their expertise in and creativity with Photography, and in Photoshop — and for their inspirational and informative photo tours, classes, and workshops. They both have created numerous award-winning photographic images and enjoy sharing their vision, passion and knowledge with other people. They have published two books with Amherst Media: “Create Fine Art Photographs from Historic Places and Rusty Things” is about their HDR and light painted images (http://tinyurl.com/lisatom-urbex) and “The Frog Whisperer” http://tinyurl.com/lisatom-frogs is about macro photography. You can view their photo galleries at www.PhotographyByLisaAndTom.com Join their email list to find out about photography, photo classes, photo tours and workshops, photo ops, etc. at http://tinyurl.com/cuchara-photolist and follow them on Instagram at lisaandtomphotos.






Jan Steinman
April 20, 2020 @ 16:06
Fun! Thanks for the great tips!
Here is one I did, trying to capture a meteor shower. I managed to get ONE meteor.
My pet peeve is there is nothing in the EXIF data to indicate Live Composite has been used. It would be nice if there were more information about the actual exposure in the EXIF data.
This was with an OM-System Zuiko 21mm ƒ/2.0, on a Metabones Speedbooster Ultra, for an effective 15mm ƒ/1.4.
https://uploads.disquscdn.com/images/604dfa74d26f9da8d7df43ce848f352e831771993705e8c21f9377983ad76900.jpg
Lisa
May 19, 2020 @ 01:43
It is in the exif data
Just not obvious
Download the Olympus Workspace
See the number of frames
Of your base exposure is ten seconds
The exif Data shows shutter speed as ten seconds
If you took 200 frames
Then 10x 200 = 2000 seconds total exposure or 33 minutes
Message me via Facebook or email me and I can send you a screen shot