Hybrid photography: a marriage of film and digital formats
How it all started
My name is Gino Vairo, I live in Melbourne, Australia. I was born in a small village in the Campania region of Italy and migrated to Australia with my parents when I was a year old. I am a cell and molecular biologist and I work for Australia’s largest pharmaceutical company where I head up the team responsible for the Project Management of the company’s research project portfolio.
My interest in photography started as a 15 year old when during my first return visit to Italy my aunt bought me a Canon FTb 35mm SLR film camera for my 15th birthday. This sparked a passion for photography that has never left me, although it did lay dormant for a few years once Dianne and I started our family. There was little time for other interests with young children and a demanding career. I watched from the sidelines as the age of digital photography overthrew the traditional film medium.
Why Olympus?
About 6 years ago I decided to rekindle my photography passion and get myself a quality digital camera. After reading many reviews, I decided to buy an Olympus OMD E-M1 mirrorless camera. This came bundled with the 12-40mm f2.8 Pro lens. I was drawn to the Oly for a number of reasons that I felt made it stand out against the competition as a choice for an enthusiast who wanted a workhorse all-round camera that could be used for mixed genres of photography. This camera offered the combination of build quality, innovation and a vast lens/accessory ecosystem and all at a reasonable price.
Studio photography
It didn’t take long for the old photography passion to awaken. I decided to do an adult education course to learn about digital photography and post processing and it was there I met a photography educator, Terry Murphy, with whom I clicked. Terry also ran his own photography school and studio close to where I lived. I joined his “Kommune” and met other like-minded photographers. We shot mostly in the studio with subjects including performance artists, fashion, fire twirlers, art-nude and general portraiture.
It opened my eyes to a side of photography I had not experienced previously and I loved it. Of the dozen or so “students” all were shooting full frame DSLRs except for me. I didn’t feel intimidated, far from it, we often laughed when we were shooting dancers and acrobats and I would fire off a round of shots at 10 fps and the little Oly would push the professional studio flashes to their limits.
The others were lucky to get 4-5 fps with their expensive professional full frame DSLRs and called me a show off! I was always pleased to be able to choose the perfect RAW image from an action sequence. One of the highlights was an exhibition we held of our collective work. My images were enlarged and professionally printed to A2 size and to me, looked as good as any of the others shot with the full frame DSLRs.

Discovering landscape and long exposure photography
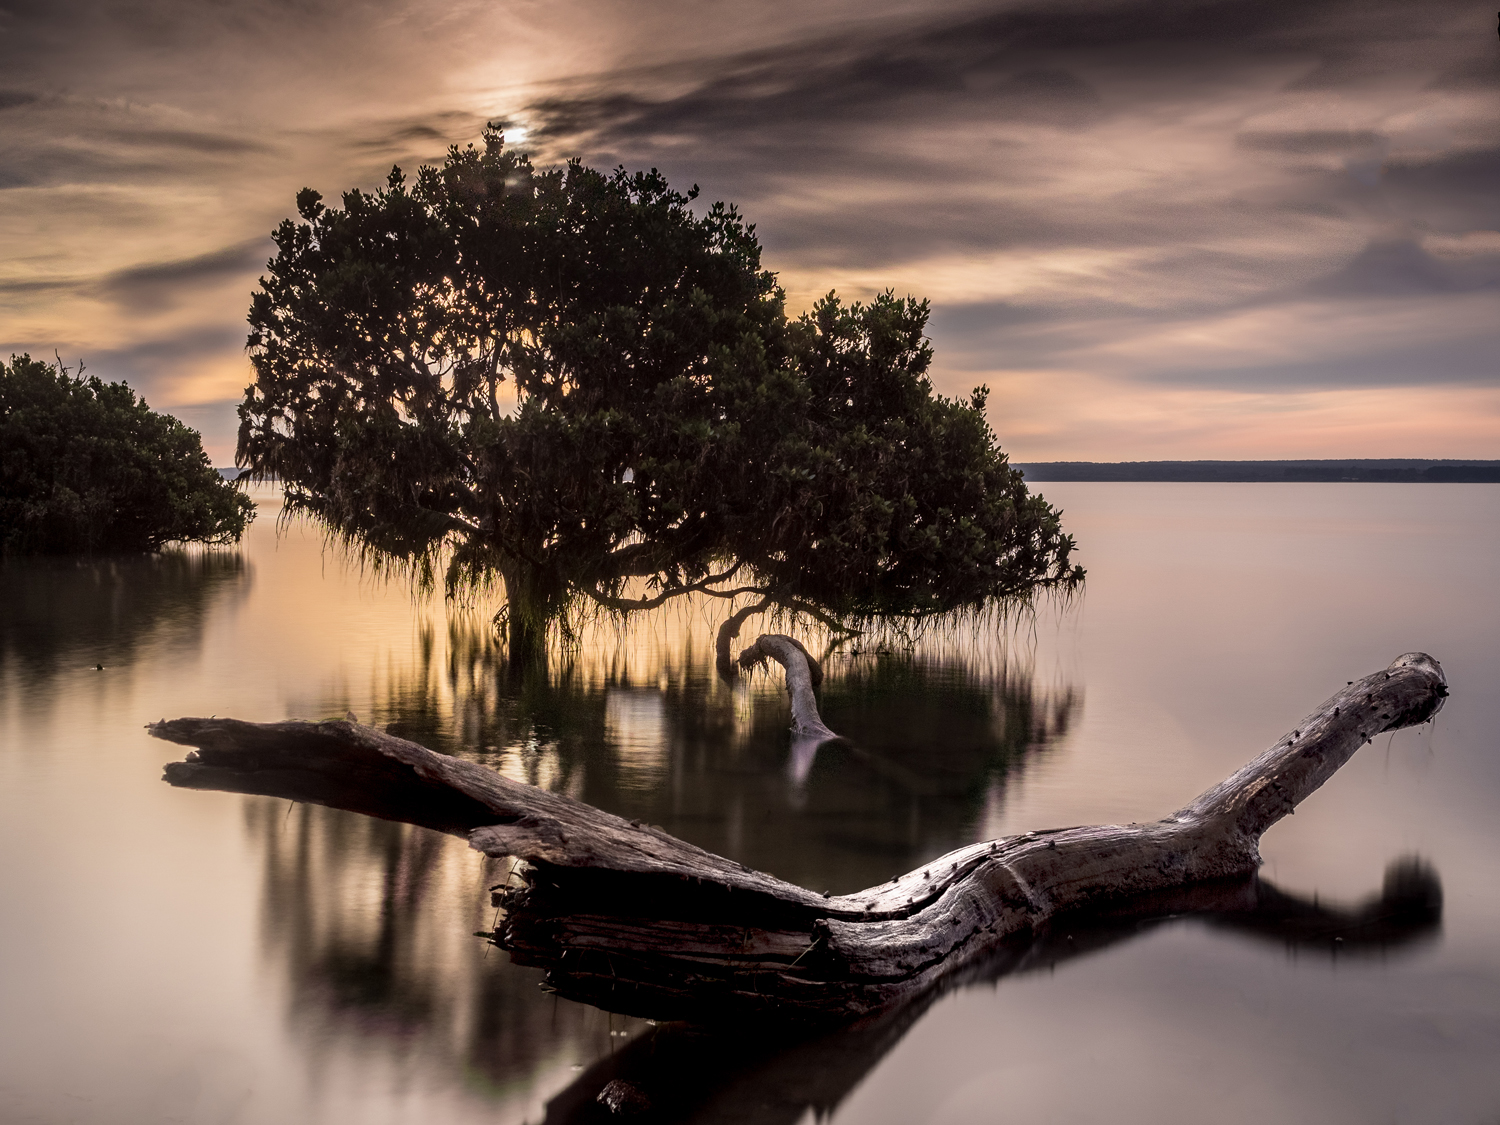
As much as I enjoyed the studio shoots, I really love shooting landscapes and I soon discovered long exposure photography. There is a certain calmness to a long exposure with the blurriness of the water or clouds contrasting the sharply-focused fixed focal point such as a monolithic rock. Throw in a colourful sunset or sunrise and the result can be truly beautiful and satisfying.
When the OMD E-M1 mark II came out at the end of 2016 I decided to upgrade. There were a number of improvements that were the deciding factor for me. The increase in sensor resolution from 16 to 20 MP, the improved autofocus capabilities, dual card slots with a UHS-II slot for faster write speeds (great for high burst rate RAW shooting) and the introduction of the HiRes and PRO capture modes.
With the new mark II, I also expanded my range of Pro lenses. For landscape photography I needed a wider angle lens and the 7-14mm f2.8 Pro is truly a wonderful landscape lens. However, the bulbous front element of this lens and lack of filter thread poses a problem for landscape photography since filters are an essential tool for this genre. I solved this issue by buying Phil Norton’s wonderful 100mm filter adapter and moved to NiSi 100mm filters.
I participated in several landscape photography workshops which took my landscape photography to the next level. These intensive multiday workshops, away from distractions of work, were instrumental in pushing me to further develop my digital photography and post processing skills and allowed me to translate theory in to practice.
Travel photography
One of the “perks” of my job is that I get to travel frequently to our R&D sites around the world. I am a frequent visitor to Germany, Switzerland and the US East Coast. When I manage some private time, usually weekends, I break out my Oly and go exploring. The Olympus MFT system is perfect for the travel photographer. I can pack my “holy trinity” of M.Zuiko pro lenses, now including the 40-150 mm f2.8 pro (with 1.4x teleconverter) as well as my NiSi filters in my backpack, which I bring on the plane as carry on luggage. The fact that I can comfortably carry all this gear, is a huge benefit of the MFT system.
My adventures with Film
As a teenager I was an avid reader of photography magazines and books. If there was a single camera that I drooled over and fantasized about owning, it was the legendary Hasselblad V-system medium format film camera. It seems every famous photographer from the 60s to the 80s used this camera for their studio work. However, it was the surreal images of the Apollo astronauts holding this camera on the moon that really inspired me and had me marveling at how robust this camera must be to withstand the assaults of space travel and produce those wonderful iconic images.
Interestingly, there remains on the moon a dozen Hasselblad cameras left behind by the astronauts as part of the weight savings needed to launch the lunar modules (if you are interested I recommend the brilliant National Geographic documentary “Earthrise, The Photo that Changed the World” available on youtube).
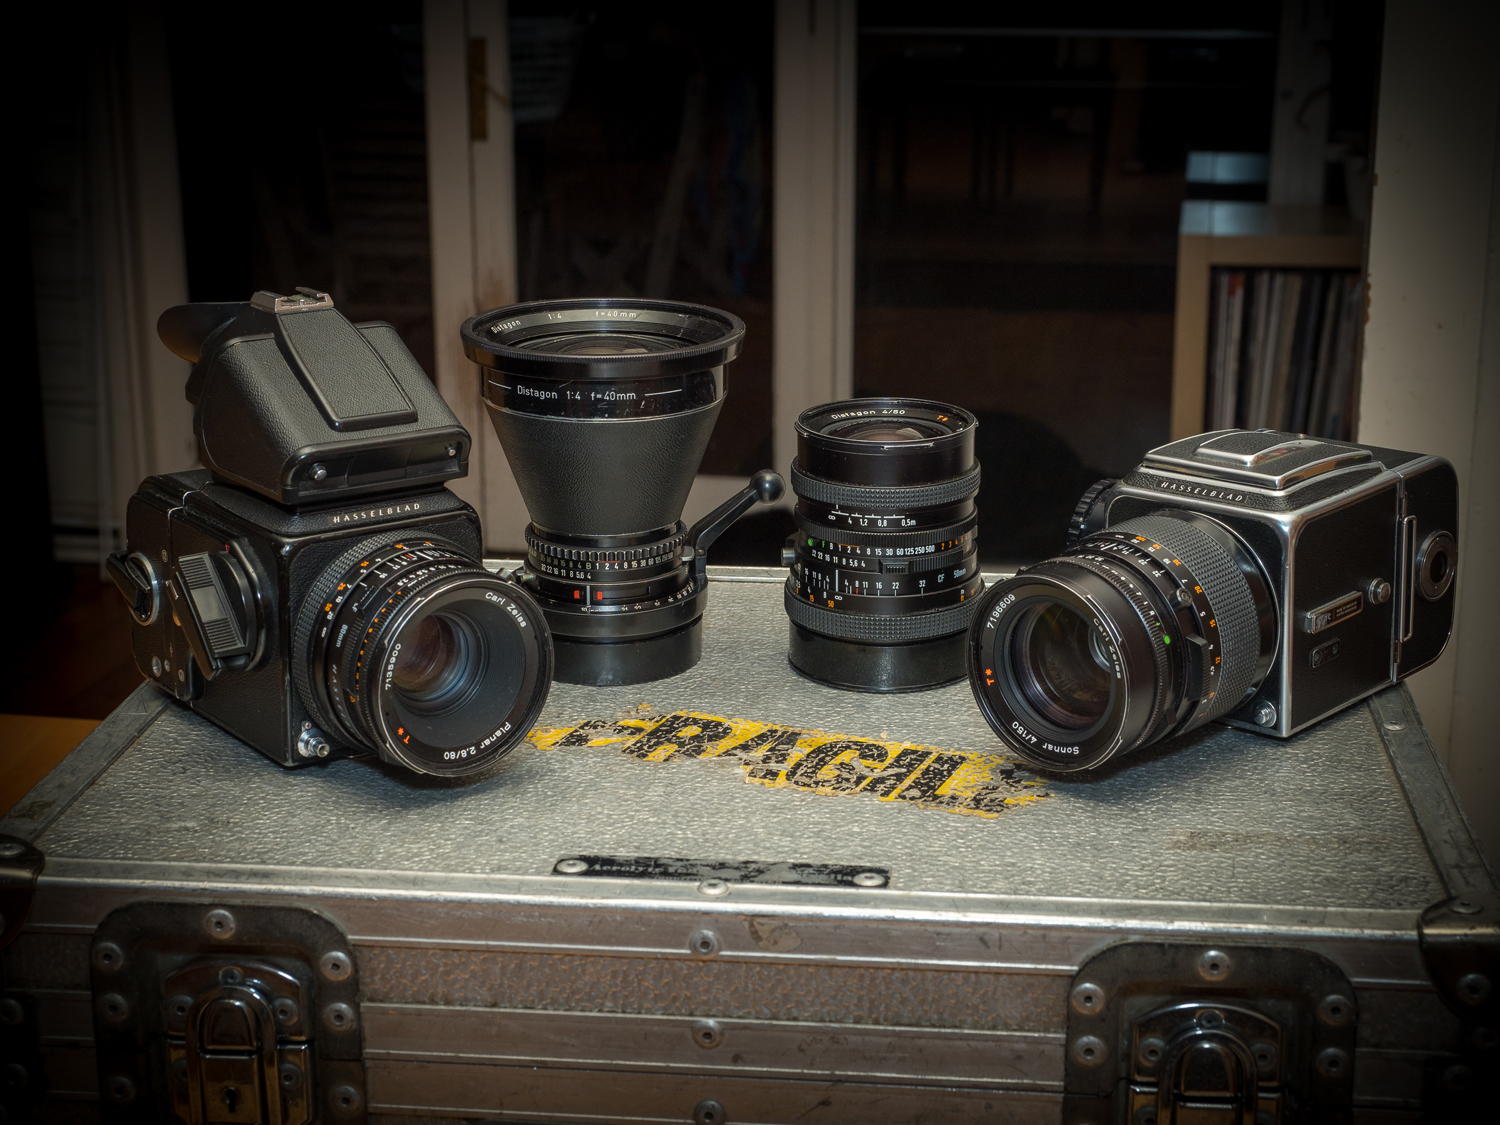
I had been toying with getting back in to film photography for a couple of years. Late last year I saw advertised a Hasselblad system that belonged to a retired professional photographer. It had been sitting in the cupboard unused for a decade. The asking price for 2 bodies, 4 lenses, a prism finder, 2 film backs and some other accessories in the original aluminium flight case, was less than what I paid for my Oly E-M1 mark II body alone. He lived close by and on a whim I called up and asked to have a look. One thing led to another and now I am the proud owner of two Hasselblad 500 bodies with Carl Zeiss 40mm, 50mm, 80mm and 150 mm lenses.
After some CLA maintenance these are all now in perfect working order. With no built in meter, a waist level hood that reverses the image, a much larger heavier camera and lenses with a limit of 12 exposures per roll of 120 film, taking photos with the Hasselblad is a vastly different experience to the relative simplicity of the Olympus. With the digital camera, I can shoot almost unlimited images and review the results on the spot and adjust any parameter and reshoot as needed until I am satisfied.
Moreover, the expense to buy film and then have it developed makes the cost of each image not insignificant. Nevertheless, shooting with the Hasselblad is a revelation. It forces me to stop and think about the image and exposure and what I want to achieve. No shooting random shots here. I was hooked the moment I saw the results from my first roll of black and white film with the incredible sharpness and detail. The lovely and familiar grain and distinctive analogue look of the silver image remained, even though it had been scanned.
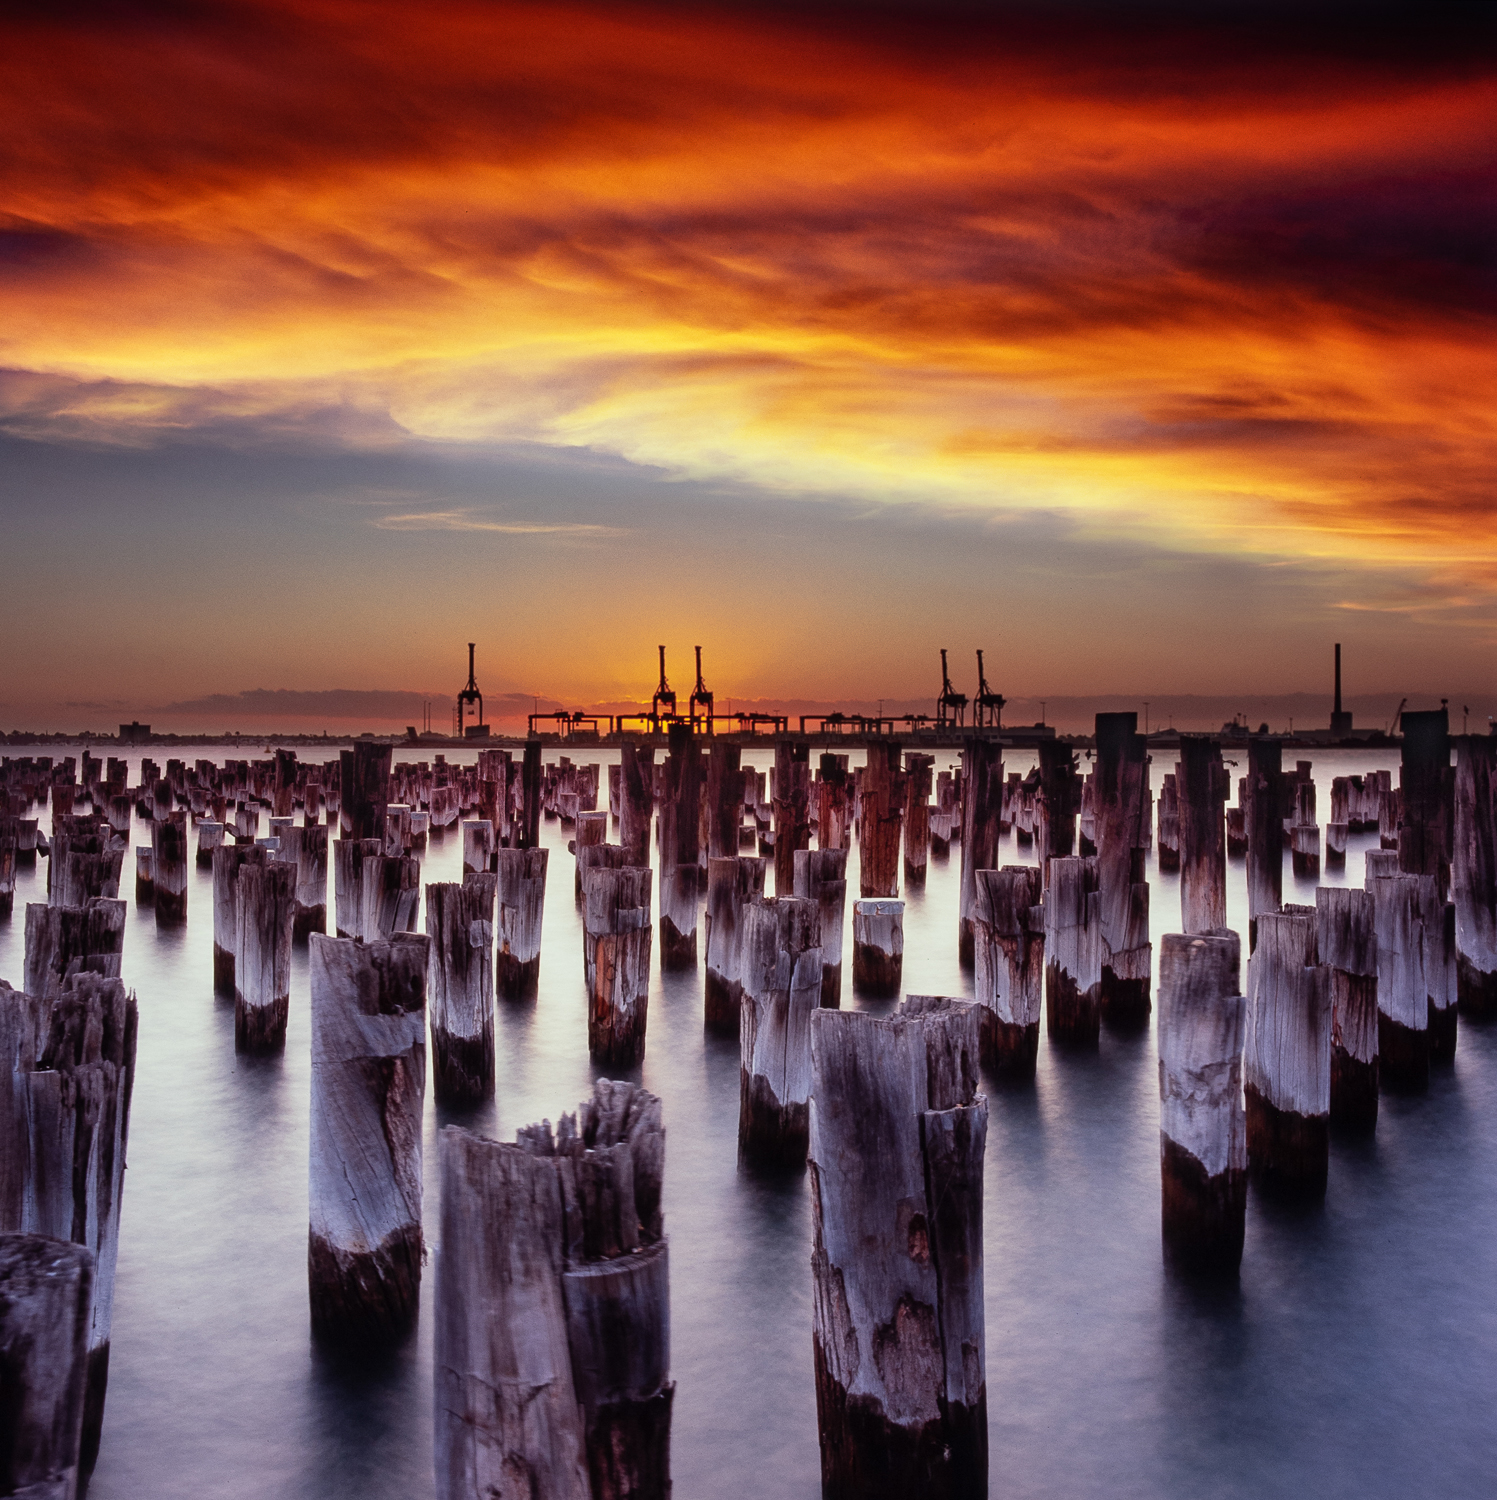
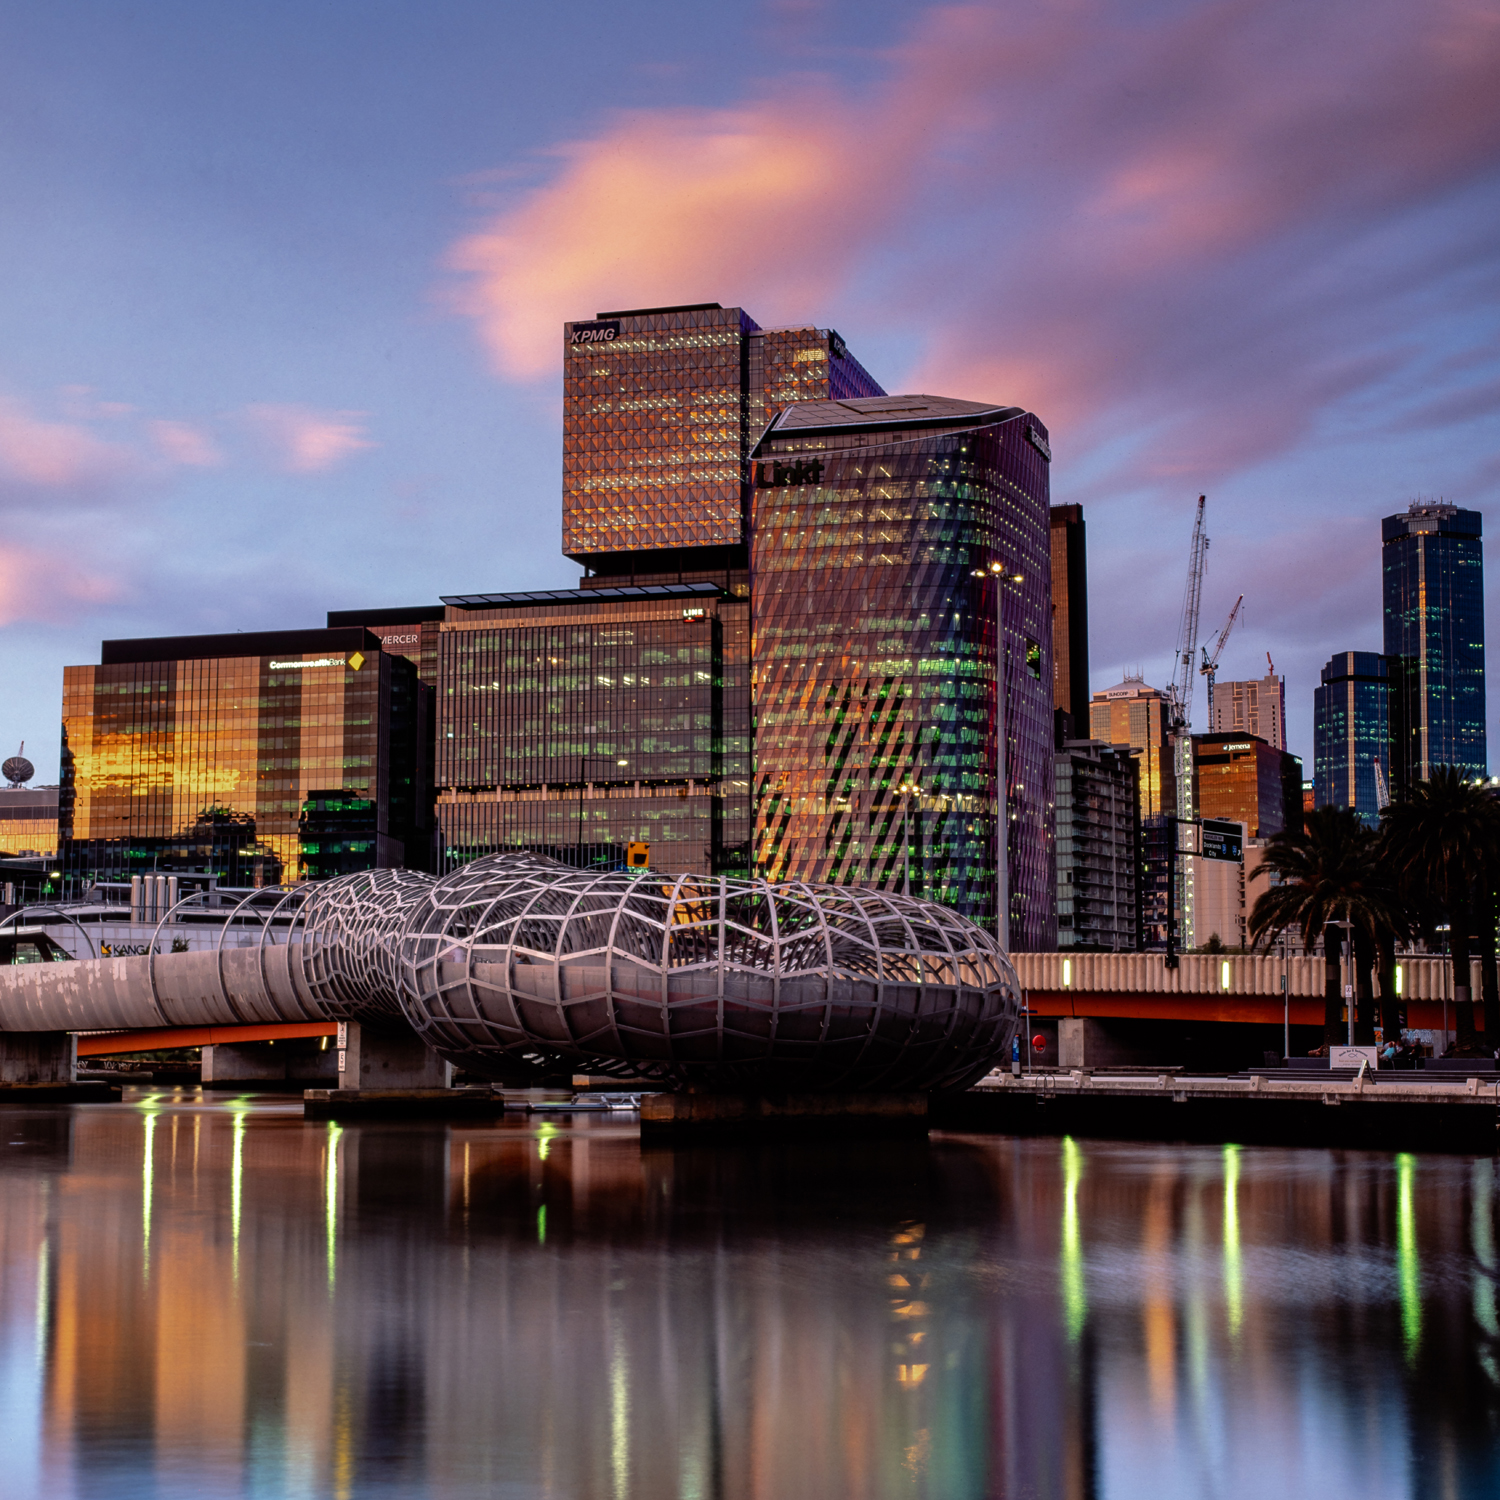
For my first roll of colour slide film I went back to the popular photography spot at Princes Pier in Melbourne, a location I have visited several times with my Oly. It was last summer, during a heat wave. The previous night had produced a spectacularly colourful sunset so I thought I should get out and shoot some Fujichrome Velvia 100 film. I set up my 500C/M with 50mm Zeiss wide angle lens on my tripod, attached a cable release and my filters. I took incident light readings with my hand held light meter (adjusted for the ND filter and using the box speed ISO value of 100), plugged the calculated shutter speed in to my Reciprocity Timer app on my smartphone.
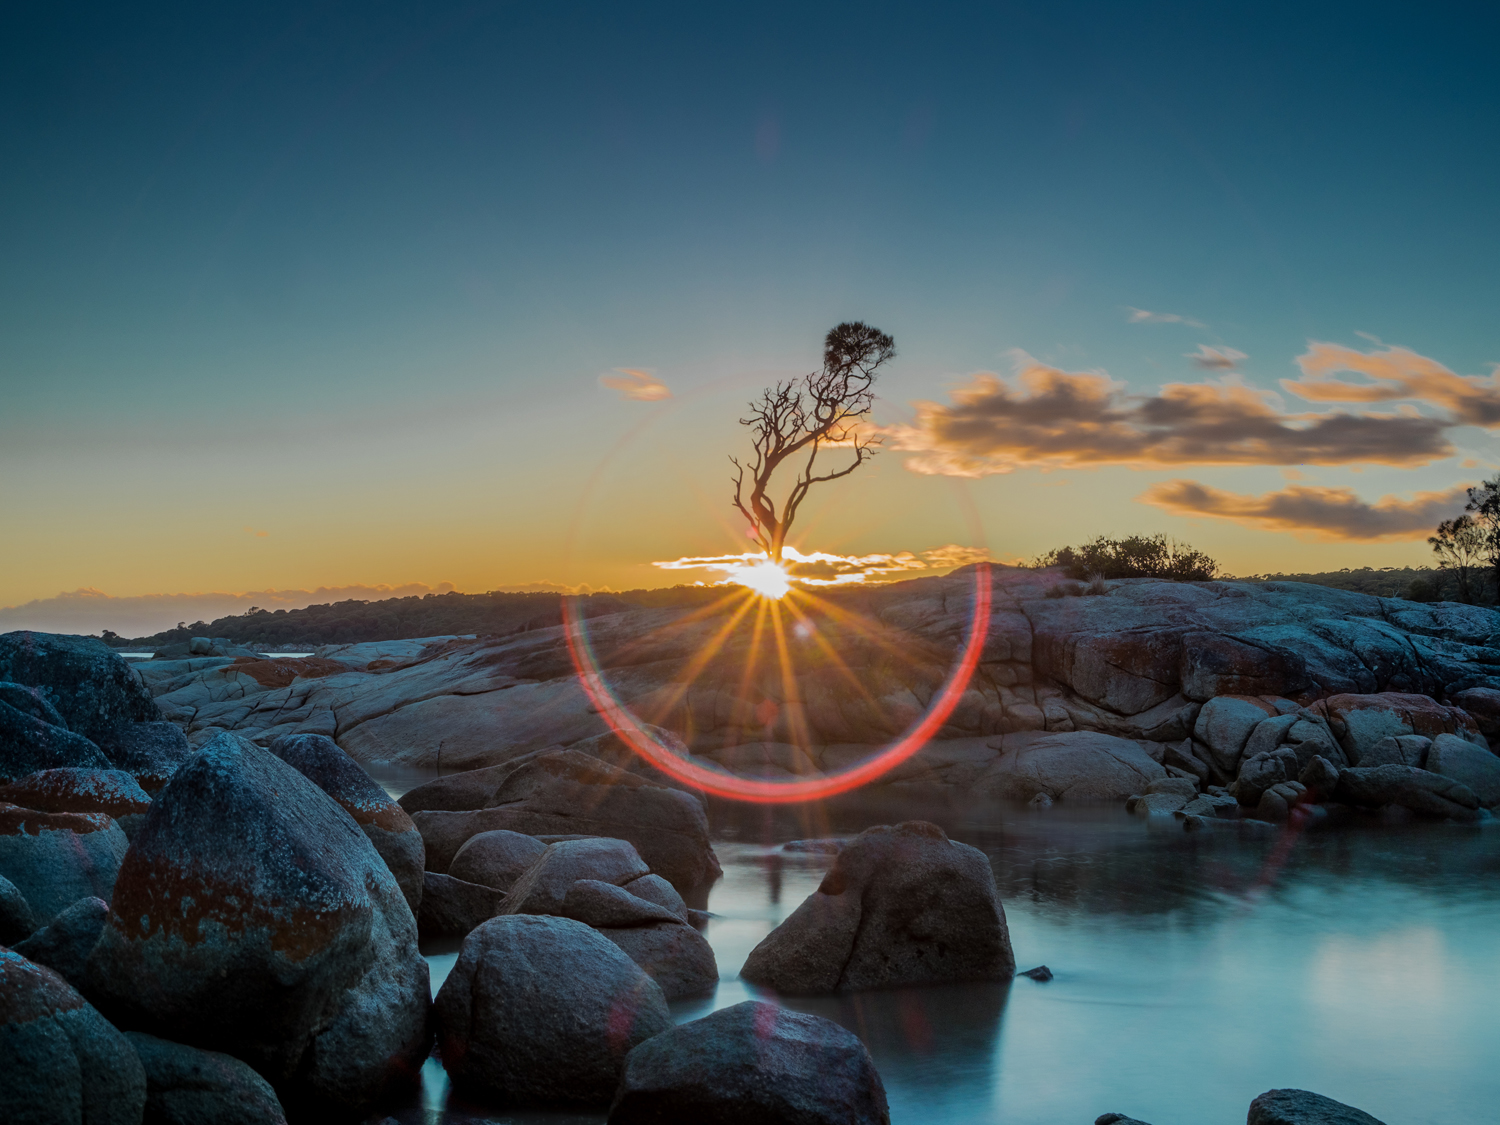
This app takes account of the reciprocity failure inherent in film since at exposures longer than a second, film loses sensitivity to light and requires exposure adjustments to compensate. The sunset didn’t disappoint. The image accompanying this article is in fact a composite of three of the bracketed exposures I took. One for the amazing coloured clouds (f22, 8 sec., no filter), one for the horizon with the sun rays shooting out from the horizon (f8, 1/30 sec. 4 stop medium grad) and the other a 16 sec exposure (f11, 6 stop ND) for the smooth water effect.
This hybrid analogue-digital image for me was like no other I have been able to produce using my digital camera. The colour richness, texture and organic quality translated from the film, even though it was digitally processed.
Travelling with my Hasselblad V-system camera
I took the Hasselblad with me on a trip to the USA earlier this year. I managed to fit a 500C/M body, 3 film backs and the 50mm, 80mm and 150 mm lenses in my camera backpack. I use a Peak Design 30L everyday backpack which is easily customizable and can carry quite a lot of gear. I also managed to fit the Oly OMD E-M1 mark II as well. However, I could only bring one Olympus lens with me on that trip so I invested in a used 12-100mm f4 Pro lens which I had my eye on as a travel lens for some time. I don’t regret this purchase.
This is a great and versatile travel lens with a full frame equivalent range of 24 -200 mm. Also, the built in optical stabilization which cooperates with the body to extend the stabilization to 6.5 stops makes up for the 1 stop slower aperture than my other Pro lenses. I have managed to take usable, sharp images with 5 sec hand held exposures with this lens. It is as sharp as my workhorse 12-40mm f2.8 Pro and not much bigger. Nevertheless, it was certainly harder work than usual wandering around the streets of New York city with such a full load of gear.
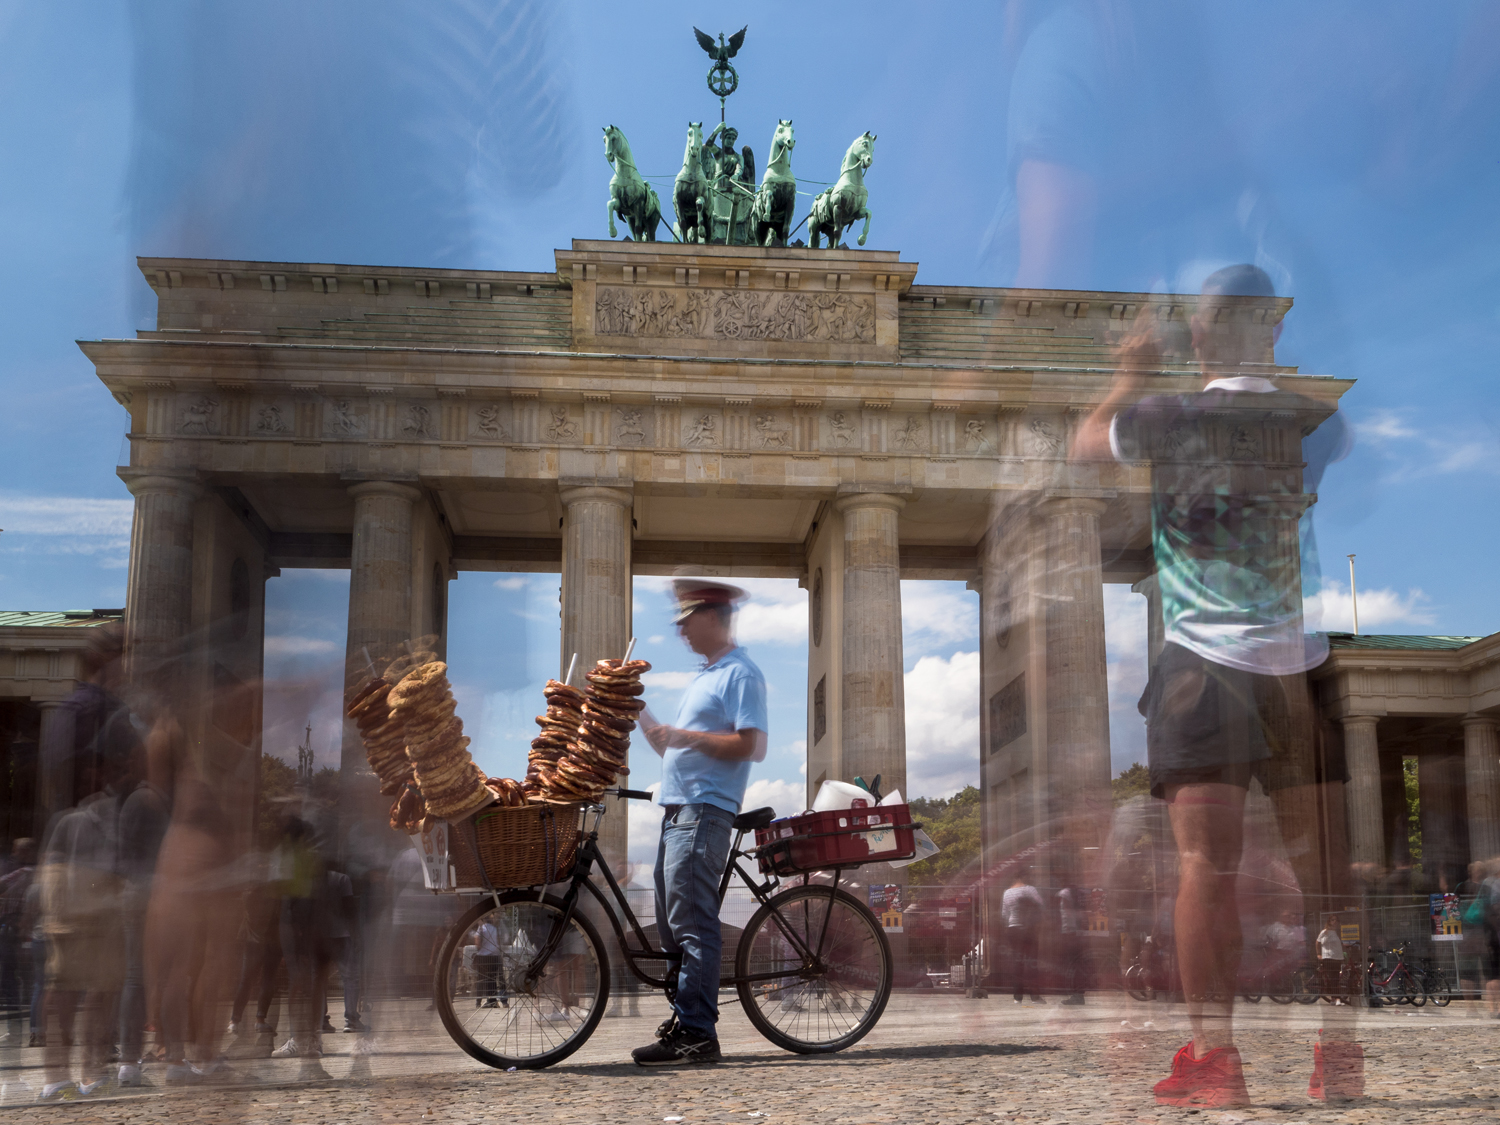
Having both cameras allowed me to directly compare images of the same subject. You can see long exposure images of Grand Central Terminal in New York city taken with both cameras. I love this spot and the long exposures produce ghostly images of commuters as they pass through the concourse. I took similar photos with both my Hasselblad 500C/M using Fujicolor Pro 400H color negative film and the Olympus OMD E-M1 mark II digital cameras. I have cropped the digital photo to produce a square image comparable to the medium format Hasselblad.
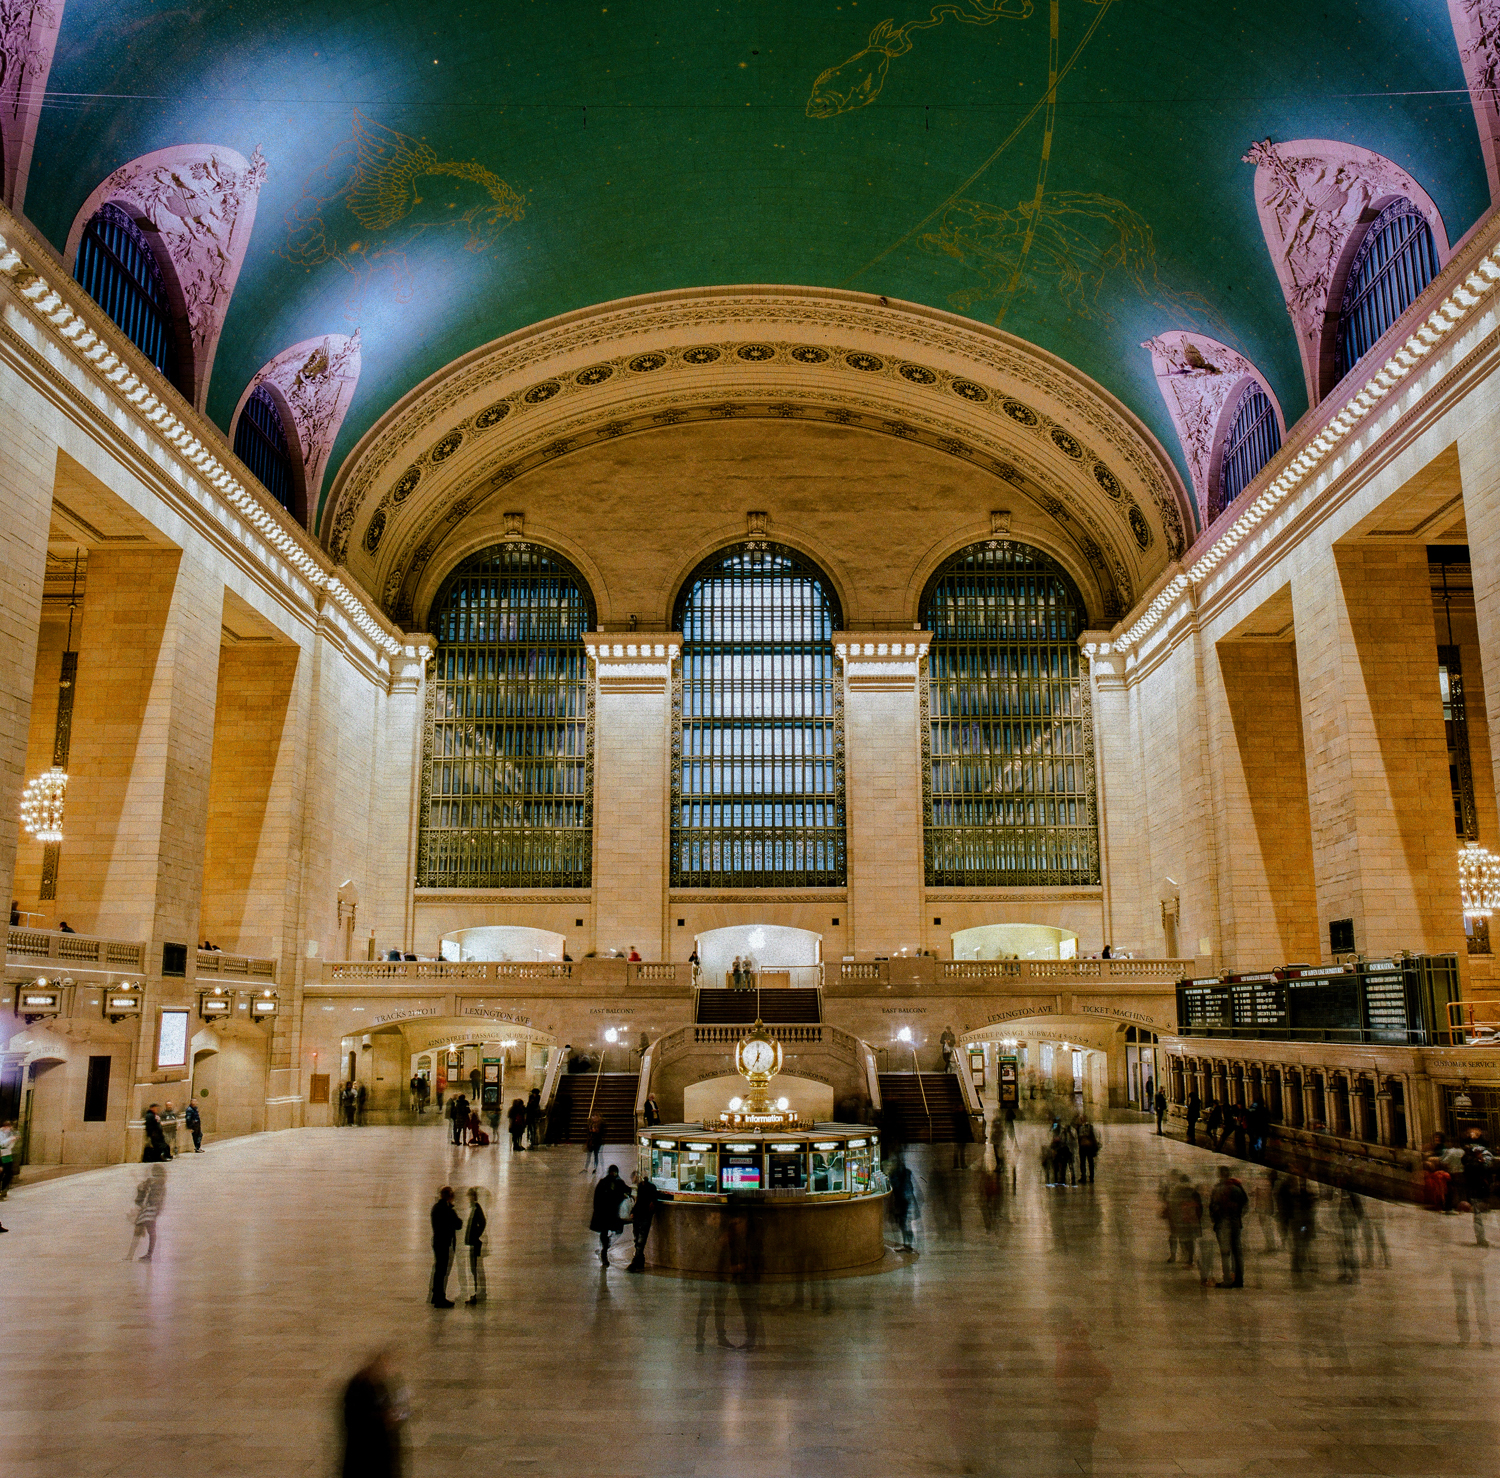
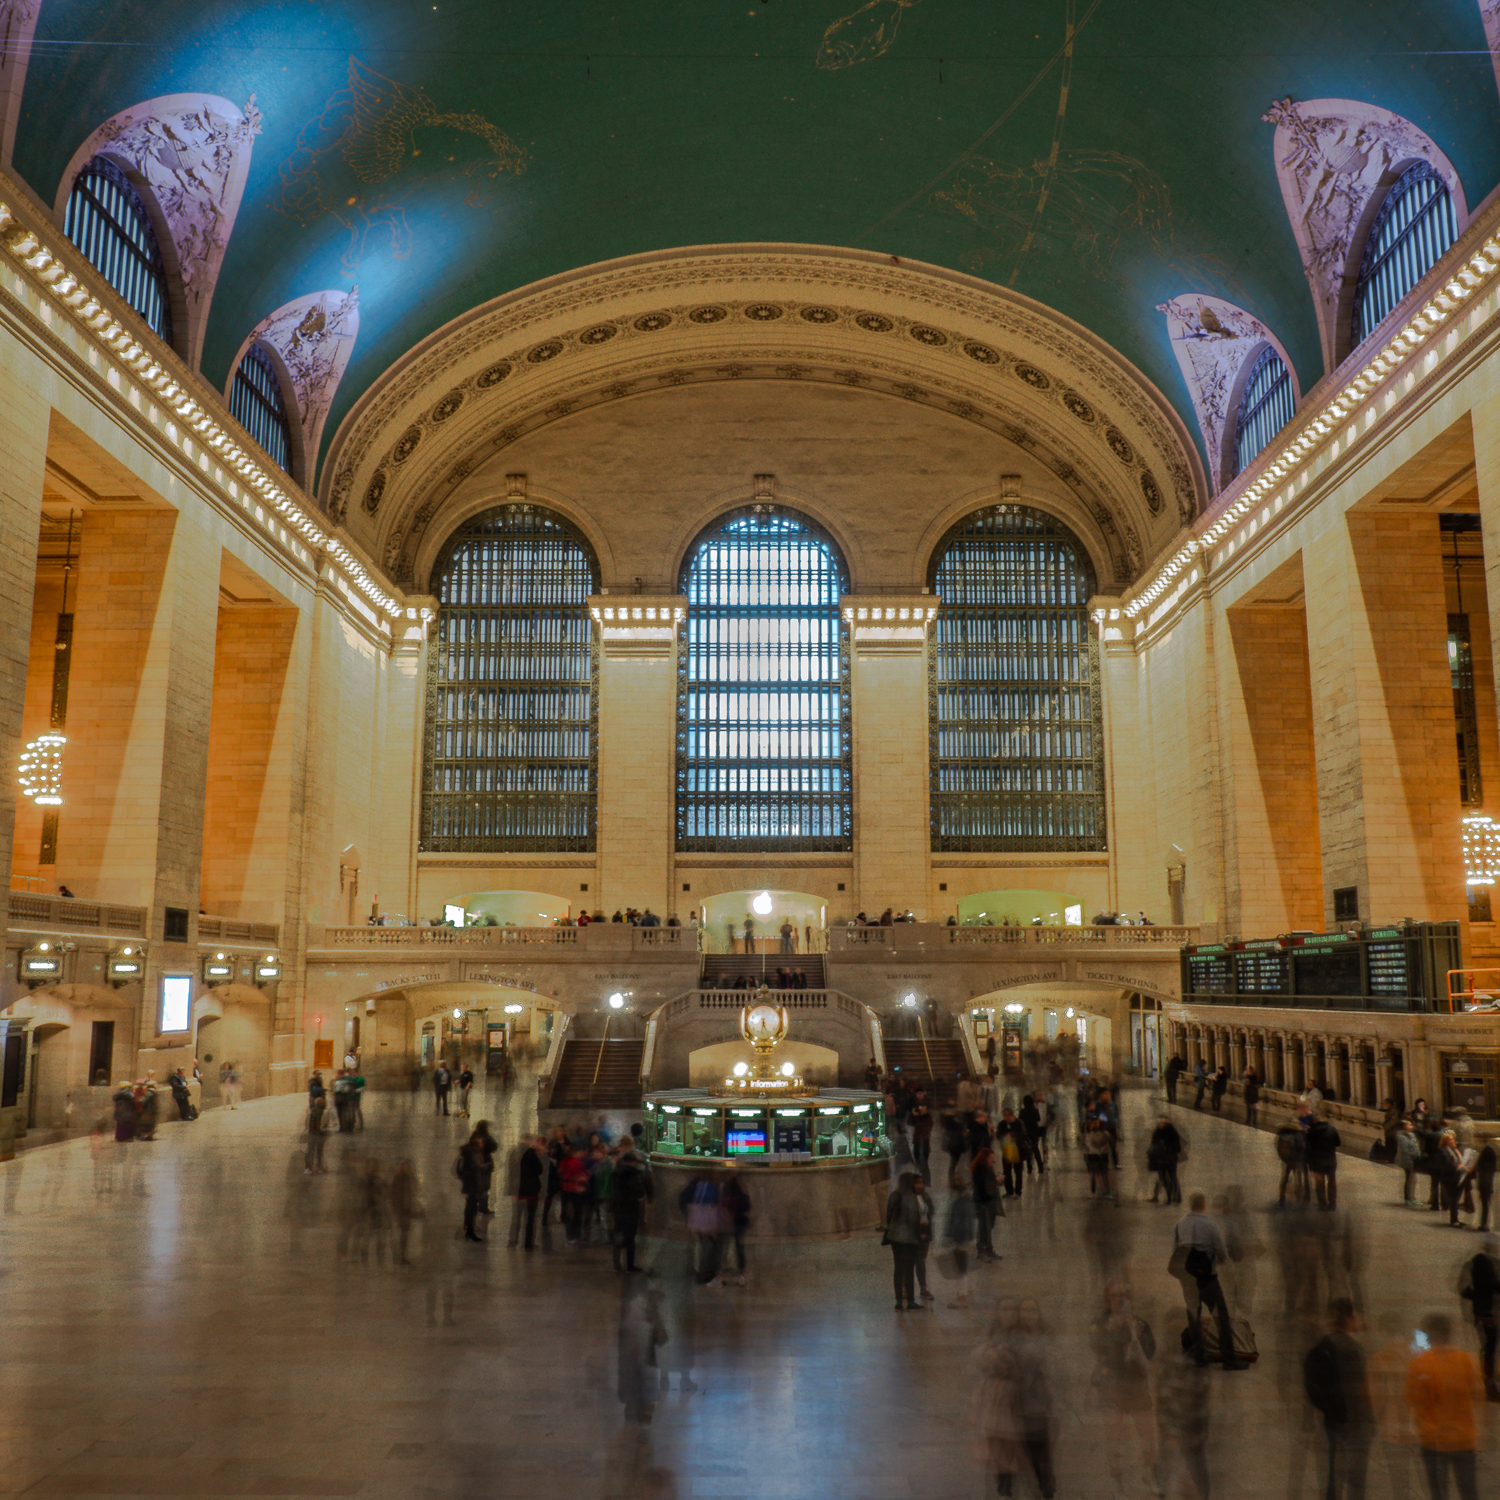
If anyone has tried taking photos at this site you know how difficult it can be with so many people jostling for positions for their selfie shots. You can imagine how careful I had to be to make sure that the cameras didn’t move at all during the long exposures. A job made even more difficult since tripods are not allowed, but I got away with using my little table tripod on the ledge of the elevated section overlooking the hall. With hindsight, I should have used an ND filter for the Olympus to avoid the need for the small f22 aperture (which affects image sharpness) to get the long exposure time needed.
I was really pleased to see the beautiful result from this film camera. Comparing the Noritsu lab scan of the negative to the digital image taken with the Olympus camera, I certainly prefer the film image. The tones are richer and the image seems somewhat more three dimensional. However, this is not a fair “apples to apples” comparison since exposures were different. However, I think this 40 year old camera, using an even older film technology holds up pretty well against a modern day digital camera.
Digitising film workflow
I did a film developing and printing workshop at a local communal darkroom. Developing black and white film is pretty straightforward and I now develop my own. The outlay for the equipment is not too expensive and you can find most of the tools needed on auction sites for little money. As long as you have a lightproof film changing bag to get the exposed film into a lightproof developing tank, the developing can be done anywhere with access to water and a sink (I use our laundry). I use the Massive Dev App on my tablet computer which serves as a brilliant darkroom timer and is a wonderful database for film/developer combinations.
There are great resources online with many YouTube clips demonstrating how to develop film. I enjoyed printing the negatives in the darkroom and it is hard to beat a good silver print as an artistic piece. However, for my purposes I am happy using a computer to digitise my images, especially if I have complex composite images which are next to impossible to achieve at my skill level in the darkroom. This is where the Olympus OMD E-M1 features again in my workflow and I think offers an advantage over most of the digital camera competition, which I will expand on below.
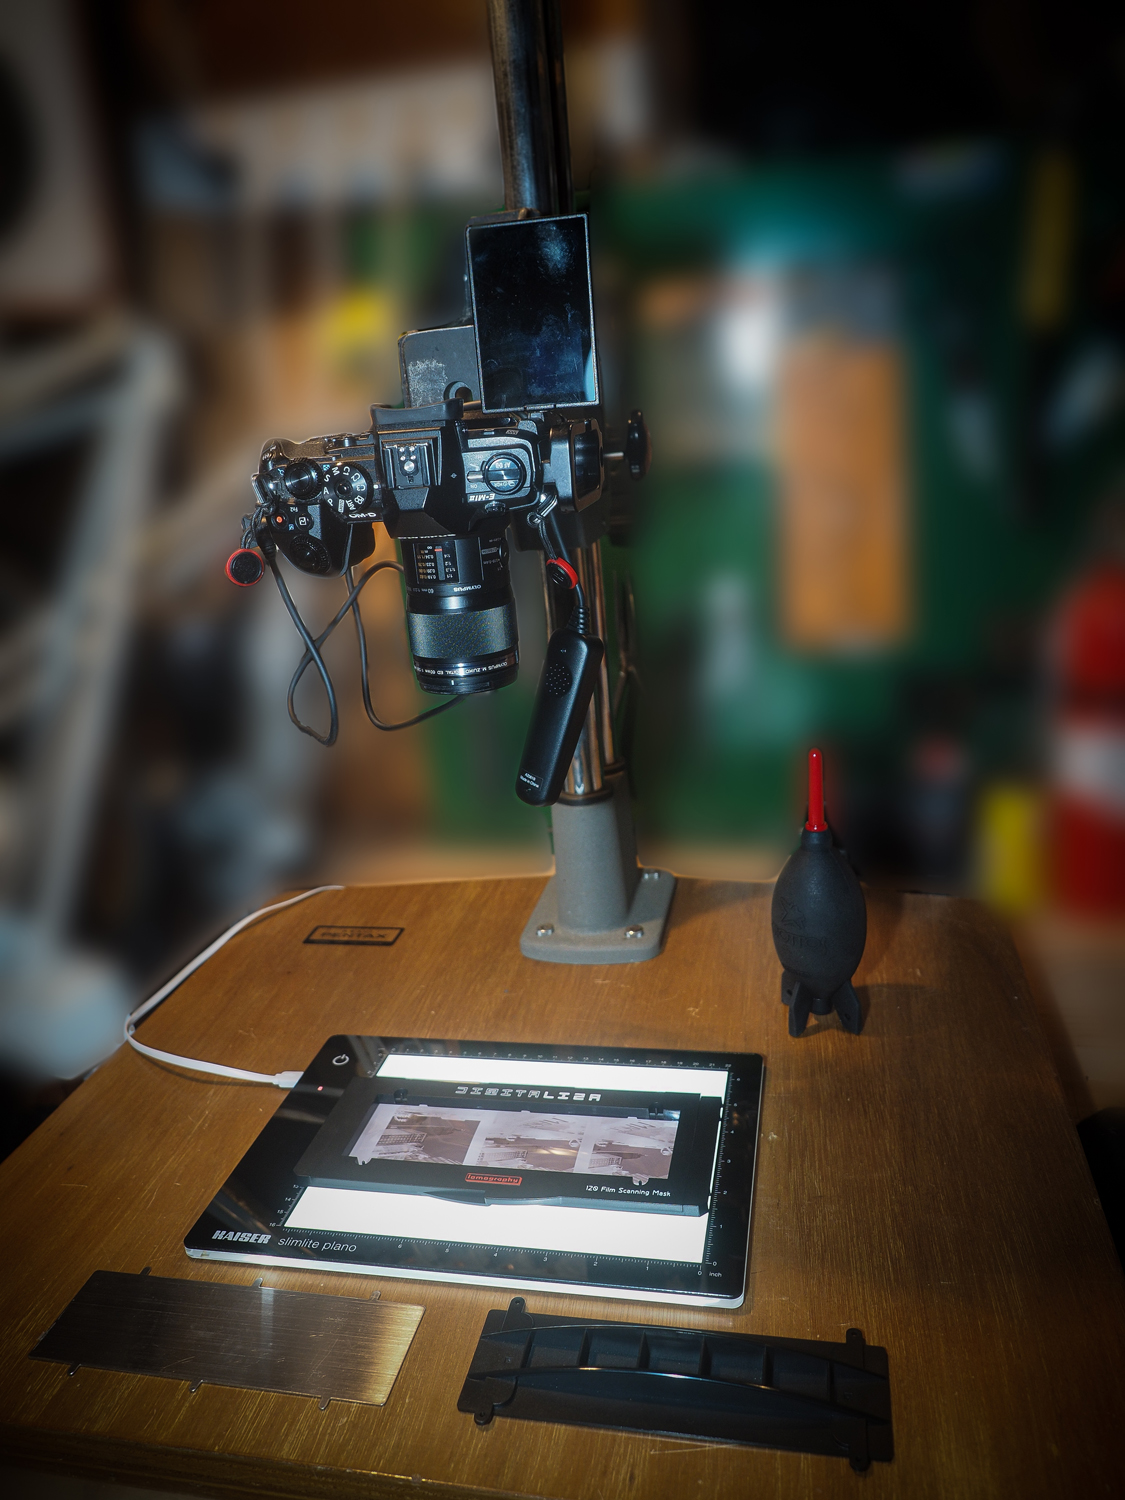
The digitized images from Princes Pier described above were made with my Olympus OMD E-M1 mark II with 60mm f2.8 macro lens. I have the camera attached to a vintage Pentax copy stand, using an LED light box (Kaiser Slimlite Plano LED Light Box) and a Lomography 120 digitaLIZA scanning mask to hold the exposed film and use a cable release to minimise camera shake. I shoot at the recommended ISO of 200 and tend to expose with histograms to the right, taking care not to clip highlights, thus minimising any noise in the digital image by decreasing exposure in post processing.
I shoot in RAW and adjust white balance as needed however, generally for positive slide film I use auto white balance which seems to work fine to reflect the WB in the original positive image (negatives are more complex-see below). One interesting distinction between film and digital photography is that digital sensors are sensitive to clipped highlights whereas film requires more care in exposing for shadow detail. Hence, for digital the maxim, “expose to the right” is the reverse in film photography where “expose for the shadows” is recommended.
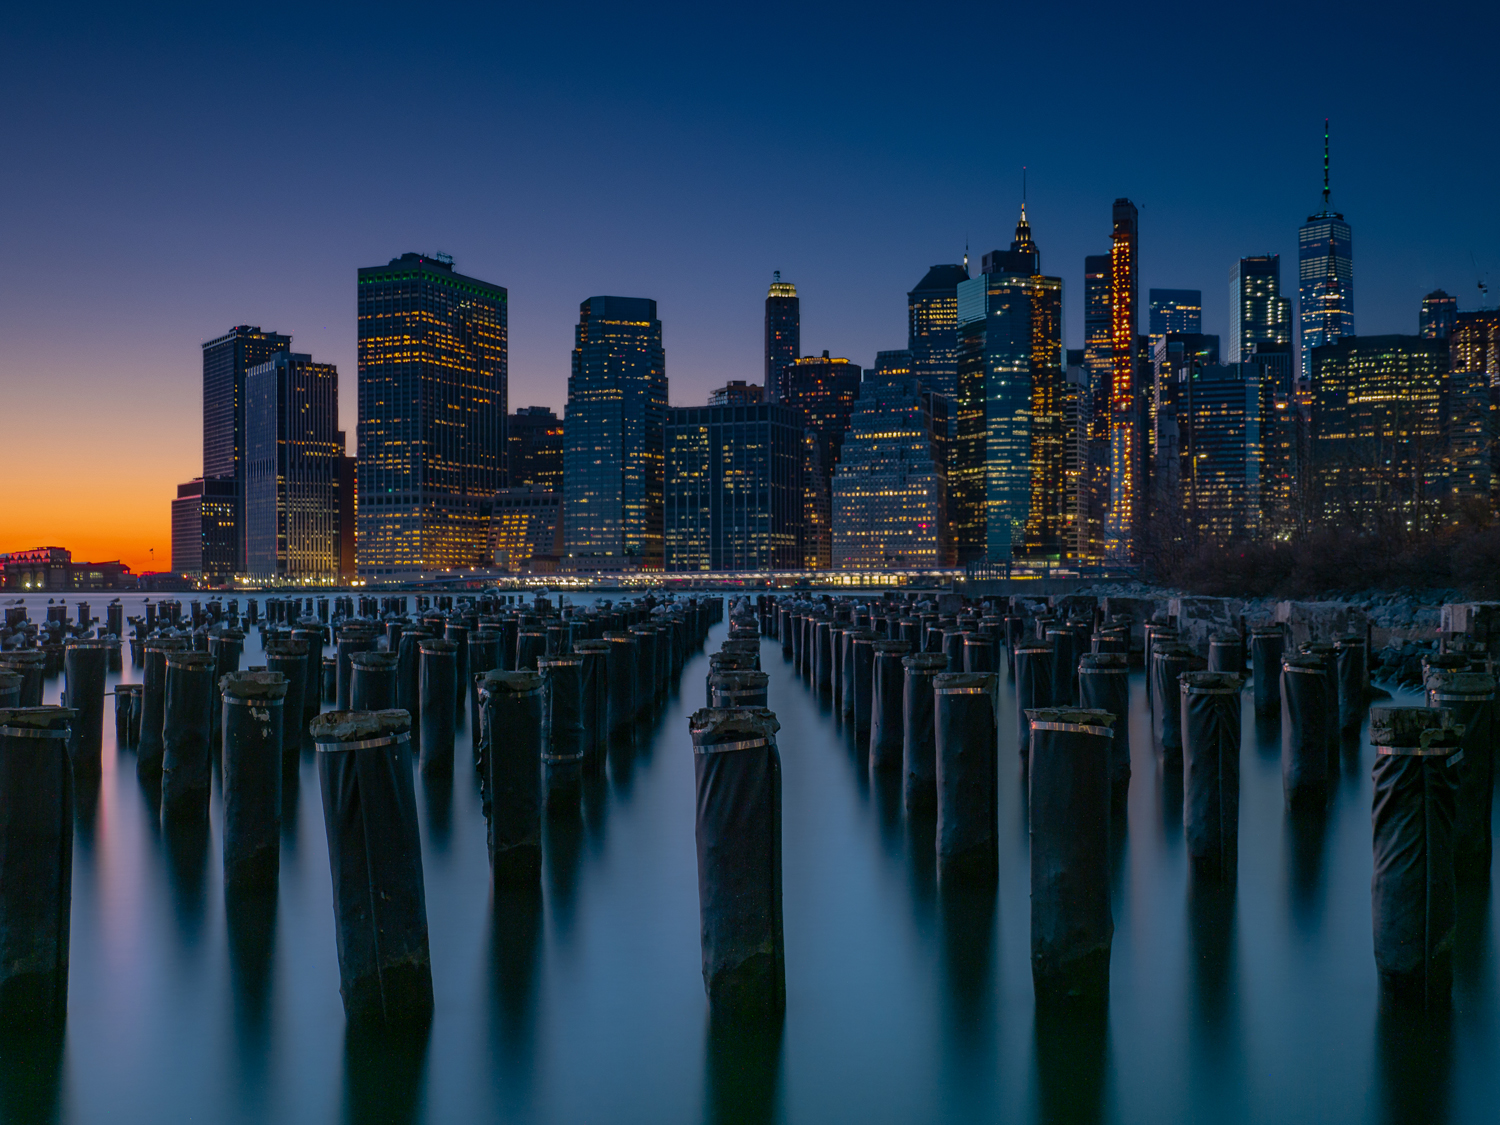
The image described above was digitised using the standard RAW shooting mode. I now use the HiRes mode of the OMD E-M1 mark II for digitizing the 6cm x 6cm medium format film images produced by the Hasselblad. This does more justice to the incredible detail available in these medium format film images since the HiRes mode can produce an 80 MP RAW image compared to the 20 MP in standard mode. The other significant benefit of Olympus Pixel shift technology used for the HiRes mode is that it produces 100% colour accurate data since it does away with the need for the Bayer mosaic which is the standard colour gathering process for digital sensors.
Chris Eyre-Walker gives a wonderful overview of this feature and the technical advantages in his blog website. In short, standard digital sensors are only 33% colour accurate since they must interpolate (average) the RGB colour information from adjacent photosites. The Olympus HiRes mode, by physically moving the sensor precisely by one photosite, can read each of the RGB colour channels at each photosite and does away with the Bayer mosaic “averaging” process. Thus, HiRes mode also effectively increases the colour accuracy in addition to increasing resolution of the image.
Digitising negatives with a digital camera is more complicated since the colours are reversed. I use a great Lightroom plugin called Negative Lab Pro for negative conversions (www.negativelabpro.com). This allows for a RAW, non-destructive Lightroom workflow to produce positive images. Most of the time this is all that is needed however, for more complex post processing these images can be edited as TIFF files in Photoshop. More recently I have started using a red intensifier (RA54) filter for capturing the image with my Olympus camera and this tends to give better colour separation (I use an astrophotography PureNight filter from LonelySpeck).
Final words
I am shooting both film and digital formats and I’m still coming to grips with what format to use for which genre of photography. I’m leaning to film for portraiture (especially black and white) and also for some landscape (especially urban landscapes) where carrying the kit isn’t too onerous. However, for travel photography I think I will stick to my trusted Olympus OMD E-M1 mark 2 and probably travel with the 12-100mm f4 and 7-14mm f2.8 pro lenses moving forward.
My photography adventure continues and has come full circle since I first started the journey as a 15 year old with my Canon FTb 35 mm film SLR. With this hybrid workflow approach, I am now a happier photographer than ever, since I have control to produce the image that I have in mind entirely myself (for black and white film anyway). Regardless, my Olympus OMD E-M1 has played a pivotal role in that journey and continues to be a critical component for producing my images either as the primary camera or for digitising the medium format film images.
I would like to dedicate this article to Terry Murphy, a friend who was instrumental in reawakening my photography passion.
Gino Vairo lives in Melbourne Australia. He has a PhD in Cell and Molecular Biology and has been active in medical research for over 30 years. He is an enthusiastic hobbyist photographer, rekindling his photography passion several years ago with an Olympus OMD EM1 camera. More recently, he has expanded his attention to include medium format film photography where he takes advantage of the benefits of the Olympus system to digitise his film images. His current role in the pharmaceutical industry involves frequent international travel which provides him an opportunity for travel photography in addition to his interest in other genres including landscape and studio photography.




Jan Steinman
April 20, 2020 @ 16:07
Incredible work! Thanks for describing your process.
I have modified a Nikon PB-4 bellows and slide copier so I can re-digitize my old Kodachromes in HiRez mode, but have not come up with a good workflow for digitizing my 4″x5″ Velvia images.
Gino Vairi
March 4, 2021 @ 01:13
Hi Jan,
If it’s still of any help, have a look at Negative Supply. They have a 4×5 negative holder specifically design for digital camera negative scanning that may be useful to you.
https://www.negative.supply/shop-all/4×5-sheet-film-holder
Good luck
Cheers
Gino
Peter Adams
December 4, 2021 @ 04:41
Hi Gino! this is a blast from the past. Peter Adams from DFCI days. I hope you are well. Great pics! I am in San Diego now. If you are over in SoCal, let me know. would be great to catch up. Best,
Peter