No matter the weather
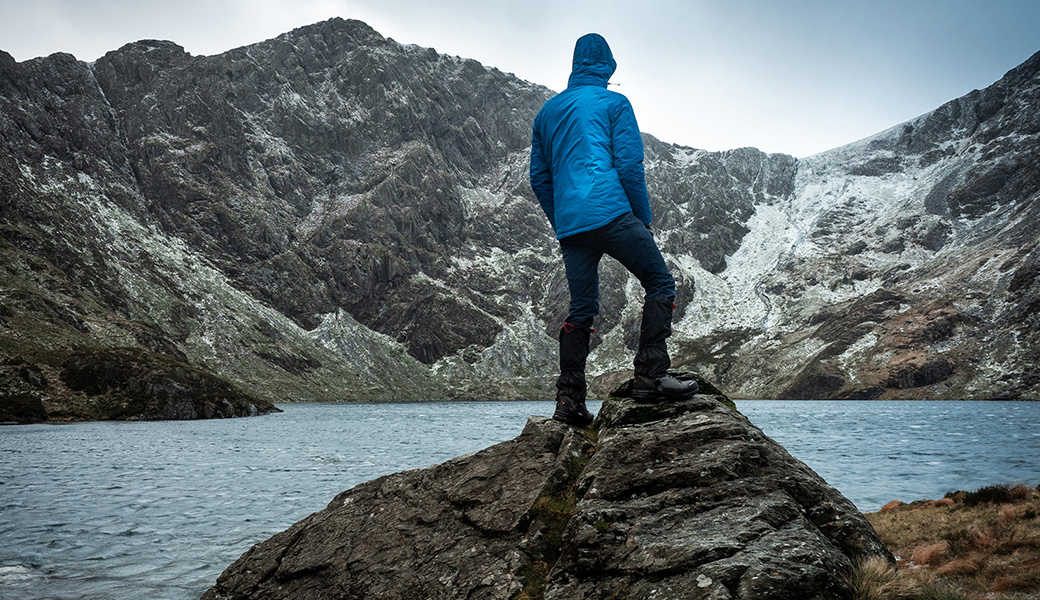
Hello, I’m Matt Holland. During the week I am a graphic designer, specialising in lenses-based media and animation, by weekend I am an outdoors enthusiast who loves spending time outdoors, no matter the weather and time away from social media and screens.
I have always had this enthusiasm for the outdoors, and it stems from my time spent in Scouts and the Duke of Edinburgh award, both of which I went on to become an outdoors/expedition leader within. Continuing to teach and lead groups about the outdoors and expeditions. This love for the outdoors has naturally formed with my hobby within photography and being a graphic designer and working on computers, cameras and print all day the three things have all complemented one another.
I’m very lucky in where I live being the South of England. I’m not far from London so can enjoy days out in the capital city or, more often than not spend time in either The Chiltern Hills AONB or South Downs National Park, both of which are on my doorstep and I can be in the centre of either areas within thirty minutes’ drive. If it’s not spending time locally its often-spending time in one of the many National Parks up and down the UK, typically Wales, whether this be in the South, Brecon Beacons or in the North, Snowdonia. Whether hiking, camping or just enjoying the great outdoors, I always have a camera with me to capture the trips and surround landscape.
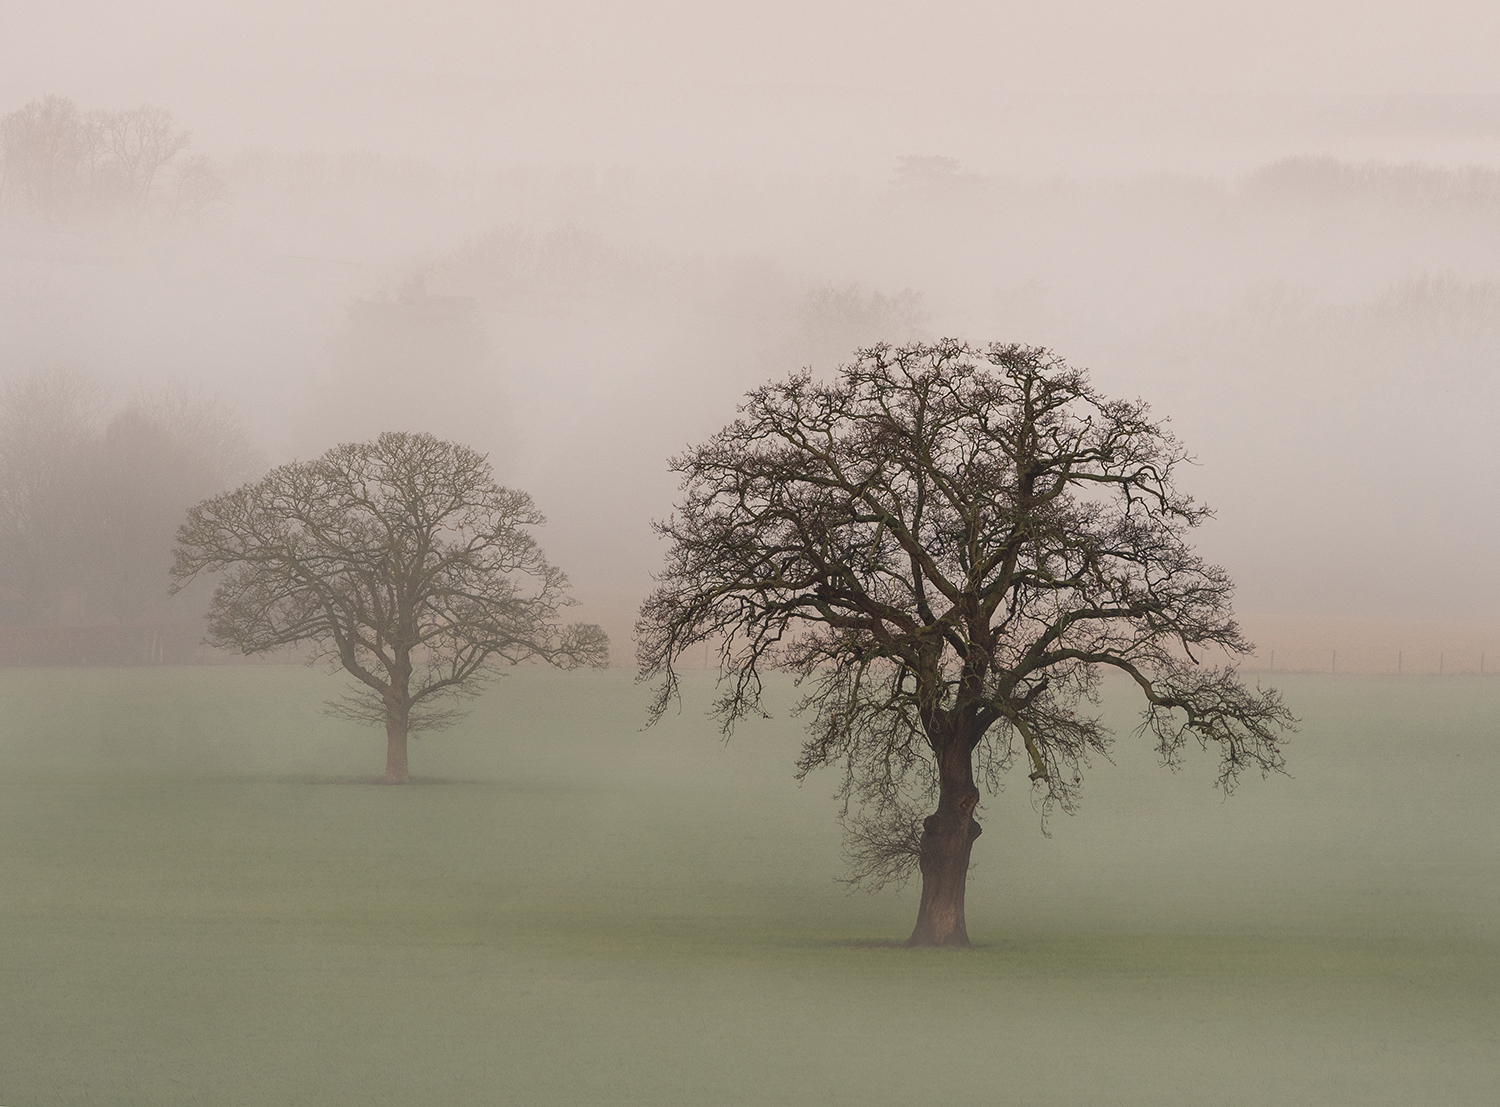
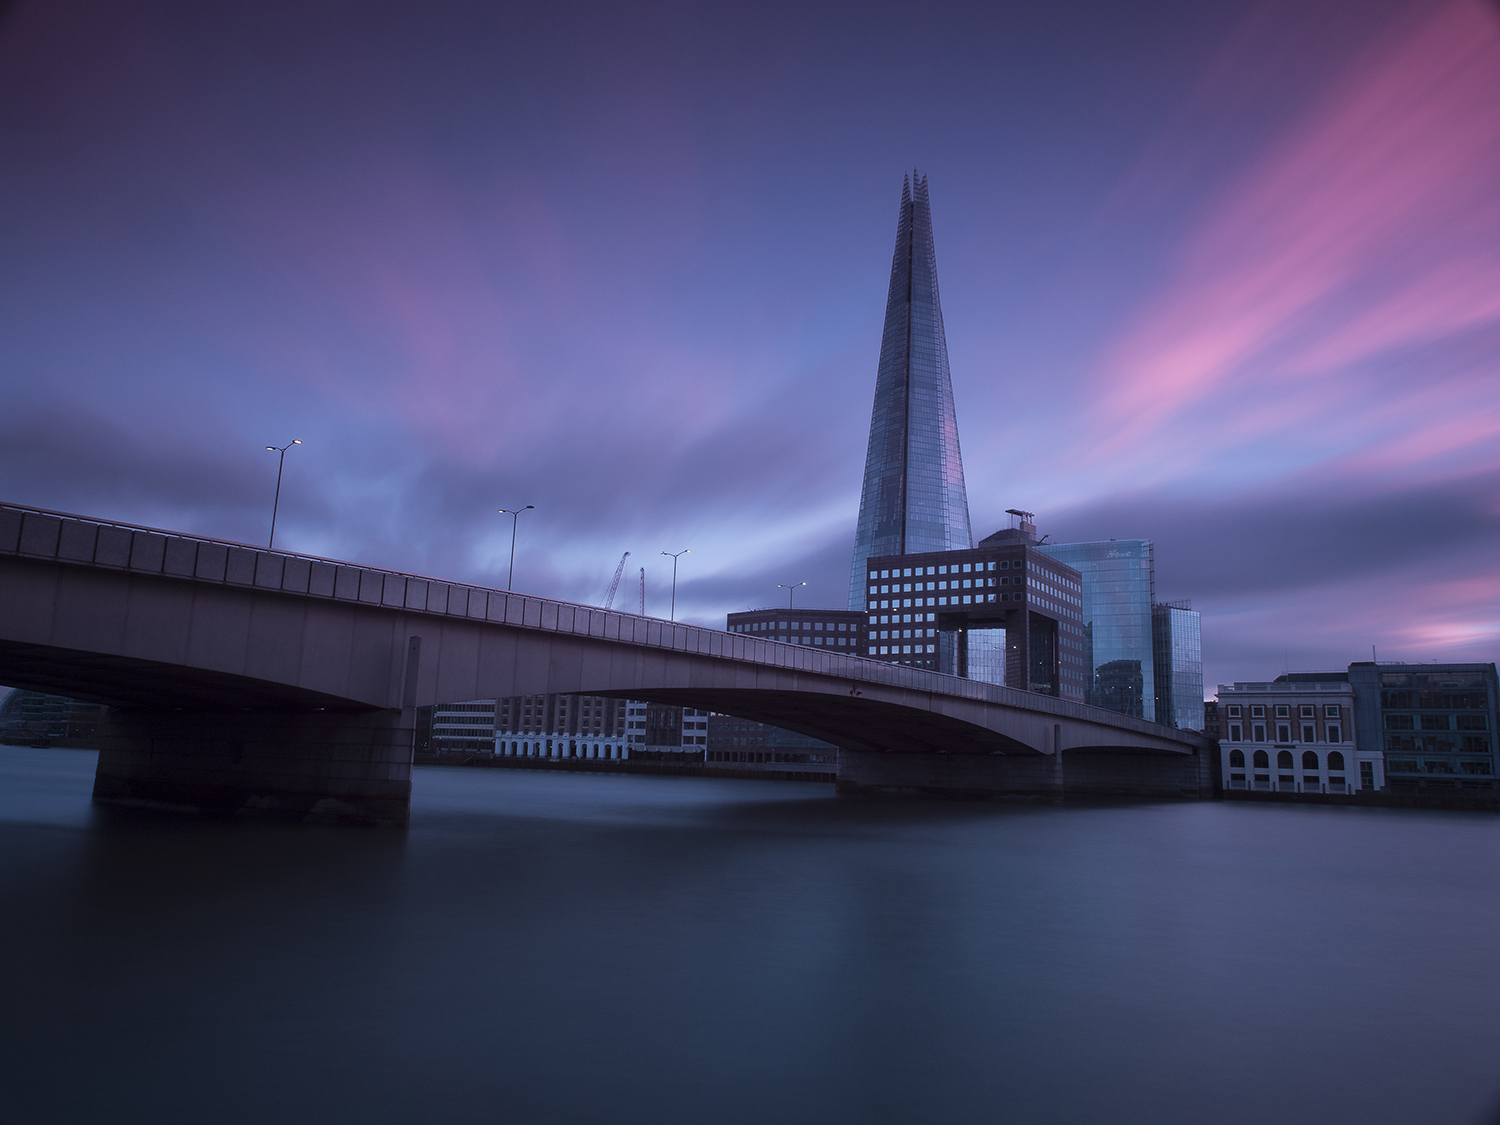
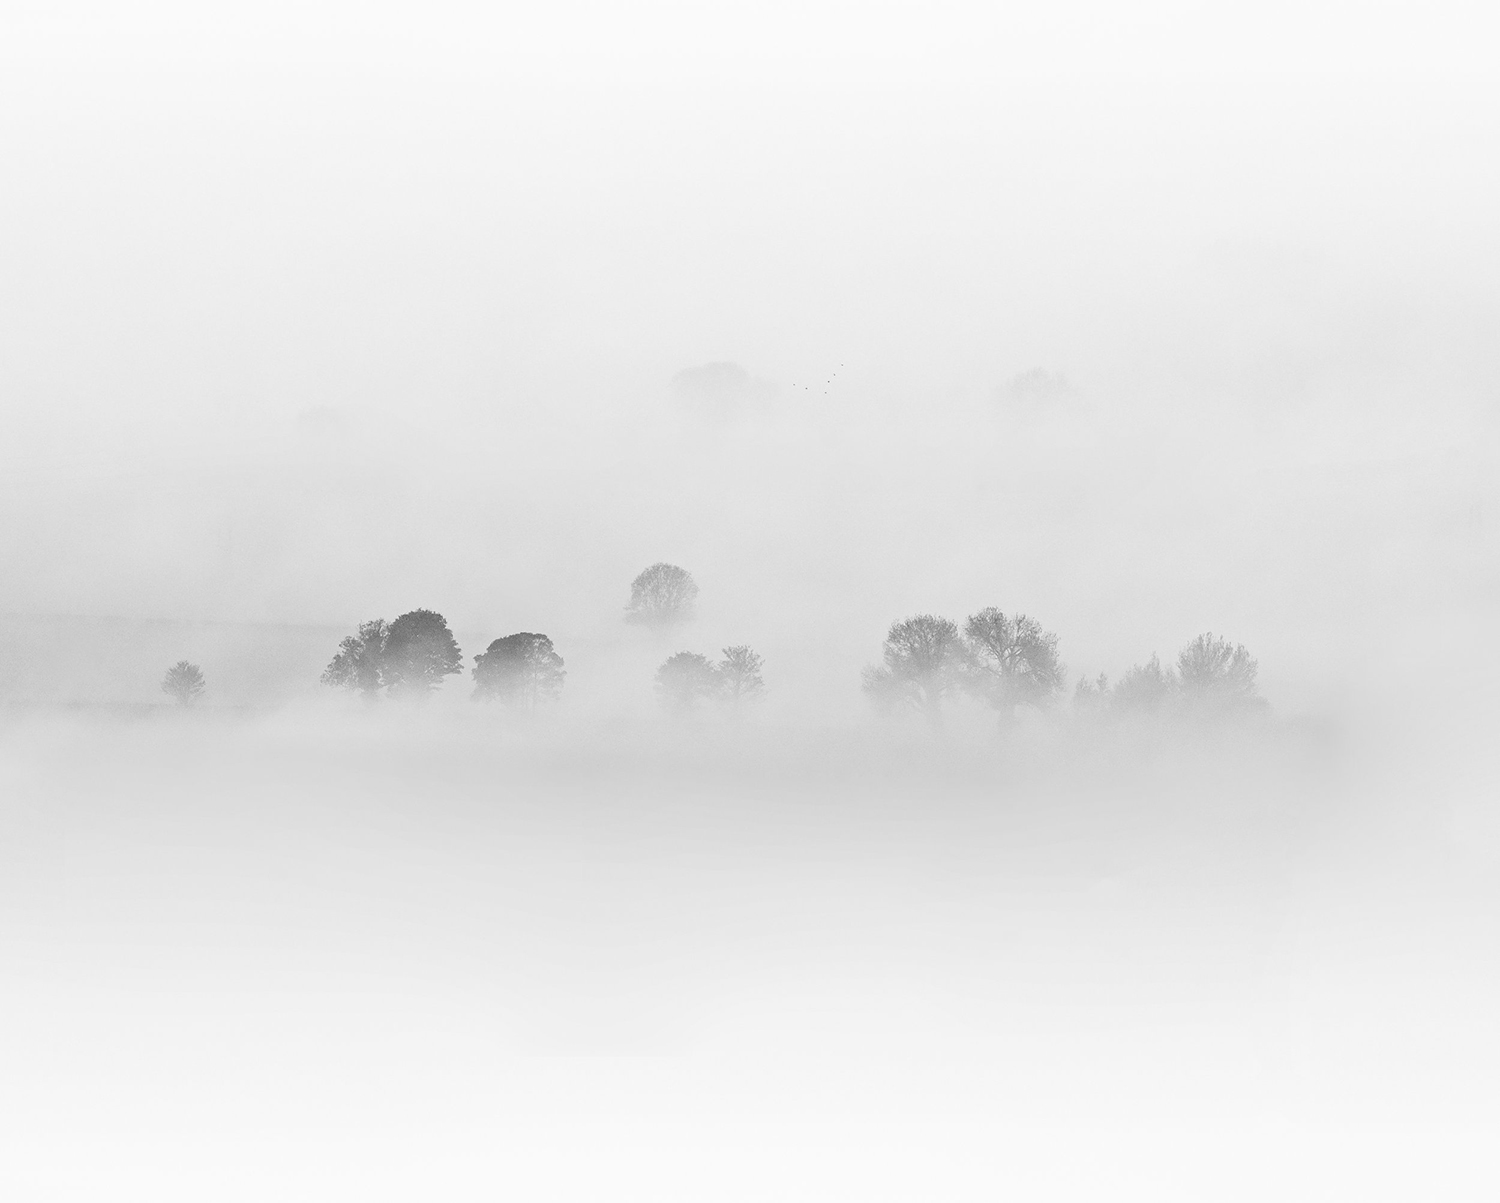
My main interests within photography are landscapes/outdoors. As explained above it has just naturally happened being in the outdoors most of the time. As my skills have developed this has broadened in to enjoying other aspects of outdoors photography with the prominent area being long exposure photography. Be it architecture, coastal or even abstract through ICM (intentional camera movement). Outdoor photography hasn’t always been my thing, I was given my first camera around the age of six and that camera still works to this day and I continue to use it for a bit of fun when I want to step away from digital.
This being my trusted and handed down Olympus OM-2 with the nifty fifty, Zuiko 50mm f/1.4 being the go too. When I was younger, my dad would teach me a lot to do with film and developing in the dark rooms and often our subject was aeroplanes and every month we would visit an air show around the country. Using this same OM2 with 300-600mm lenses and snapping away. So, a lot of what I learnt was through fast paced subjects and film so nowadays slow down subjects within the outdoors is a stark contrast, but I love it.
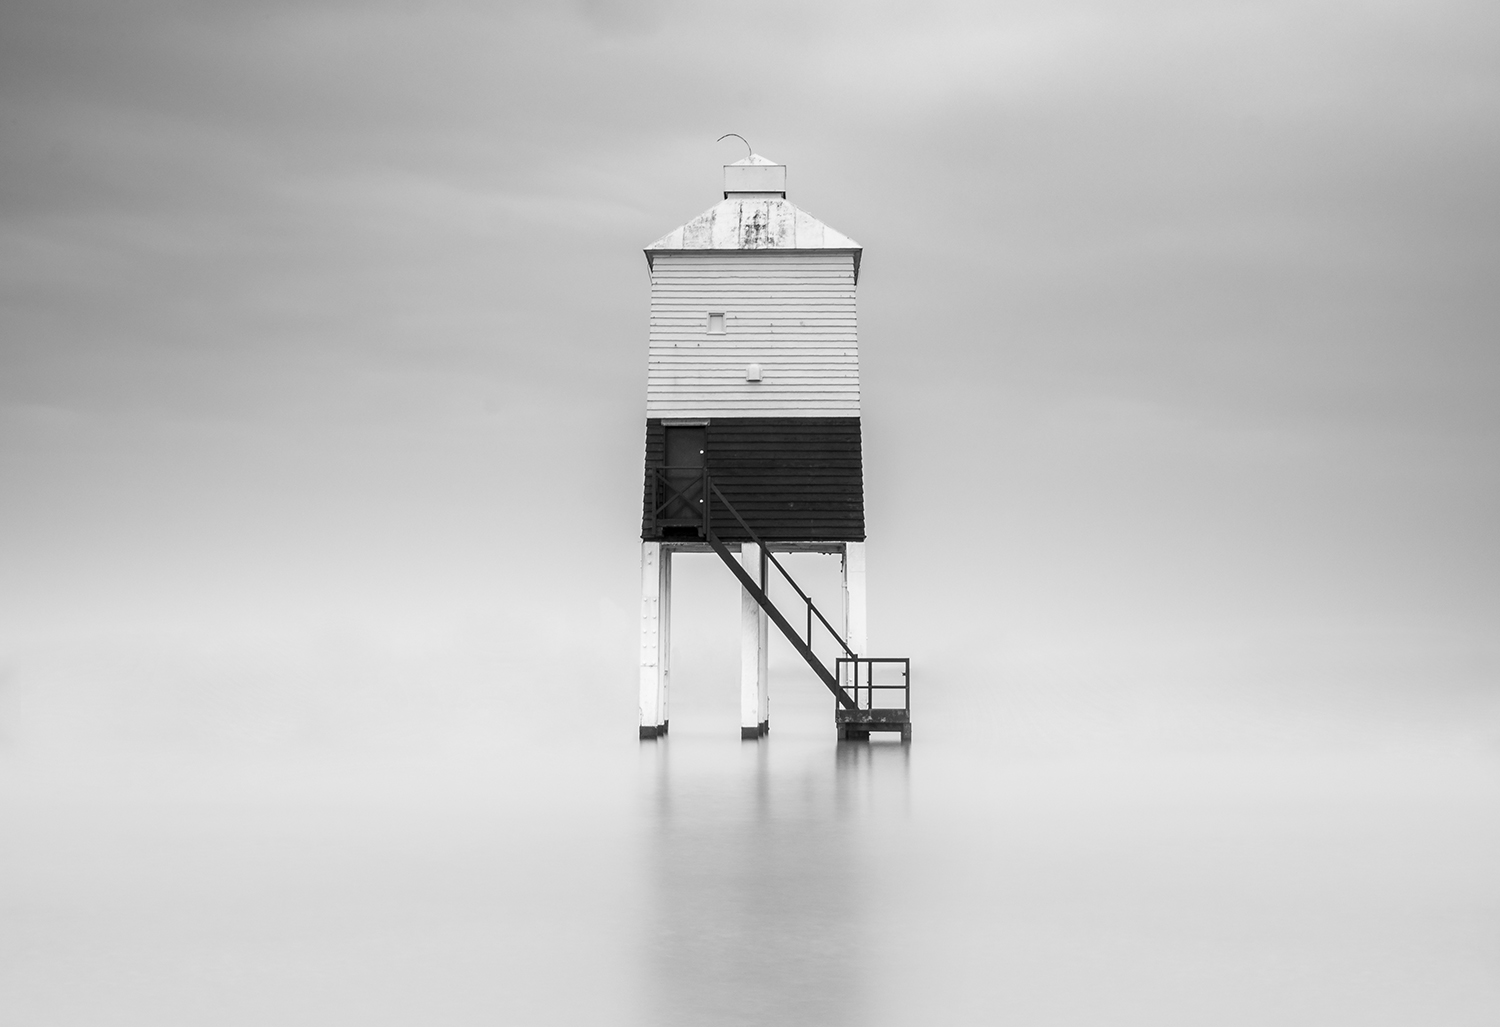
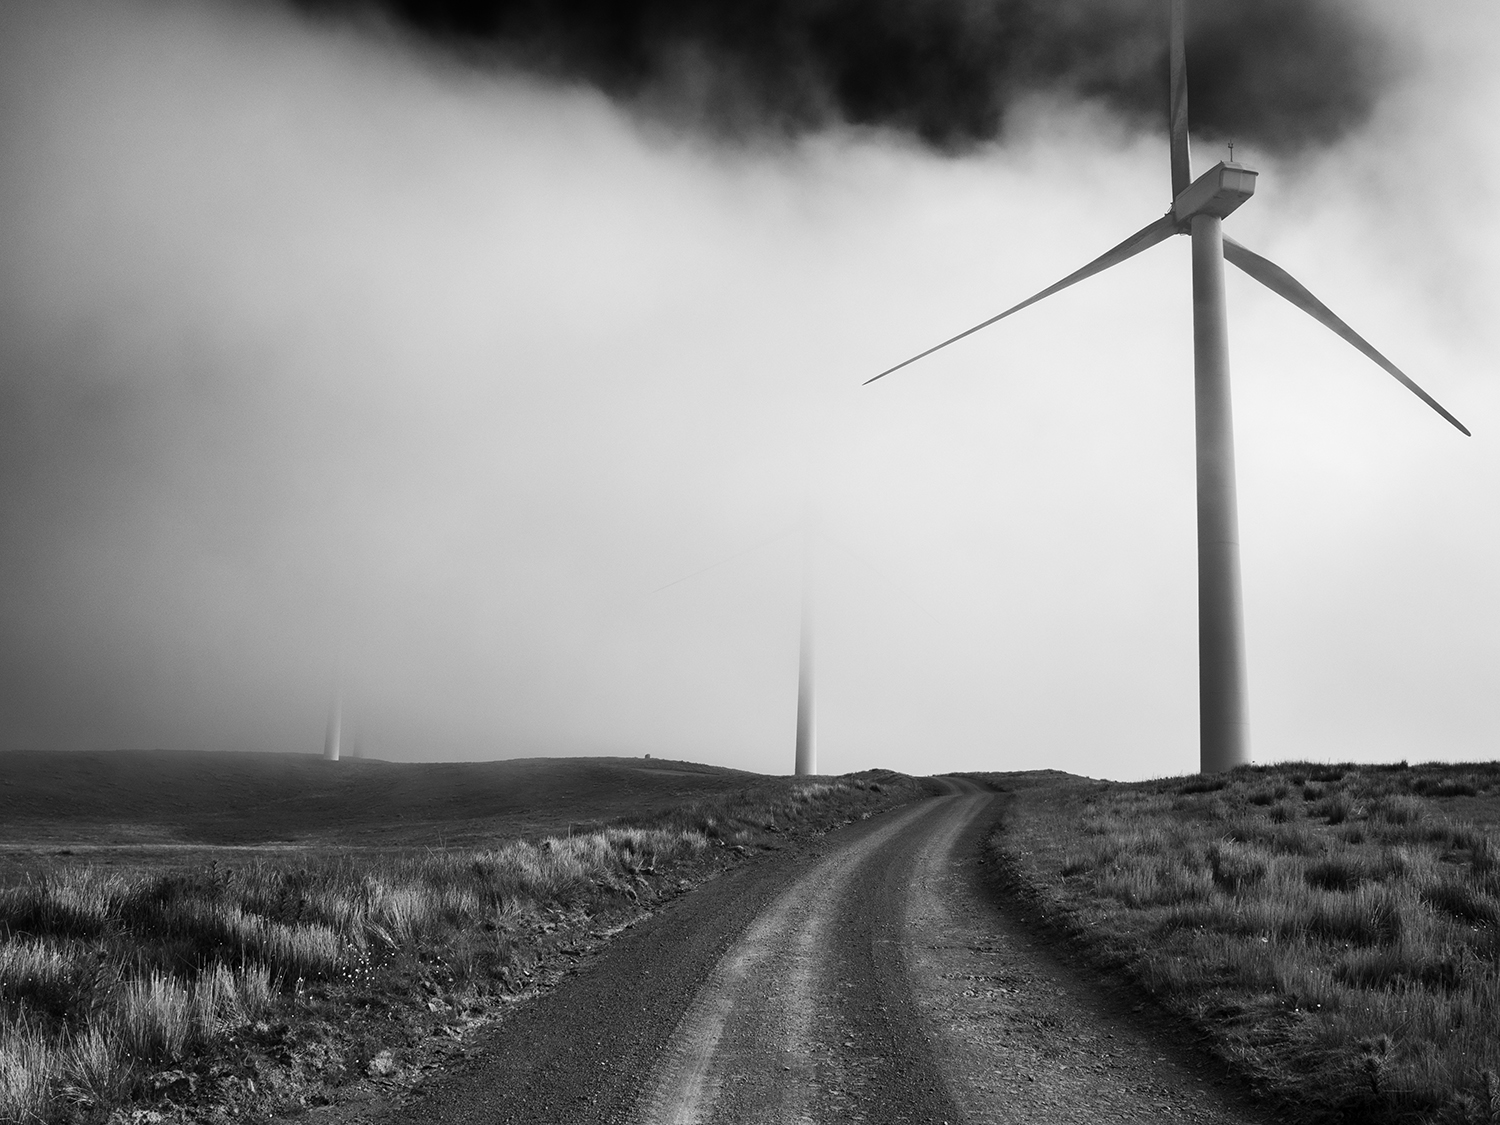
When it comes to scouting new locations, I will start by reading books and searching on social media. The best being Instagram and just seeing what tags have been used and the go to subjects in that area. From here I will then use Google Maps in 3D view and plot out routes on View Ranger and paper maps. The internet is a great place to start in terms of locations and last year we found a gem of a website which listed several hundred abandoned locations across Wales from mine shafts, temples, quarries and bothies dotted around the landscape. However, it’s very easy to fall in to the trap in just visiting the “tourist” locations, for example the Lone on Llyn Padarn, Llanberis, Wales.
This is a tree I will never visit! Dare I say it, it’s nothing that special to photograph, nice view but done to death! So typically, I will often avoid the really popular spots and go off elsewhere. As an outdoors leader we often planned routes to avoid as much human interaction as possible to make the routes not only more challenging but so the kids can navigate without the hassle of walkers. 90% of whom didn’t know how to use a map themselves, where to go and distract the kids. So, with over ten years of route planning in most of the UK National Parks I know a few secret spots for camps and lesser known areas not often seen on social media.
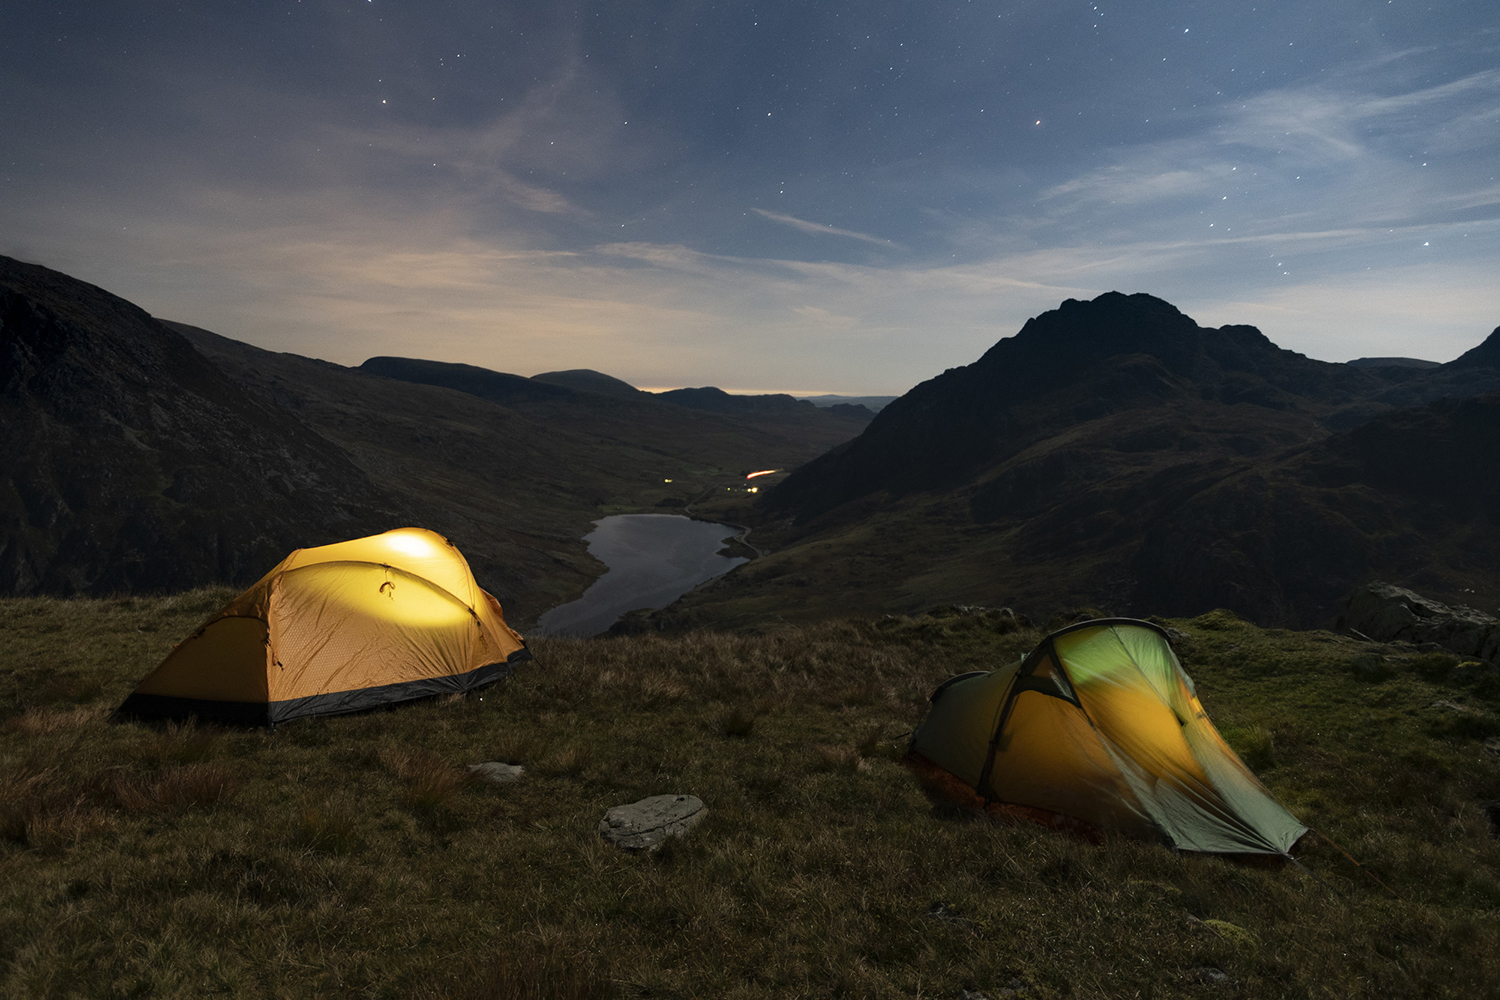
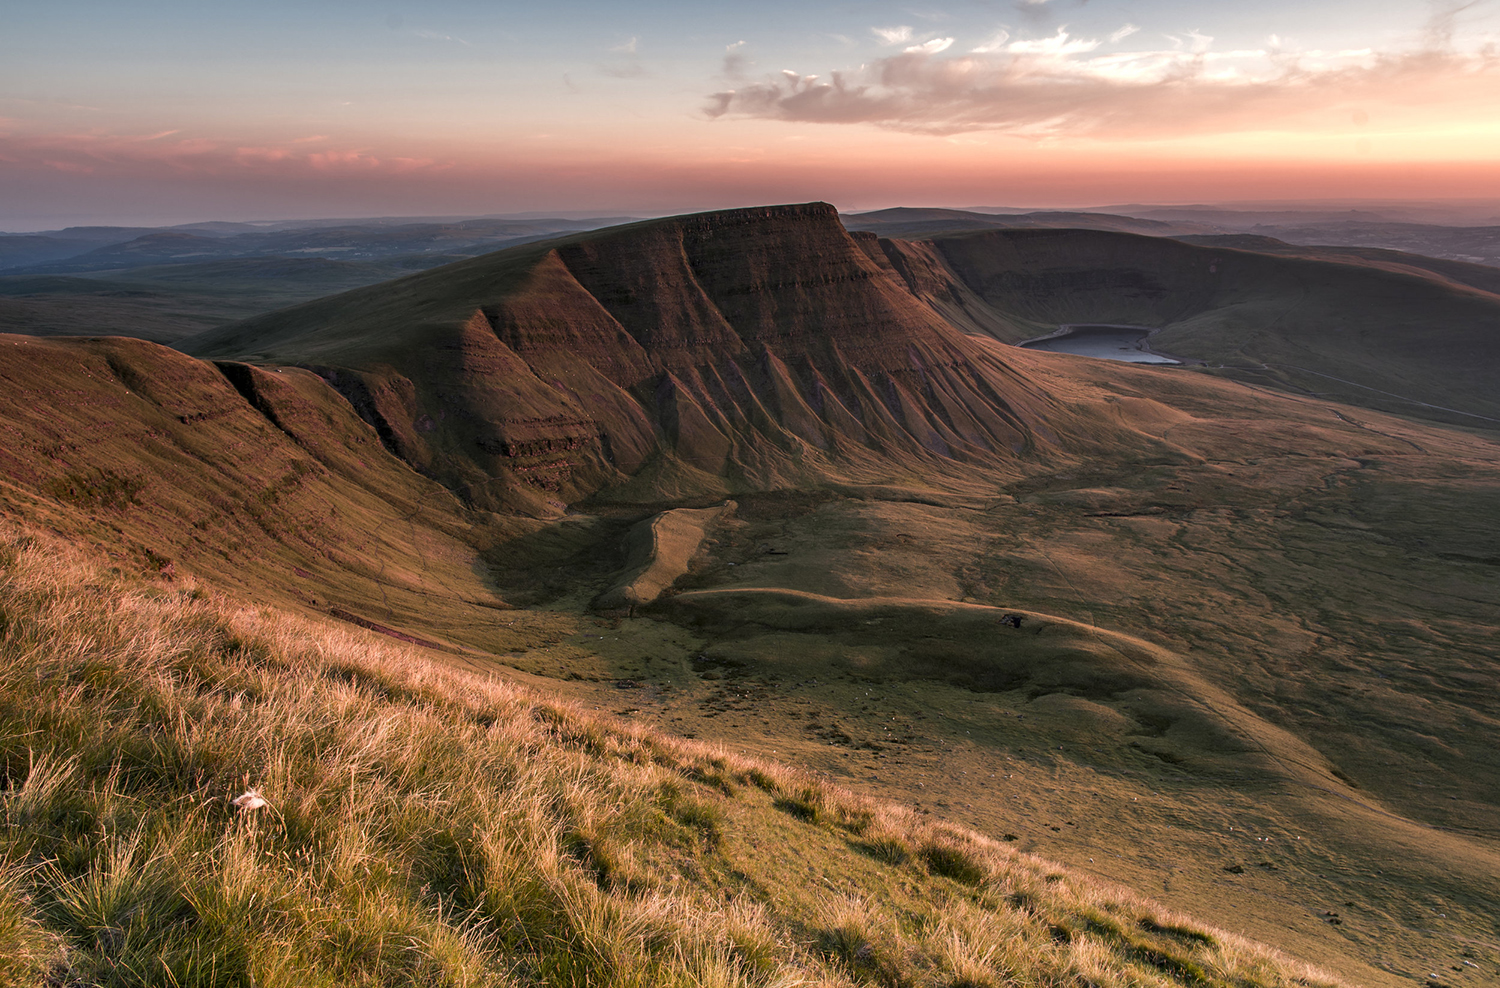
Photography is the perfect combination for the outdoor enthusiast. It’s a brilliant way to record your hikes, routes, camps and scenery. Personally, I prefer a traditional fine art style to my photography rather than a run and go or tourist style as such. I will only click the shutter if it’s something special in my eyes and gets me excited. Before I did take far more photos and documented entire trips and went overboard but found I didn’t edit or publish all the photos, so a lot went to waste, so I’ve changed how I shoot to as I described previously.
That said, it’s not all “fine art” style as I described, I refer to this as with my long exposures for example. Often, I will just shoot jpeg and will document the trips and camping, this typically being because I am reviewing or testing some sort of outdoor clothing, camping and hiking equipment for numerous brands. Some of the main brands I work with are Snugpak and Vanguard Photo UK in which I am a brand ambassador for both, more recently I have joined Kase Filters as a UK Champion and spear heading and promoting the use of circular filters.
I’ve used Snugpak and Vanguard photo equipment for years. I have always depended on both because not only do they have great quality and do a fantastic job in any weather or season, but they are good value. They might not be award winning, the lightest on the market but you can be sure they will do the job and well! In terms of the Kase Filters relationship, this has been something we have both been working together on for several months and developing the circular filters. I have turned away from square filters and have tried almost every filter brand under the sun now and finally settled on Kase Filters, much for the same reasons as with Snugpak and Vanguard Photo. Quality, value and getting the job done!
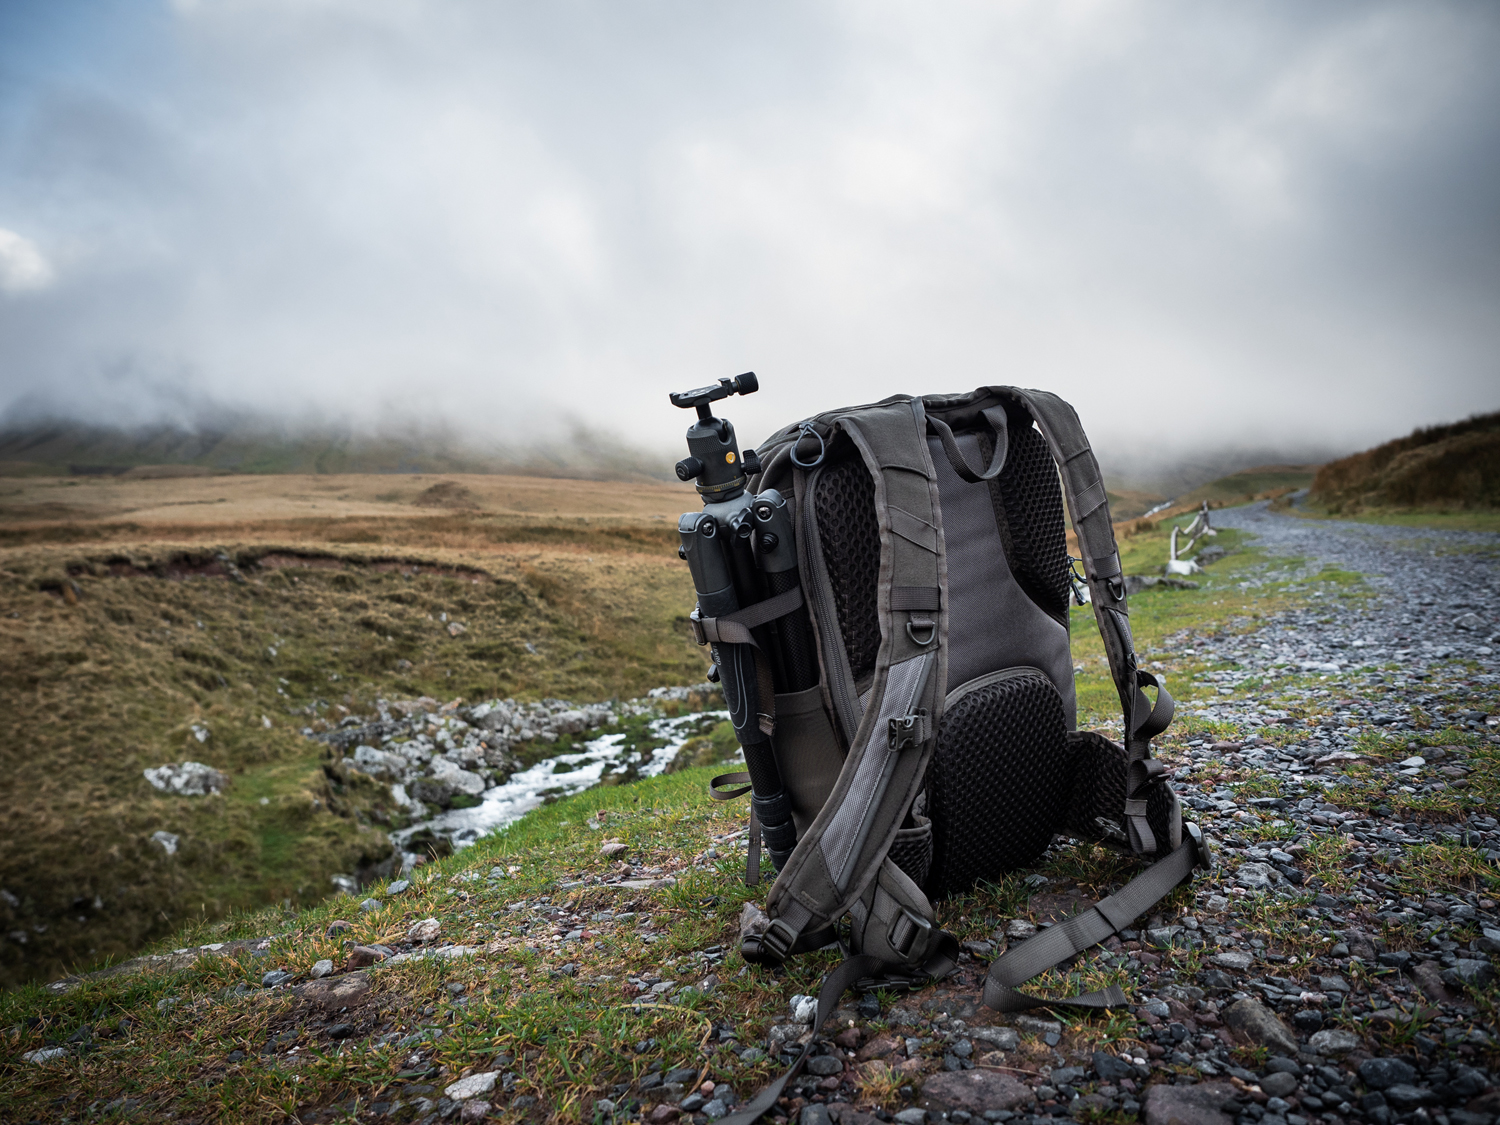
I opted for circular filters because they are smaller, lighter and compact versus square filters and when hiking or camping in any weather, the less cleaning and drying of filters I have to do, the better. Which leads me on nicely to why I use Olympus. As I often carry vast amounts of equipment to keep me warm, dry and protected in the outdoors, particularly mountain summits, my rucksack can come in weighing a far bit before I’ve even added anything else.
Typically weighing between 12-16kg depending on the time of the year so adding a camera, tripod and accessories the weight quickly adds up and not to mention limited space. After all you have to carry it up the mountain in the first place so using Micro Four Thirds has been the best option for me, keeping it light, small and gives me great quality. Especially with the high res shot mode the Olympus cameras offer.
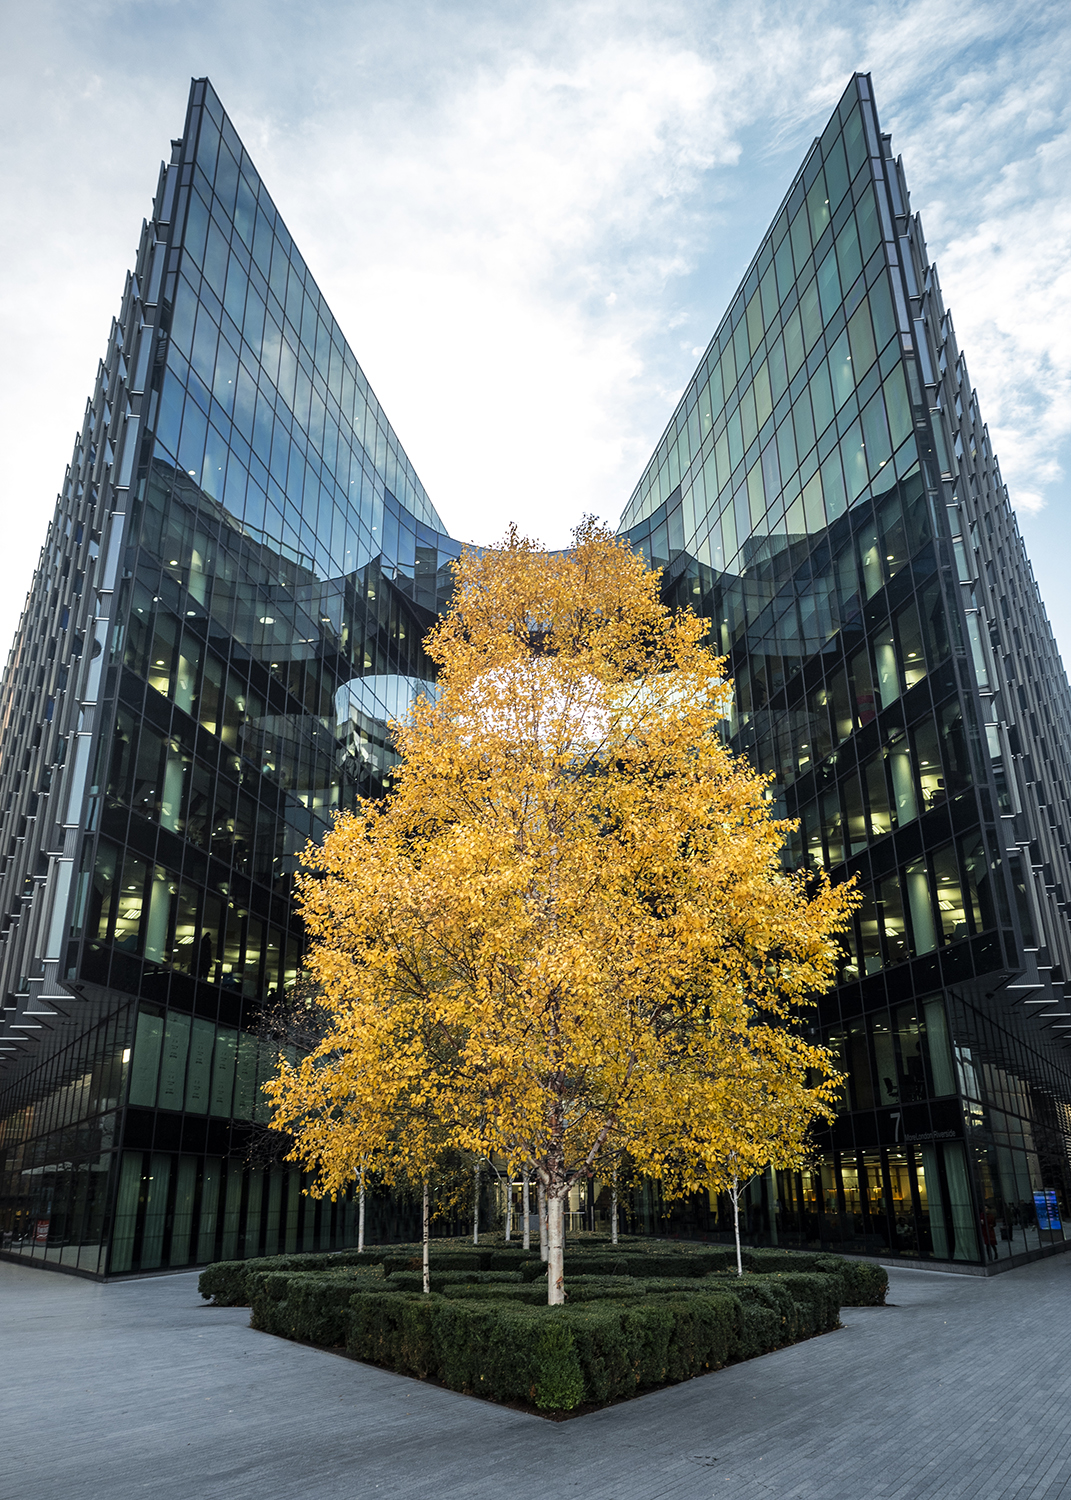
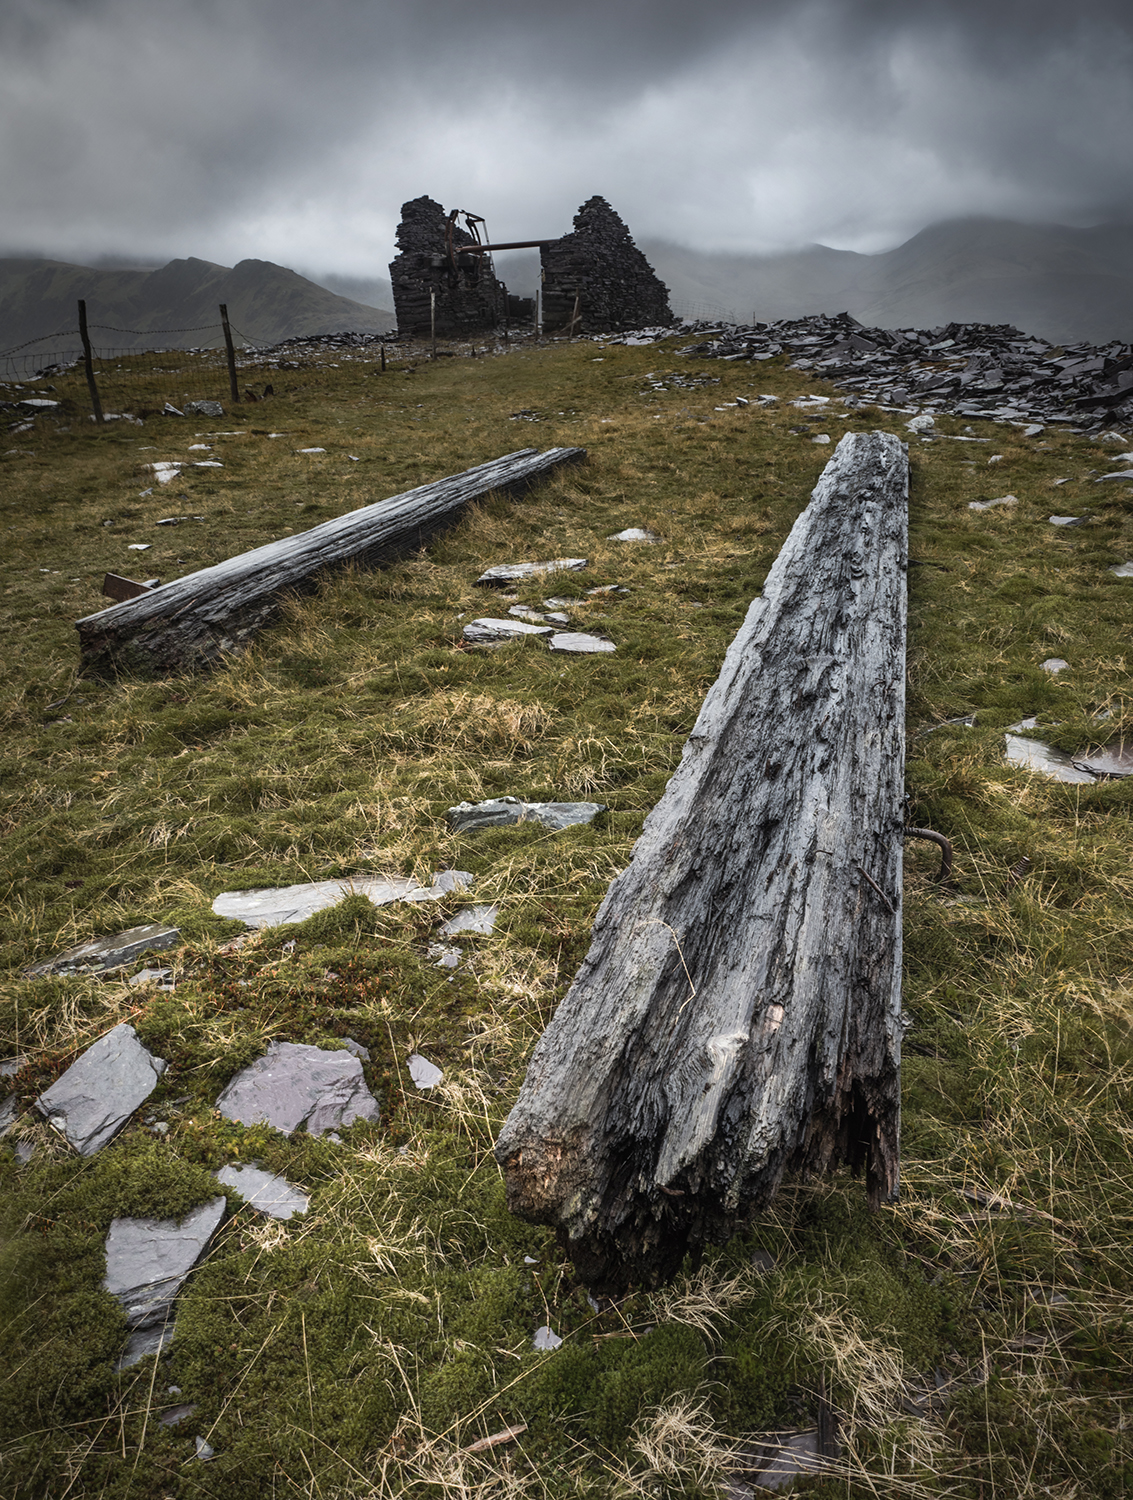
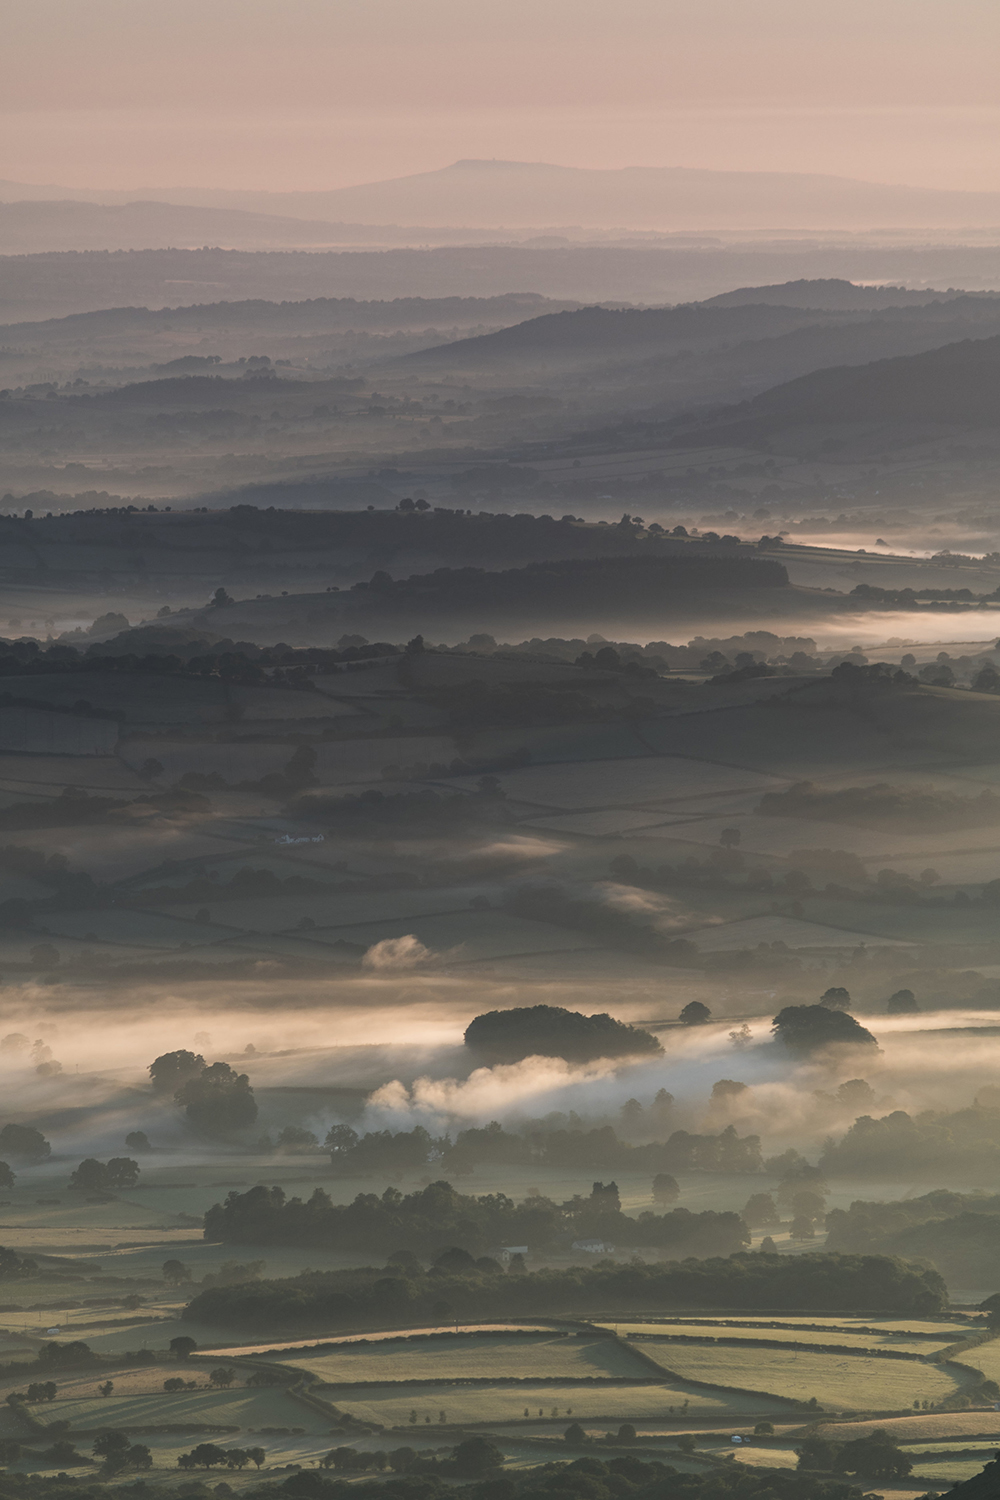
I use the Olympus OM-D E-M5 mkII with the M.Zuiko 12-40mm and 40-150mm f/2.8 pro lenses. This is my go-to for everything and I haven’t needed anything else yet… I’m just eagerly awaiting the announcement of the mark III and the new Olympus lense lineup. Prior to this I used the Nikon D500 which is a fantastic camera but weighs a lot and incredibly bulky. I didn’t use it to its fullest and the benefits of the Micro Four Thirds system far outweighed the keeping of the DSLR.
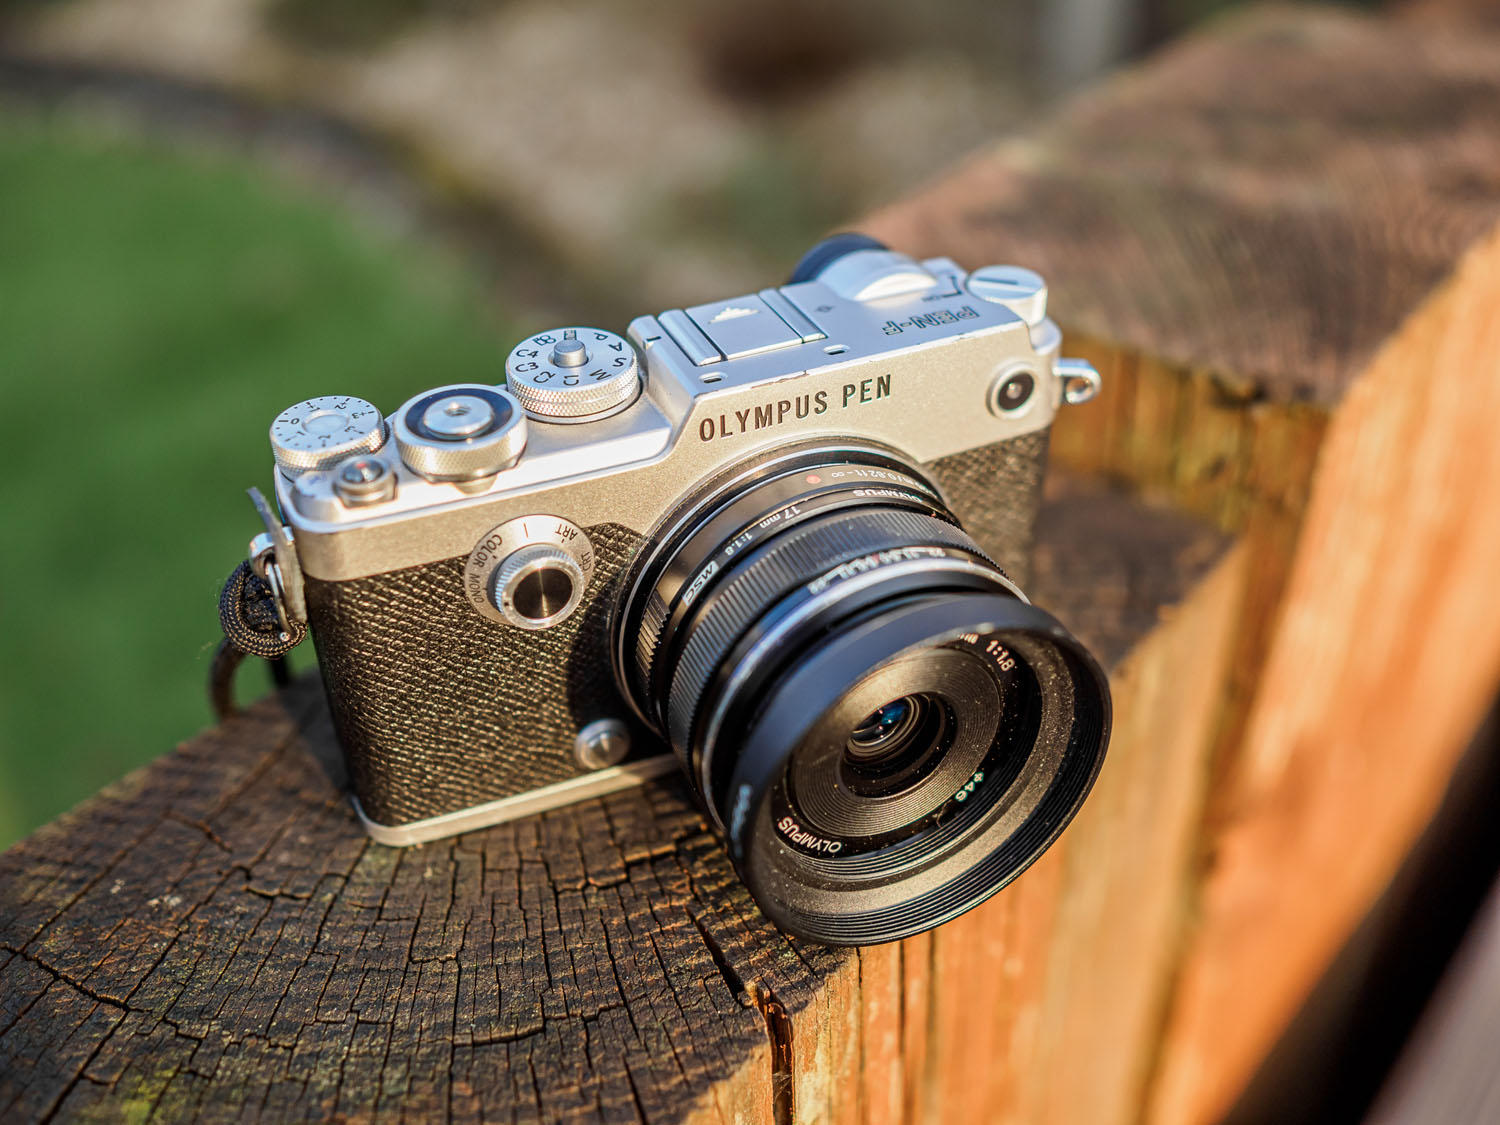
Now I use Micro Four Thirds I can keep the camera with me all the time. The EM-5 mkII is great because with a pancake prime lens like the M.Zuiko 17mm f/1.8 the whole set up fits in your jacket pocket. Between the tiny camera and lens the must have accessories to go with the small system is a tripod. A good sturdy travel tripod and a miniature pocket one, the latter in which never leaves me either.
The next item is a rain cover for the camera, there is lots on the market, but I use the Peak Design shell which doubles up as a camera wrap so I can leave inserts behind and further lighten the rucksack and space used. In terms of equipment for the outdoors, waterproofs! They are a must have so a good rain jacket which can roll up and leave in your pack is a must.
Like my photographic and outdoors equipment used to make my life easier out in the mountains I keep my processing to a few simple steps to help reduce time on the computer. I will create presets to apply to groups of photos taken on a trip to speed up the basic elements of editing. The groups will have similar exposures and settings, weather conditions and light, once these location presets have been applied I will then dive in to each giving further changes with masks, gradients, so on.
Presets in my opinion are never a quick fix and only used a tool to speed up a process. For example, a preset I have used for North Wales in the rain won’t work for a sunny trip to Dartmoor, equally the same preset won’t work for the same location and each is set up for that trip only. So, if you see my presets library I have some 50+ now from numerous trips or where I have tweaked some to reflect other opportunities.
In addition, it helps to have an idea in your mind how the final photo will look. This is easier said than done and for anyone new to photography, this is a key skill I can’t stress enough is worth learning. Composition is king!
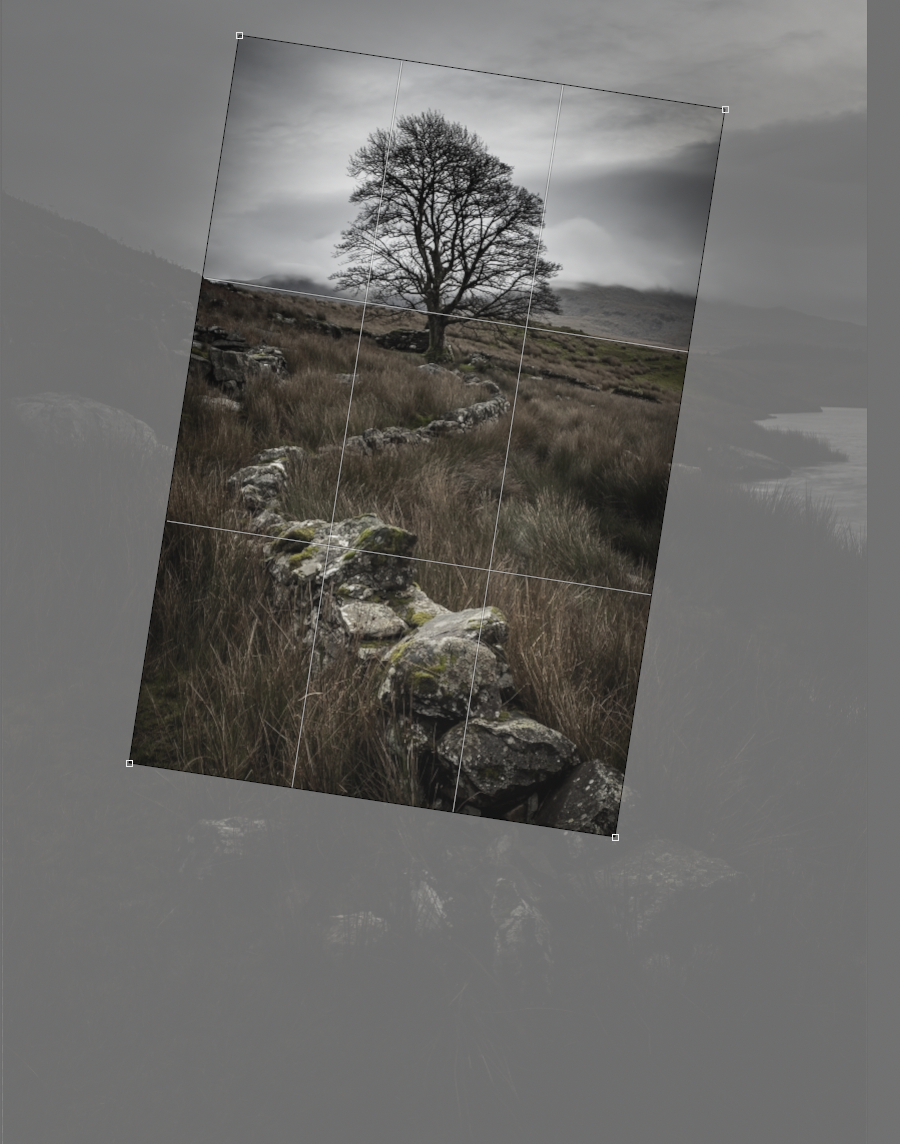
With this photo I knew from previous reach on the area I wanted to have the wall leading up to the tree, but I didn’t want the messy surroundings of the fallen house and lake to the sides so knew a tight crop was required. However, as you will see I have cropped in heavily on the shot, so I have two options for a wider or as it is here. I also tried it in bright light and blue skies and the better photo in my opinion with grey, overcast and wet conditions. It matched the surround earthy landscape of Snowdonia.
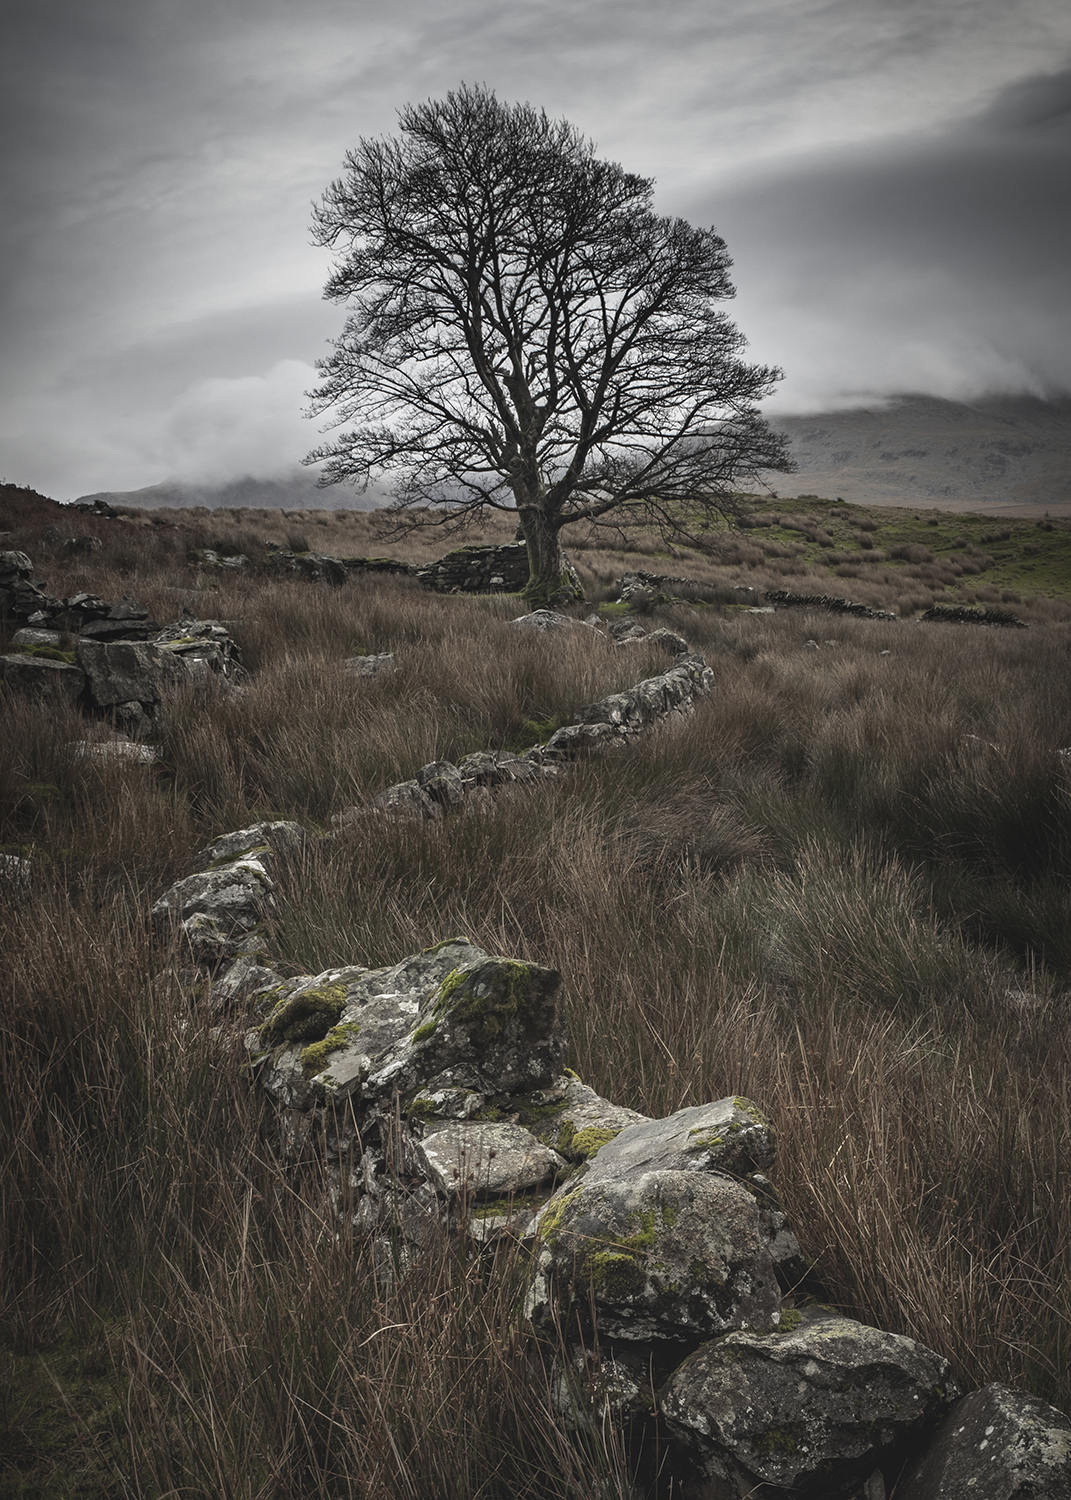
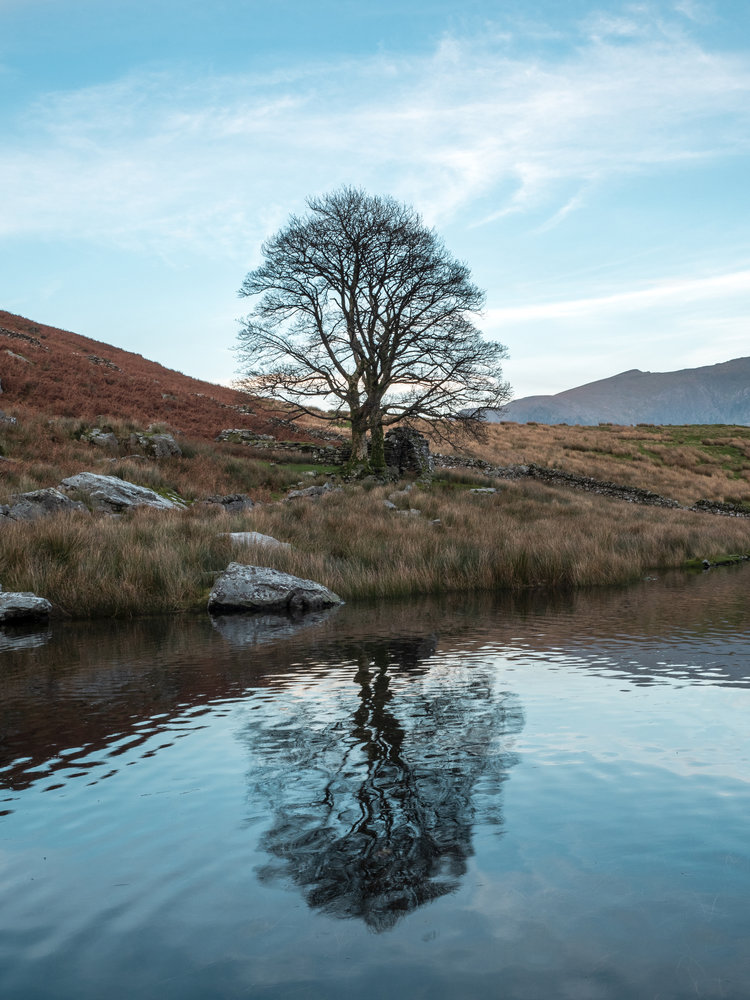
Processing Llyn Y Dywarchen lone tree
In this example I am showing, I have combined four exposures all taken in high res mode on the Olympus. Each exposure is shot on a tripod and using a polarising filter @ f/8, ISO 200, ranging from 1/8th – 1/25th.
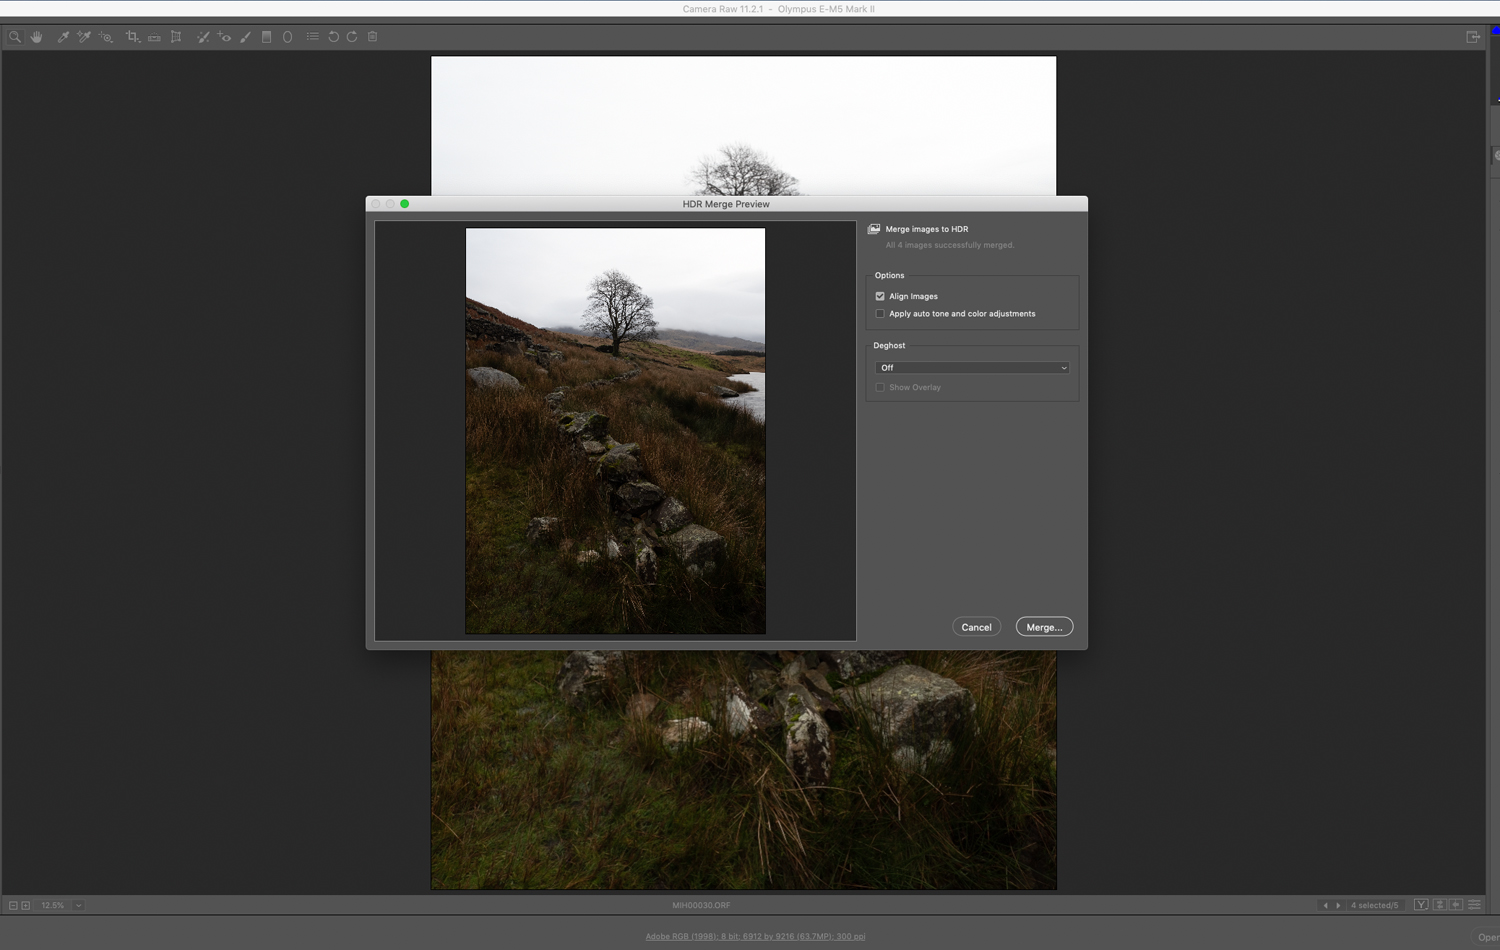
Within Adobe Camera Raw I will merge all four together as a HDR image but not letting the programme make the decisions, so untick everything. This will give me a DNG file with all four images and the information from each, so I have more room to adjust the currently over exposed sky and underexposed foreground with the brick wall.
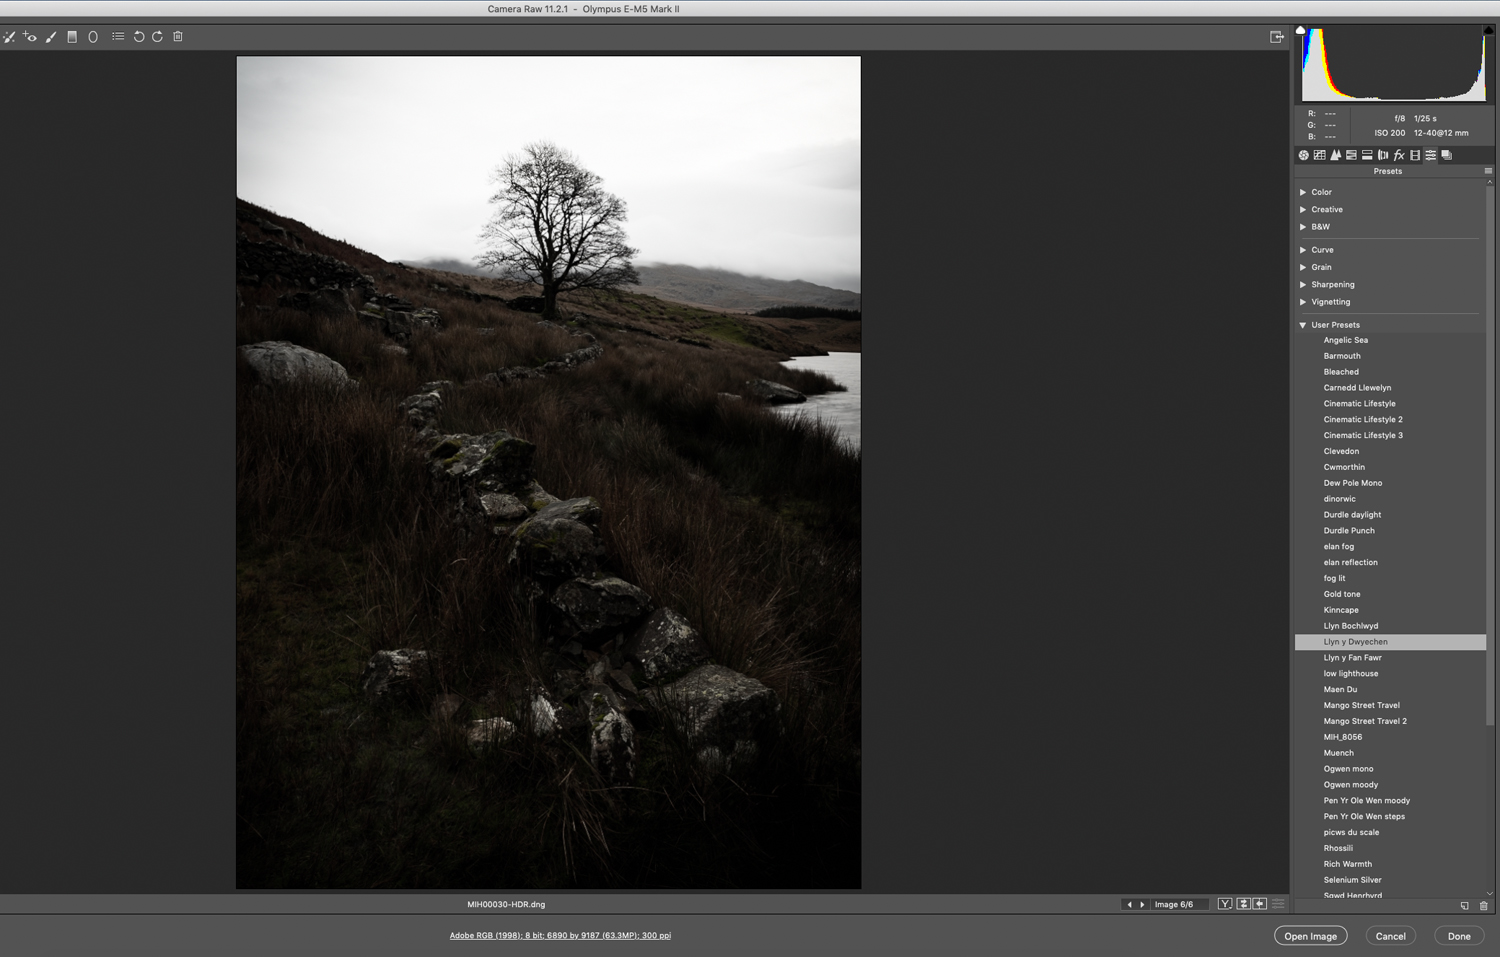
Here I will apply my preset which will give me the look and feel with the exposures and colours I wish to give the final product. As explained before and what you can see I have lots of presets and typically name them from locations visited as they are unique to each trip and light. Many won’t work with other photos and exposures making them unique. So, if you were to copy the settings you wouldn’t get the same look.
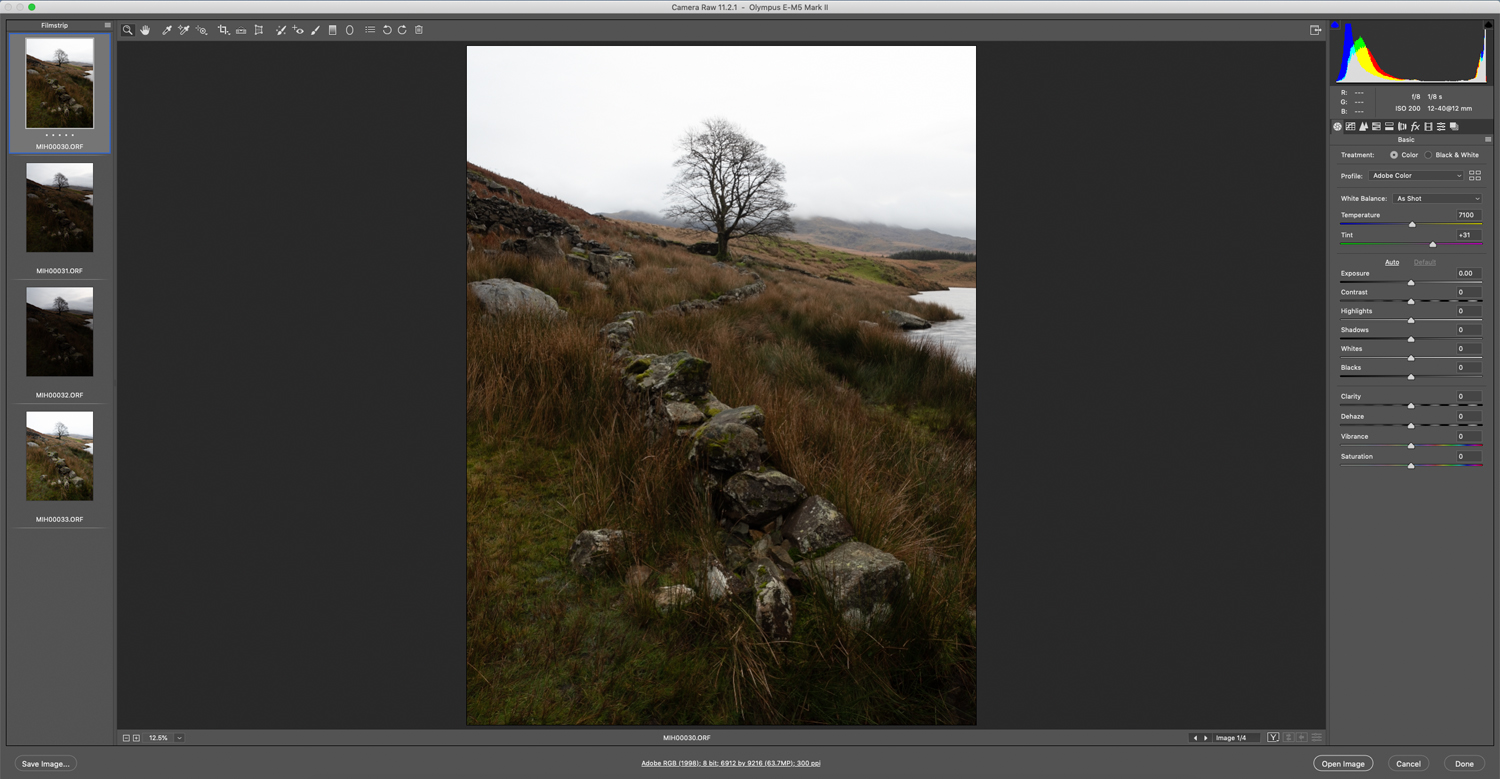
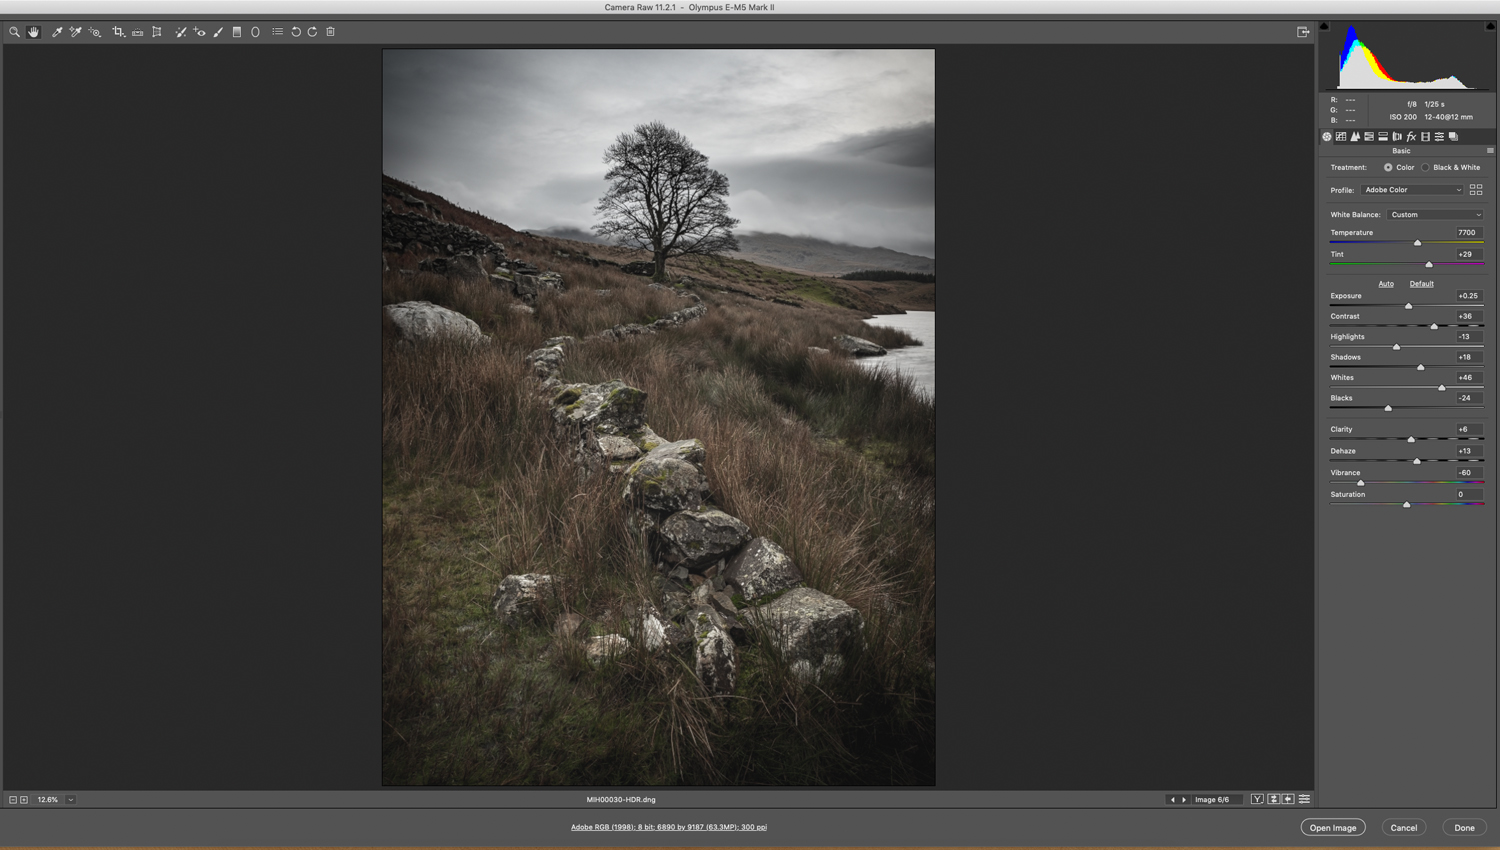
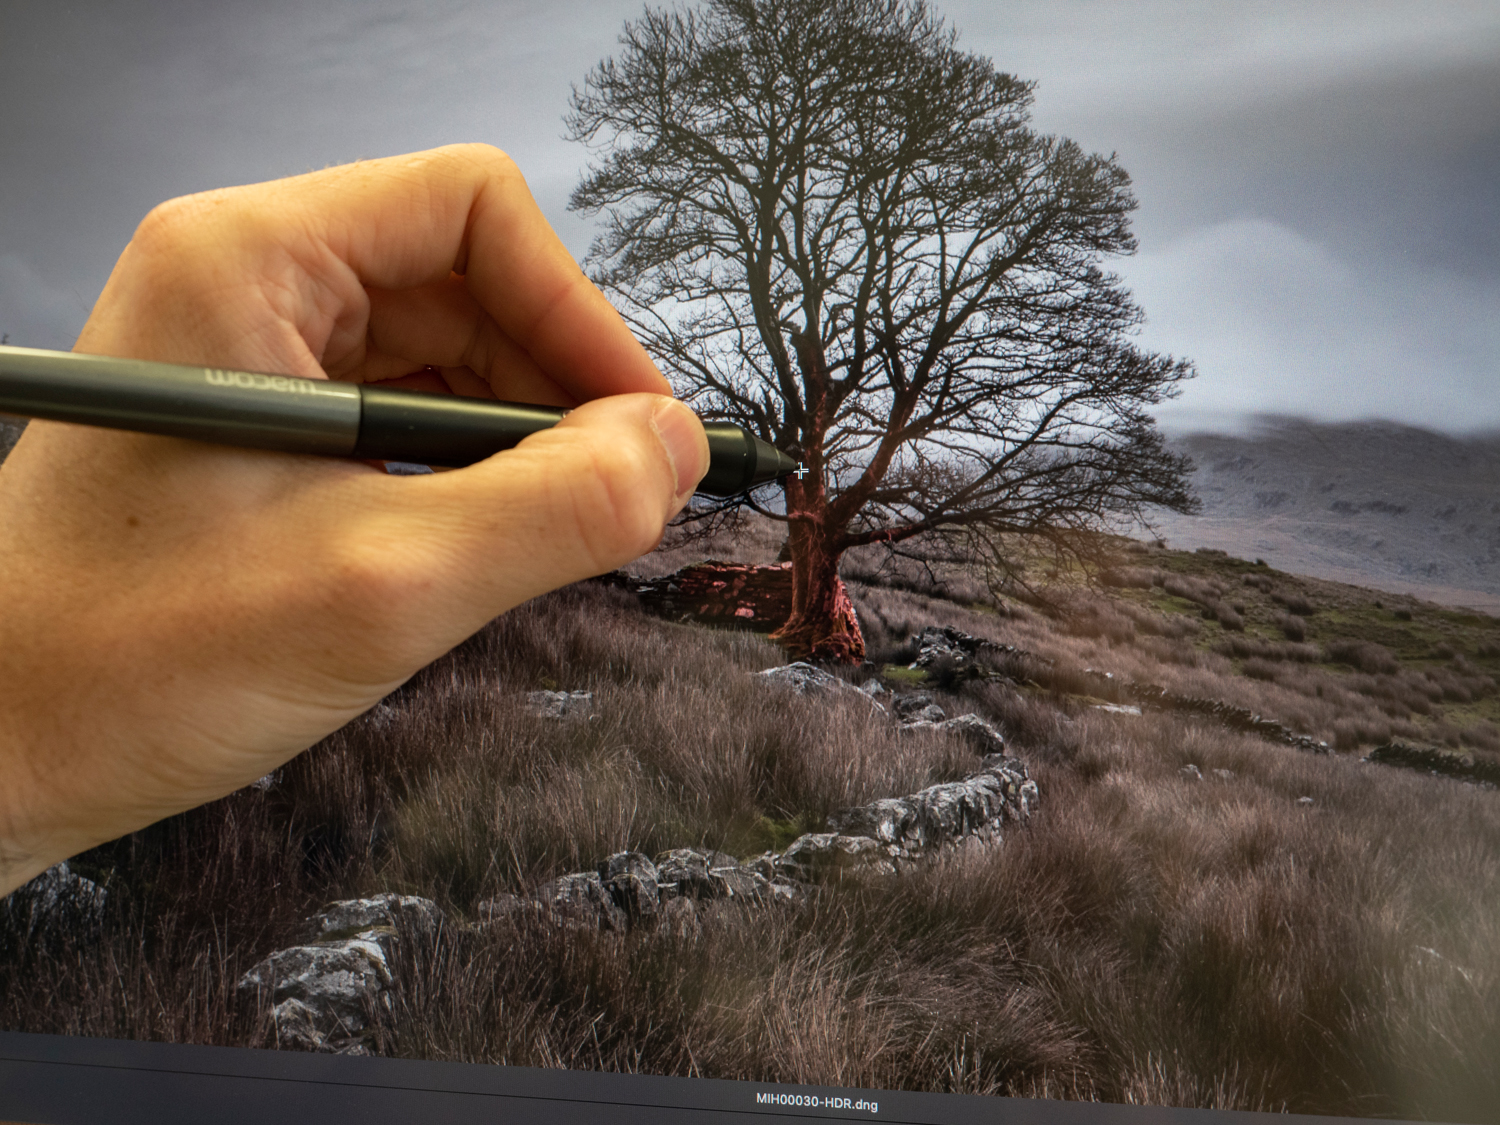
Here is a break down how this preset is made, there are several addition steps after using gradients and the pen tool to create masks. I use a Wacom tablet to help with this, so I have greater control.
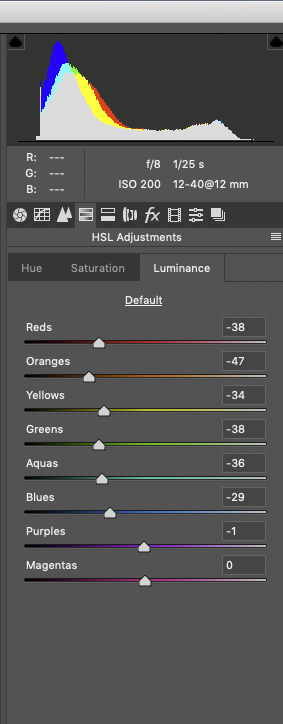
The HSL adjustments are crucial for controlling colour and giving that darker look I have here. I am essentially dropping the saturation and light in all the tones. Vibrancy is brought right down to -60 and Luminance is dropped down to -40 in some instances. I haven’t used the Hue controls here but for further control and adjusting colours this is a great tool to use.
Now the global changes have been made I will use gradients, radial filters and pen tool to make further adjustments which gives me great control over aspects in the framing. I don’t want to have the same exposure and shadows adjusted in the sky as I do in the foreground.
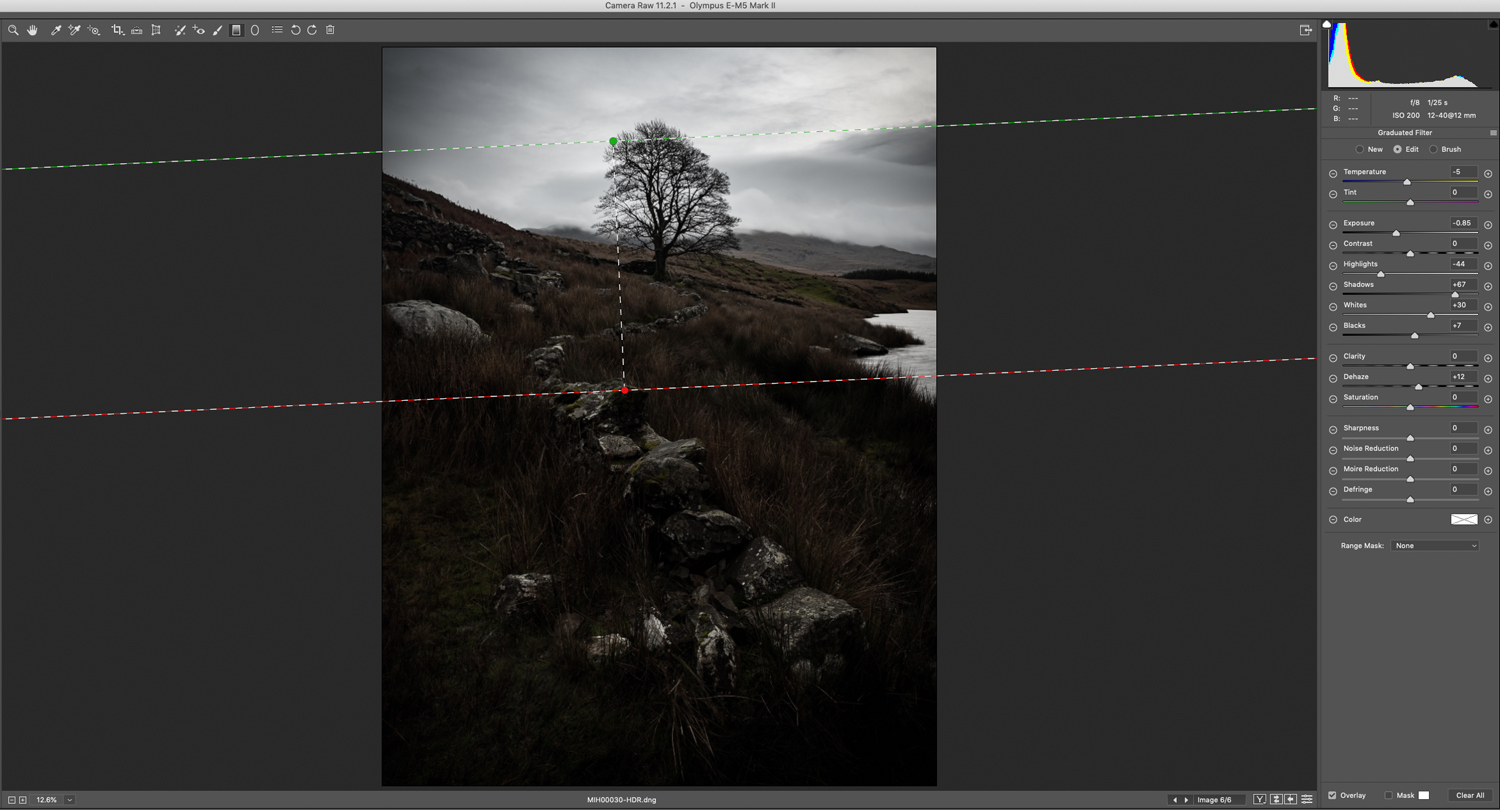
On the left is my adjustments for the sky and on the right making adjustments to the foreground. For the sky I am bringing back the highlights, exposure and dehaze to pull out detail in the clouds, whereas in the foreground I am lighting shadows and exposure to bring the detail of the wall out and stop it from being underexposed as it currently sits.
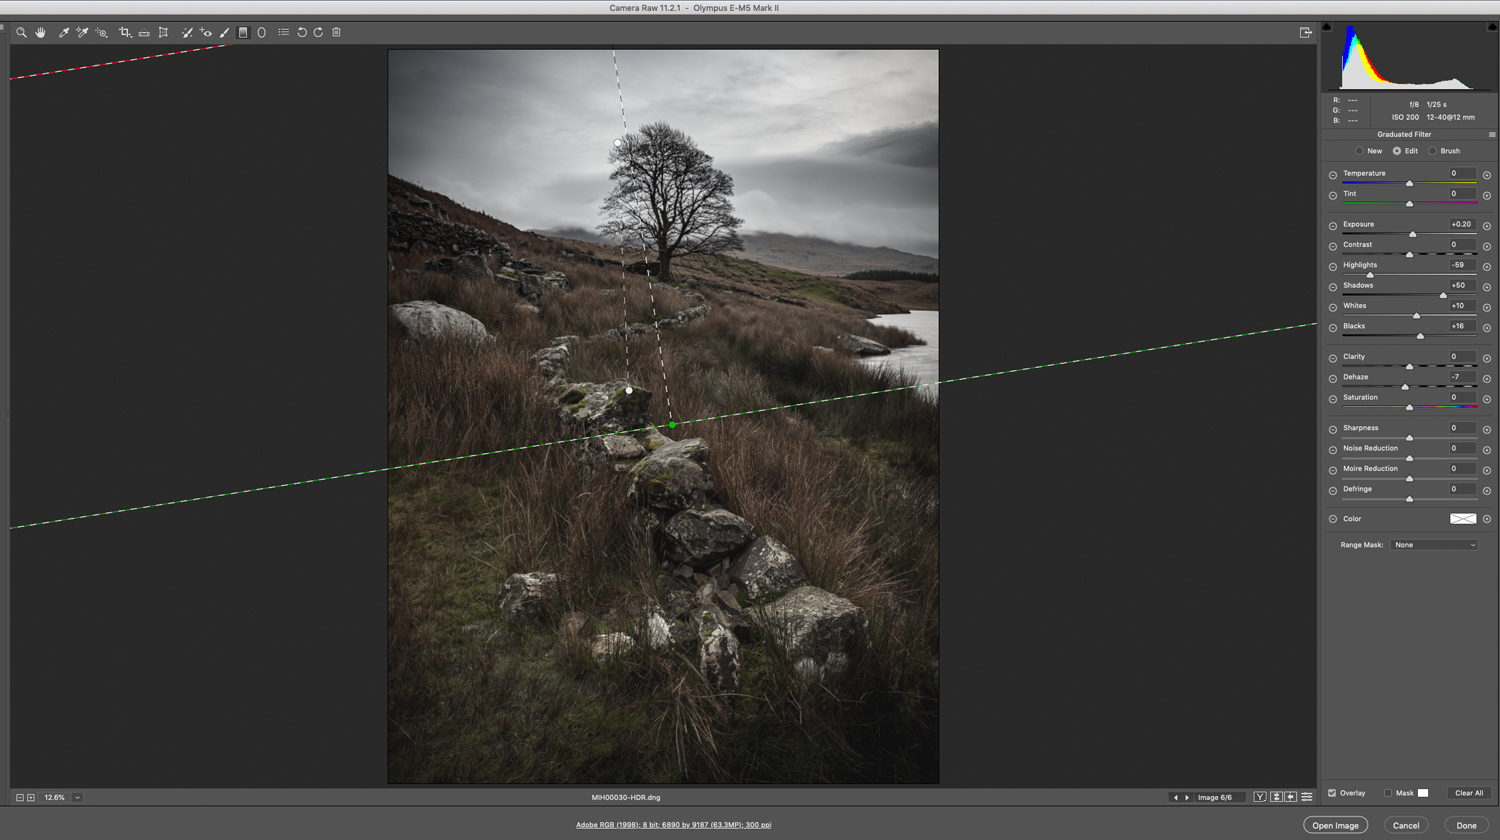
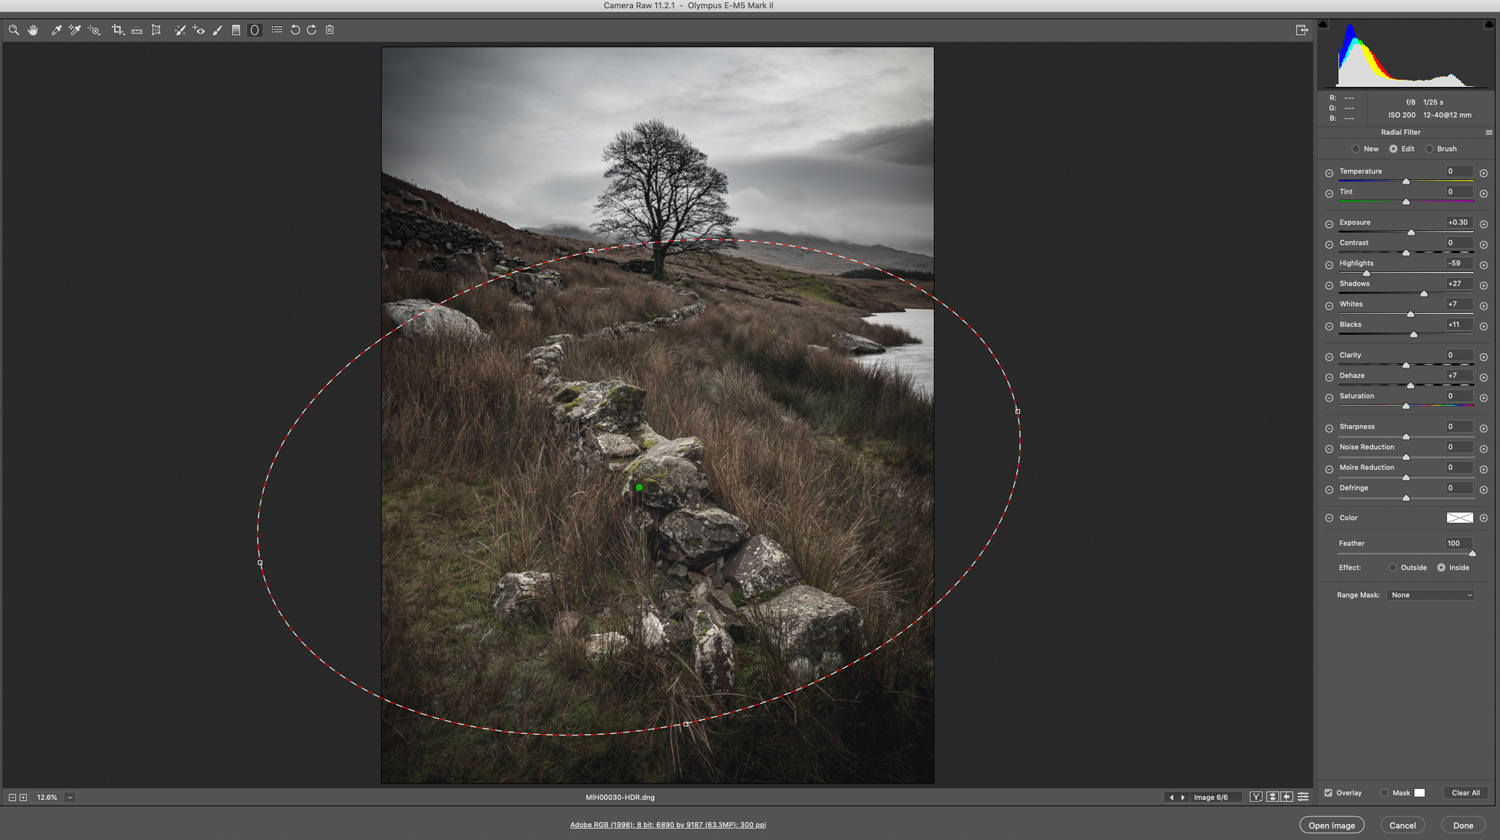
Further to the gradients I use radial filters to control just a ring of the photo, adding some more depth in to this first section of the wall where the gradient has made a global change across the bottom half. Again, lifting the shadows further. Notice how the colours haven’t changed since the first global changes. This helps build the picture up as you add in each element. Further to the filters the pen tool is a must for micro details like bringing detail out from the tree. Filters like the radial and gradient will be too broad and affect elements around the tree so using a pen tool at 1px wide, 30px feathered and adding +20 exposure, +15 shadows, +5 whites, -3 blacks in this instance just brings the details of the tree out.
Now the final step is just cropping the photo in to the final look as you wish. However, it works in a wide angle which has some of the lake to the right or as I prefer the tight crop of just the wall and tree.
Matt Holland is a Berkshire based multimedia, creative designer, photographer and outdoors leader. He began his creative career back in university at Bath Spa (BA Hons Creative Arts and Visual Design). Photography has always been an interest since a young age and further to this has been involved in Scouts and the Duke of Edinburgh award for over 20 years with the last 10 years as an outdoors leader.

