Astrophotography with the Olympus OM-D E-M1 Mark II
“You can’t photograph the milky way with a micro four thirds sensor”
Disclaimer: Though I give tips in this article it is not an in depth tutorial on capturing the milky way and post processing. This article is my experience shooting Astrophotography with the Olympus OM-D system and the techniques I use to capture relatively clean Milky Way images with M43 sensor.
If you google “best cameras for astrophotography” I can almost guarantee you will not find a camera in there with a M43 sensor and logically speaking I can understand why. Astrophotography is all about high ISO performance and excellent low light capabilities. But the idea that M43 cameras are not capable of shooting the night sky is from the early days, when M43 was hardly a thing and everyone was shooting on Nikon or Canon. Nowadays M43 sensors are a lot more powerful and can produce high quality images, with the right techniques.
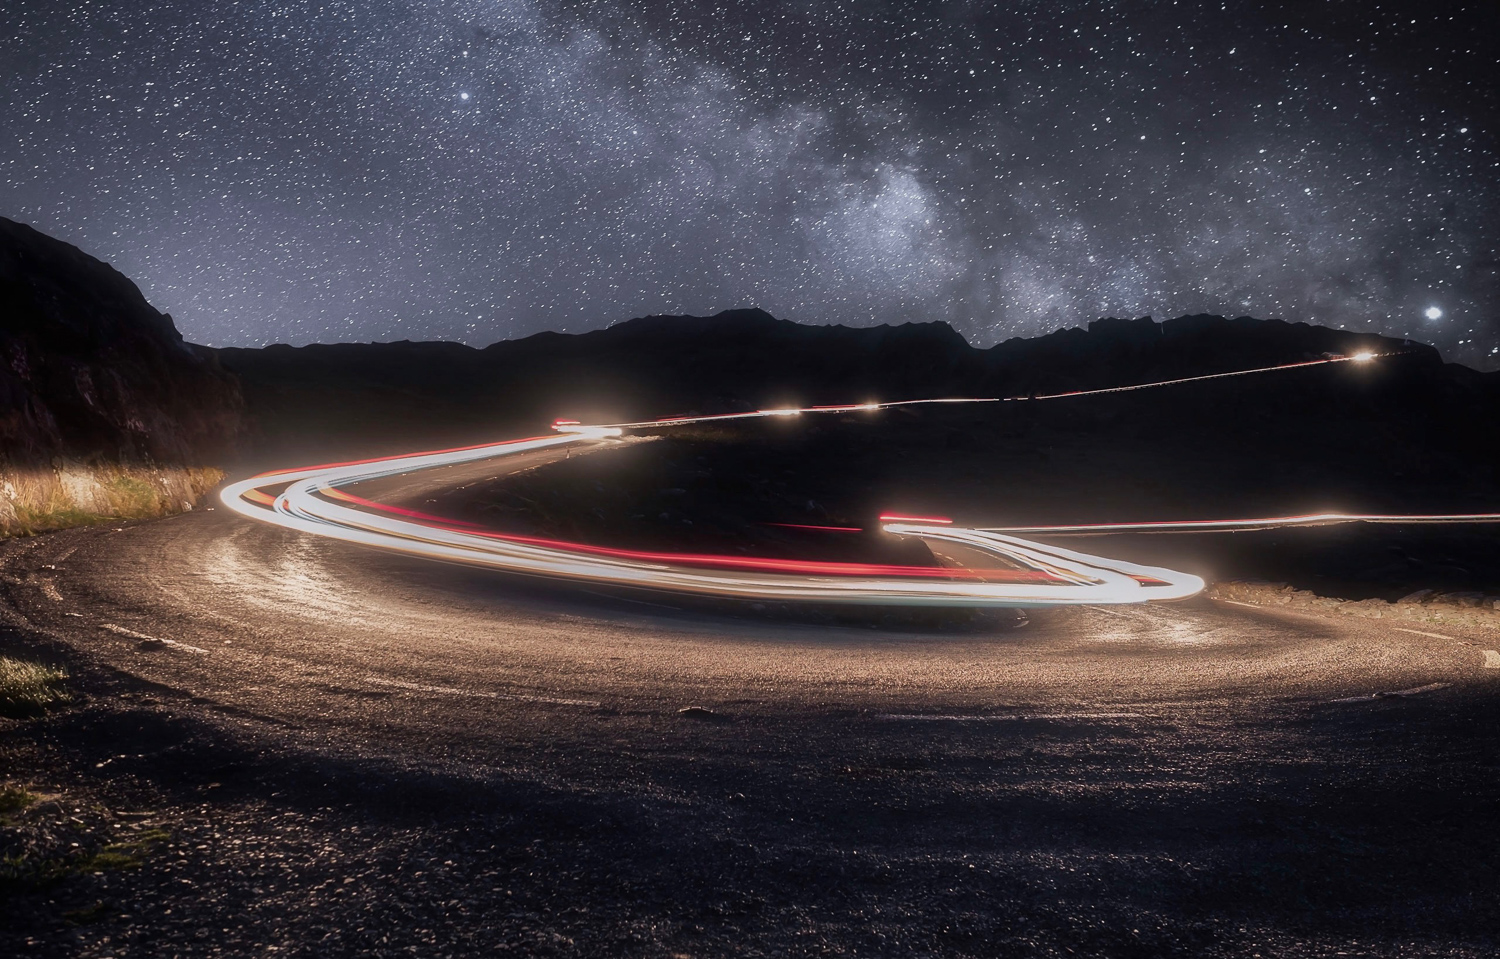
I have always been fascinated by the night sky and ever since getting into photography I wanted to shoot the Milky Way. I remember when I got my first camera I naively went out into my back yard, pointed the camera vertically into the sky and thought that this majestic Milky Way would pop up on the screen! But this article is not about how to shoot the Milky Way per-say, it is more about my experiences shooting the Milky Way with my Olympus E-M1 Mark II and Mzuiko 12-40 F2.8 pro lens. I want to show you that it is more than possible to capture the Milky Way with this system, you just need to do a bit more work in order to get clean results.
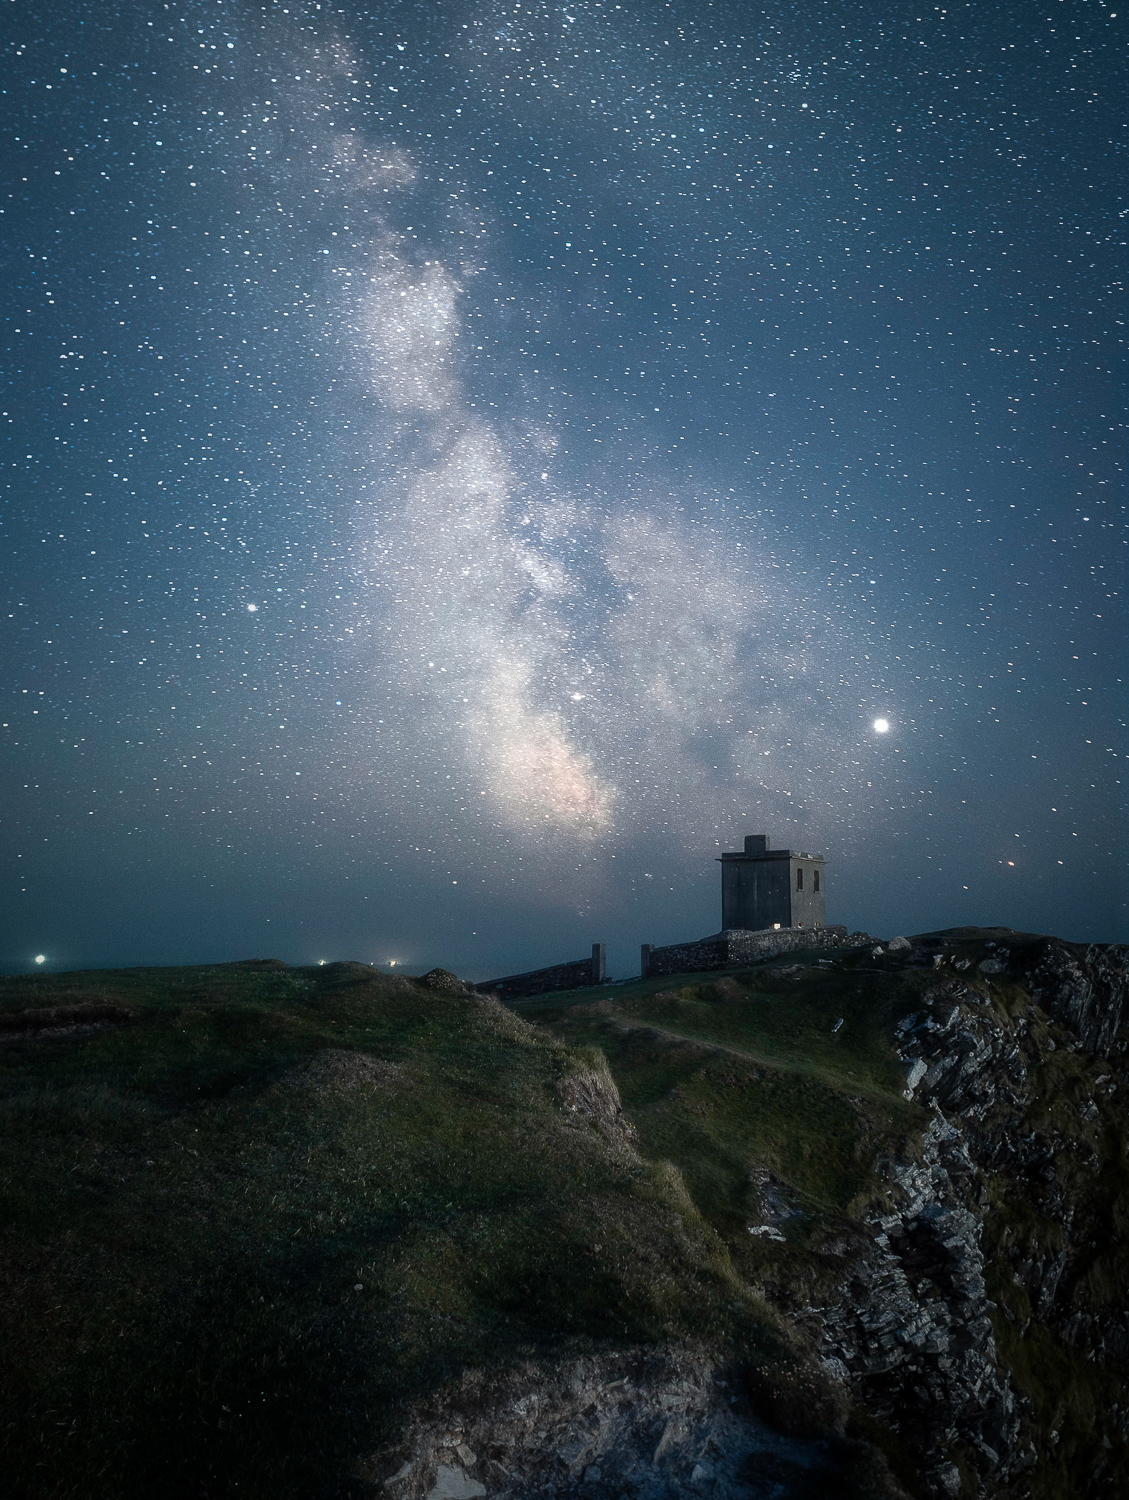
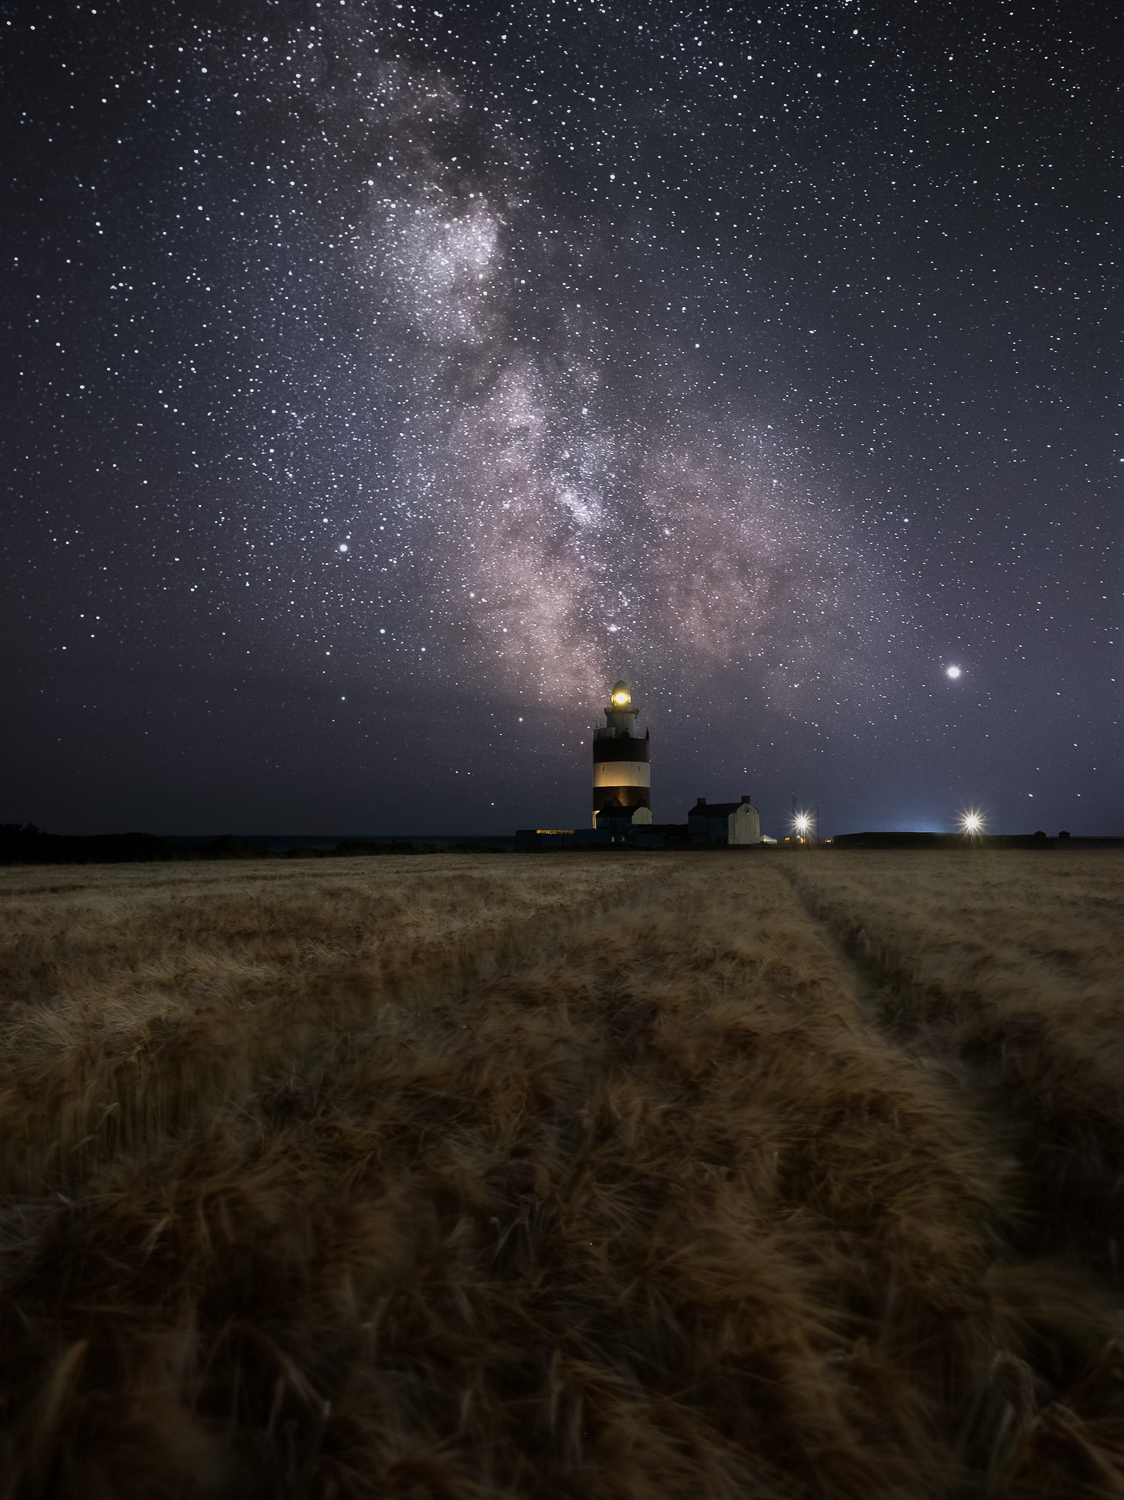
The biggest issue I ran into first when I started to doing astrophotography was controlling the noise in my foreground and also getting the foreground properly exposed. I tried light painting but sometimes I find that looks ugly and artificial. Other times my foreground was just a black silhouette which is fine too but as you progress you will want to capture images that are pleasing throughout. This also opens up creative avenues in terms of foreground interest. Cutting to the point, I have found that shooting my foreground or primary composition during the blue hour or twilight hour gives me a perfect balance of a foreground where the noise is low/you can see all the details but also an exposure that will blend naturally with a sky shot taken an hour or so later. It is important that the blend is natural or else the image just looks fake.
Your foreground matters:
Generally I will shoot my foreground at an ISO no higher than 200 and for 1-2 minutes depending on the composition. I then wait, this is time consuming for sure and requires you to be at your location around sunset to enable you to find a composition, set up your shot, capture your foreground and then wait to capture the night sky.
Now take this advice for what its worth, this is my technique and one that has enabled me to get (in my opinion) quite nice images with a sensor that is half the size of the full frame cameras that are generally associated with astrophotography. It is perfectly acceptable to capture the image all in one frame, its just that on a M43 sensor there may be a lot more noise than you would normally see.
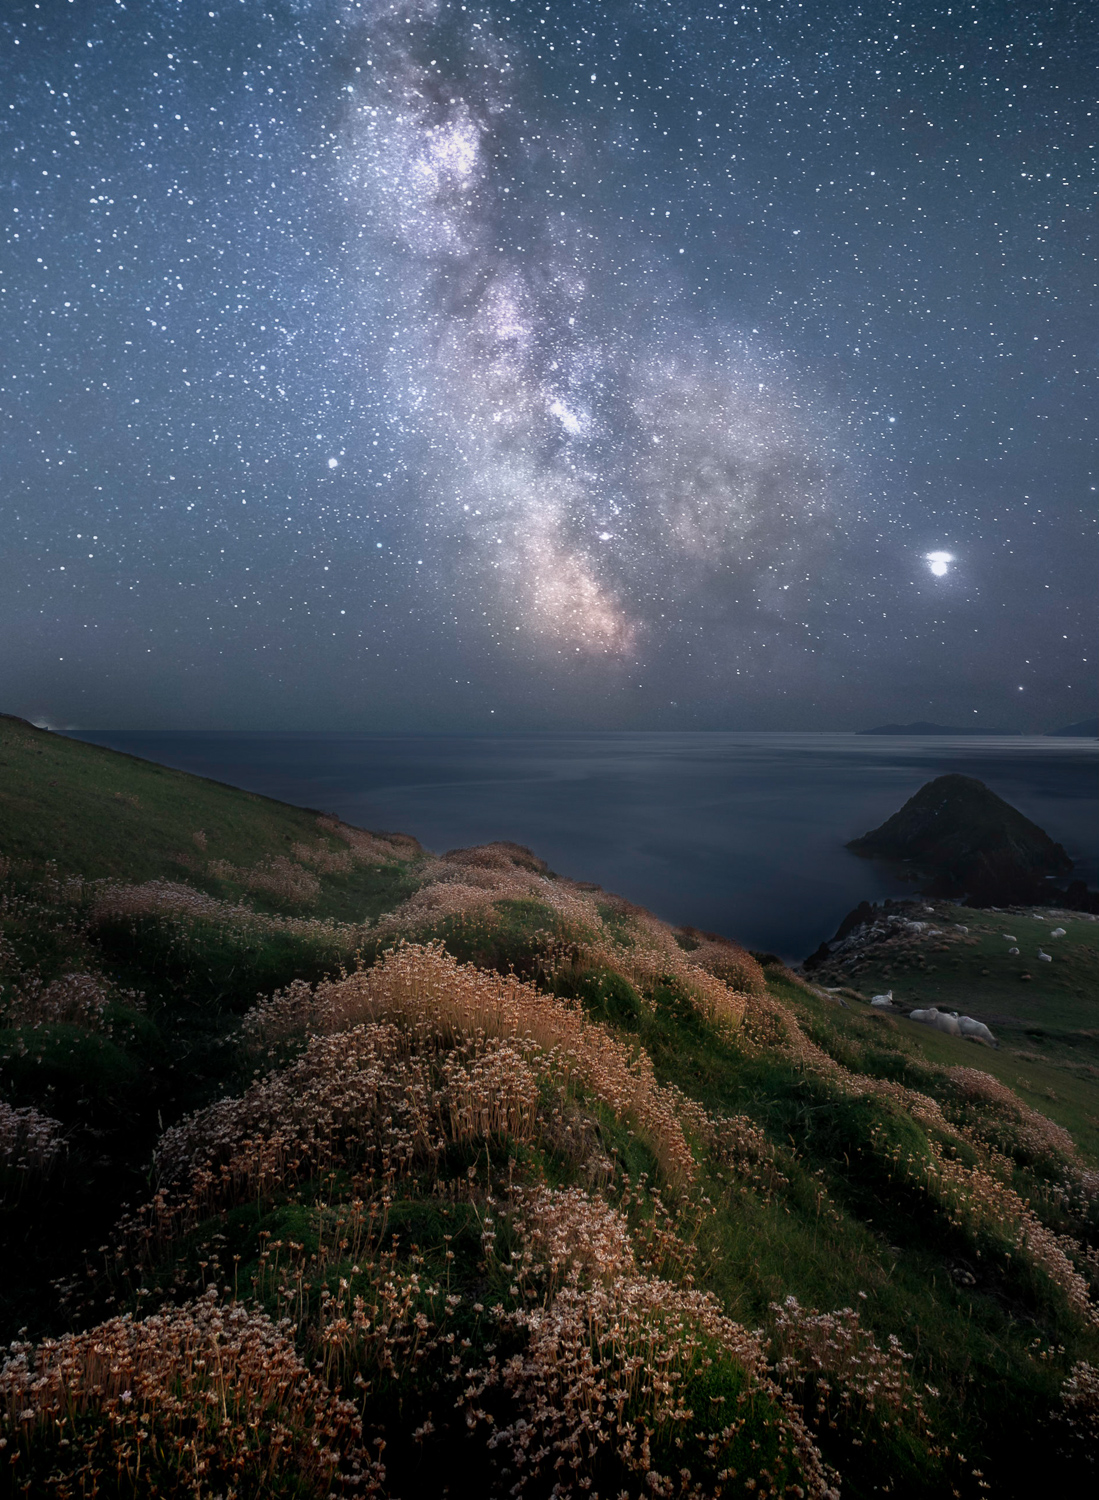
In terms of actually capturing the Milky Way, I have found that stacking images shot one after another at a lower ISO than what would generally be used helps to reduce the overall noise but also increase detail in the Milky Way and stars. Of course you could buy a star tracker which will allow you to shoot longer exposures as the camera will move with the track of the stars so that they stay sharp. But if you do not or cannot afford a star tracker then fear not!
That beautiful sky:
Typically I will shoot my Milky Way using the following settings:
ISO 1200-2000
F2.8
20 second shutter speed
12mm (24mm FF) focal length
Due to where I live (Ireland) this enables me to capture a Milky Way shot without getting star trails. I believe if you are in the southern hemisphere you may need to use a shorter shutter speed so that your stars are sharp (remember the stars are moving; well the earth is as it rotates which means too long a shutter speed will cause motion blur in the sky).
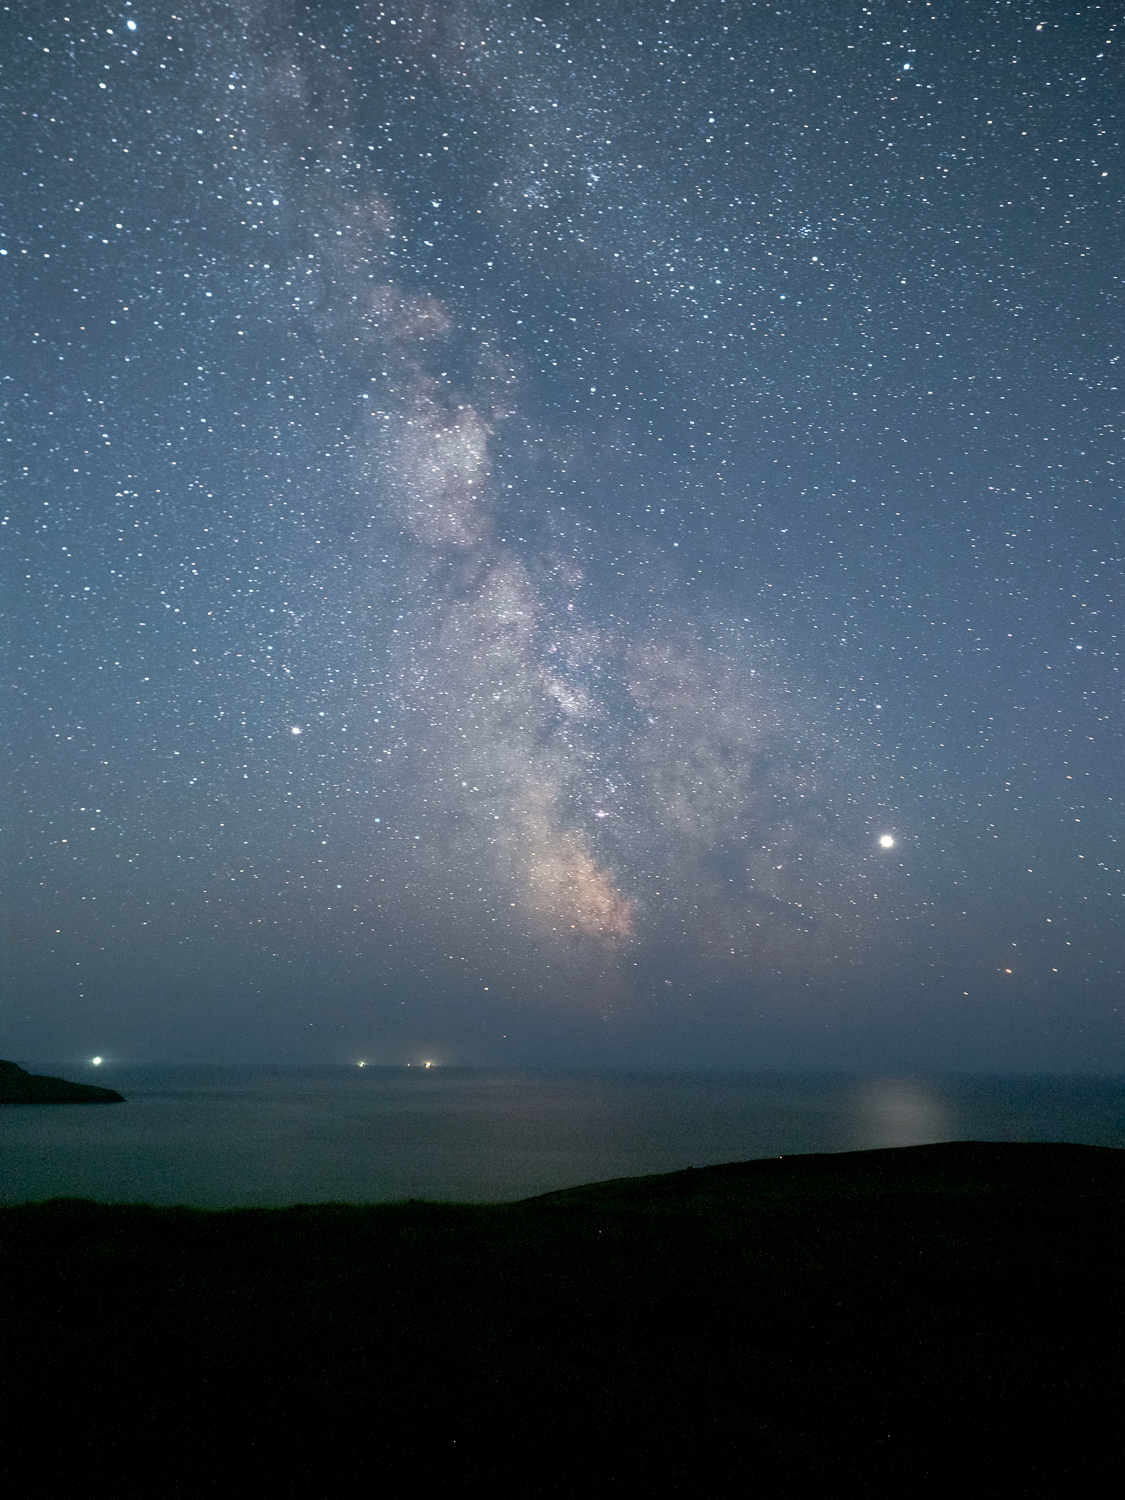
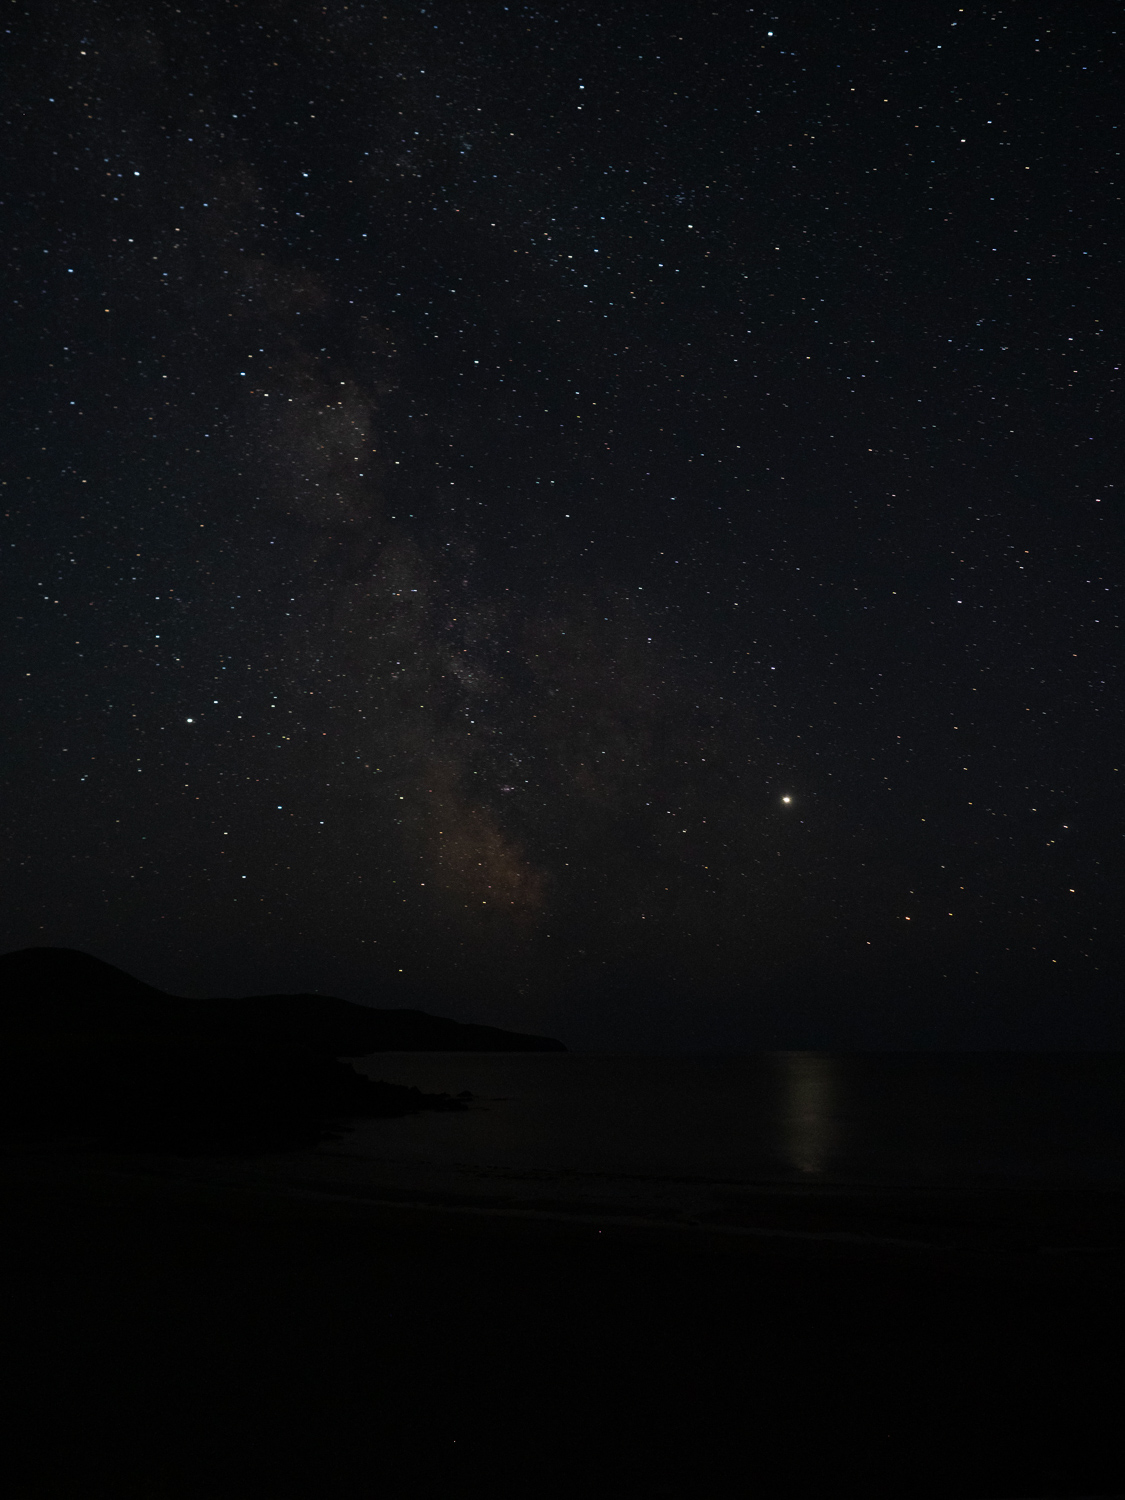
Have a look below at one of my typical raw files of the Milky Way.
Now take a look at the finished TIFF file which has been stacked using Sequator, this is a method which I think is a must if you are shooting the night sky, not just on a M43 camera but in general. It reduces overall noise and increases detail.
So what next?
In post processing I will blend the Milky Way shot with my blue hour shot to get the results you have seen above and below. Sometimes this can be tricky depending on what objects are on the horizon and also matching up the two images. If I think the blend will cause issues I will move towards the horizon more and shoot the night sky with just the Milky Way, ocean and a clean horizon. When i’m inland this is not possible so I am forced to just leave my camera in the exact same spot where I shot the foreground, sit in my camping chair and wait. Once it is not terribly cold or windy this is nice and gives you time to appreciate the night sky. As I said at the beginning of this blog this not a technical guide on how to capture the Milky Way or post process, there are thousands of those online. This blog was intended for photographers who wish to capture the Milky Way but feel they are limited given the gear they have.
So don’t let anyone tell you your camera is not good enough to shoot the milky way, even if you don’t get the perfect shot or the cleanest it is worth it just to stand underneath the stars and watch it arc over your head. The stars truly are a magical sight and something to behold on those crisp clear nights.
So I hope you have enjoyed reading and having a look at some of my astrophotography shots. I wish you the best of luck and happy stargazing!

“I am an Irish landscape photographer based in Co Limerick. Ireland’s landscape is one which continuously offers stunning images and spectacular scenery. While shooting images with the Olympus OMD system I also love to write and discuss all things photography offering tips and some help along the way.”





Tobias W.
April 20, 2020 @ 16:07
Very nice article. Thanks for sharing this!
I agree, it is possible to take beautiful night time images with a small sensor camera. I found this shot by Bryce Bradford
on Flickr: Nocturne. This was taken with an Olympus XZ-2. Yeah. Jaws dropped. I couldn’t believe that amazing result either.
I will try the image stacking technique with my E-M1 setup. I am hoping to get my hands on the 8mm f/1.8, which should also help with getting in more sky and reducing the ISO some more or keeping shutter speeds lower.
David Bateman
April 20, 2020 @ 16:07
Great article,
Actually one of the most popular sensors for Astrophotography is the similar one in the Olympus Em1mk1, the Panasonic MN34230. Its inside the ATIK Horizon, Horizon 2, ZWO 1600MM, the QHY 163 camera.
These are very popular.
An other popular M43rds sensor is the 10Mpixels Sony IMX294. It found in many other dedicated Astrophotography cameras.
Tomek
June 7, 2020 @ 11:47
Absolutely brilliant tutorial, thanks!
Stefano Foresi
August 12, 2020 @ 20:26
Thanks for you tips.
I’ve started shooting the Milky Way with my E-M10 mk1 years ago, now I’ve moved to a new E-M5 mk3 but for my first shooting night I haven’t got a great result: I’ve shot at ISO 3200 with a lot of noise. I’ve tried to stack in Sequator but the result is not satisfaying. The single RAWs have a color gradient different for each shot (some tend to red, others to blue, green, cyan etc), those images where captured using in-camera time lapse timer. I’m trying to figure out witch is the problem. Any help would be appreciated, thanks 🙂
Dario
August 16, 2020 @ 14:50
if yo werent’t shooting RAW i would say its a white balance issue, you can try white balance 3500 kelvin
Walter
August 17, 2020 @ 22:27
Always shoot at fixed white balance, either “sunny” or “cloudy”. I find ISO 3200 too noisy and wouldn’t go higher than 1600 but YMMW.
Never had a problem with the witch, though. 😉
Serge
January 12, 2021 @ 13:57
I have Olympus ED-M10, I always have been fascinated with the night sky, i have huge telescope and always watch the Nebulas, planets, and stars. I wanted to finally take some good pictures, I bought a camera that I could afford the Olympus M10, and have been messing with it for a week, figured some setting for not shots where dark streets look very nice and bright and grass is green…lol But I would really appreciate if someone can help me with settings for stars and Milky Way shots.
I also bought an adapter so I can take pictures through telescope, and I bought Micro Lens Fisheye view… please help, I’m just starting to use cameras and not smart with it, I cant even adjust the focus
Wolfgang Medlitsch
July 25, 2021 @ 17:01
the size of an MFT sensor is a quarter the size of a FF sensor, the diagonal is the double size!
Miguel
December 9, 2022 @ 00:37
Very good detailed experience/information. Thank you for sharing.