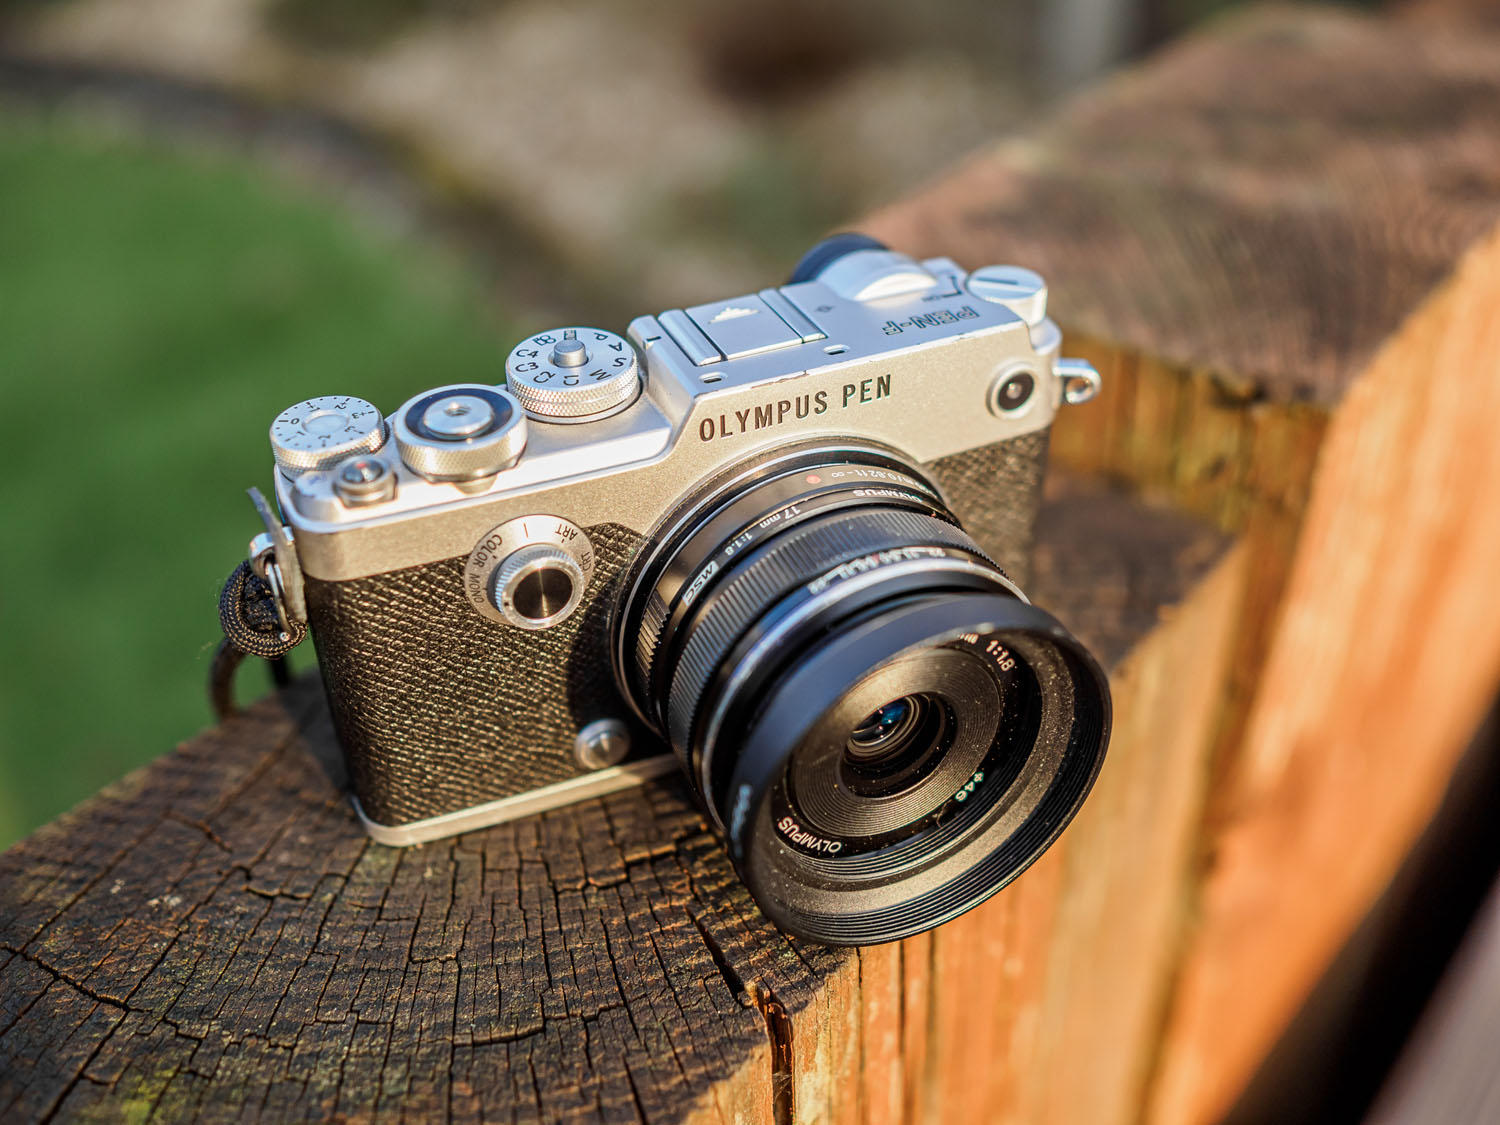
Making-of a documentary short film, with Olympus E-M5 Mk II
I am often asked what is my process as I make the kind of documentary short films that I like to make (and that I appear to be good at if you believe the clients who hire me and the the film festivals who select my work for screening).
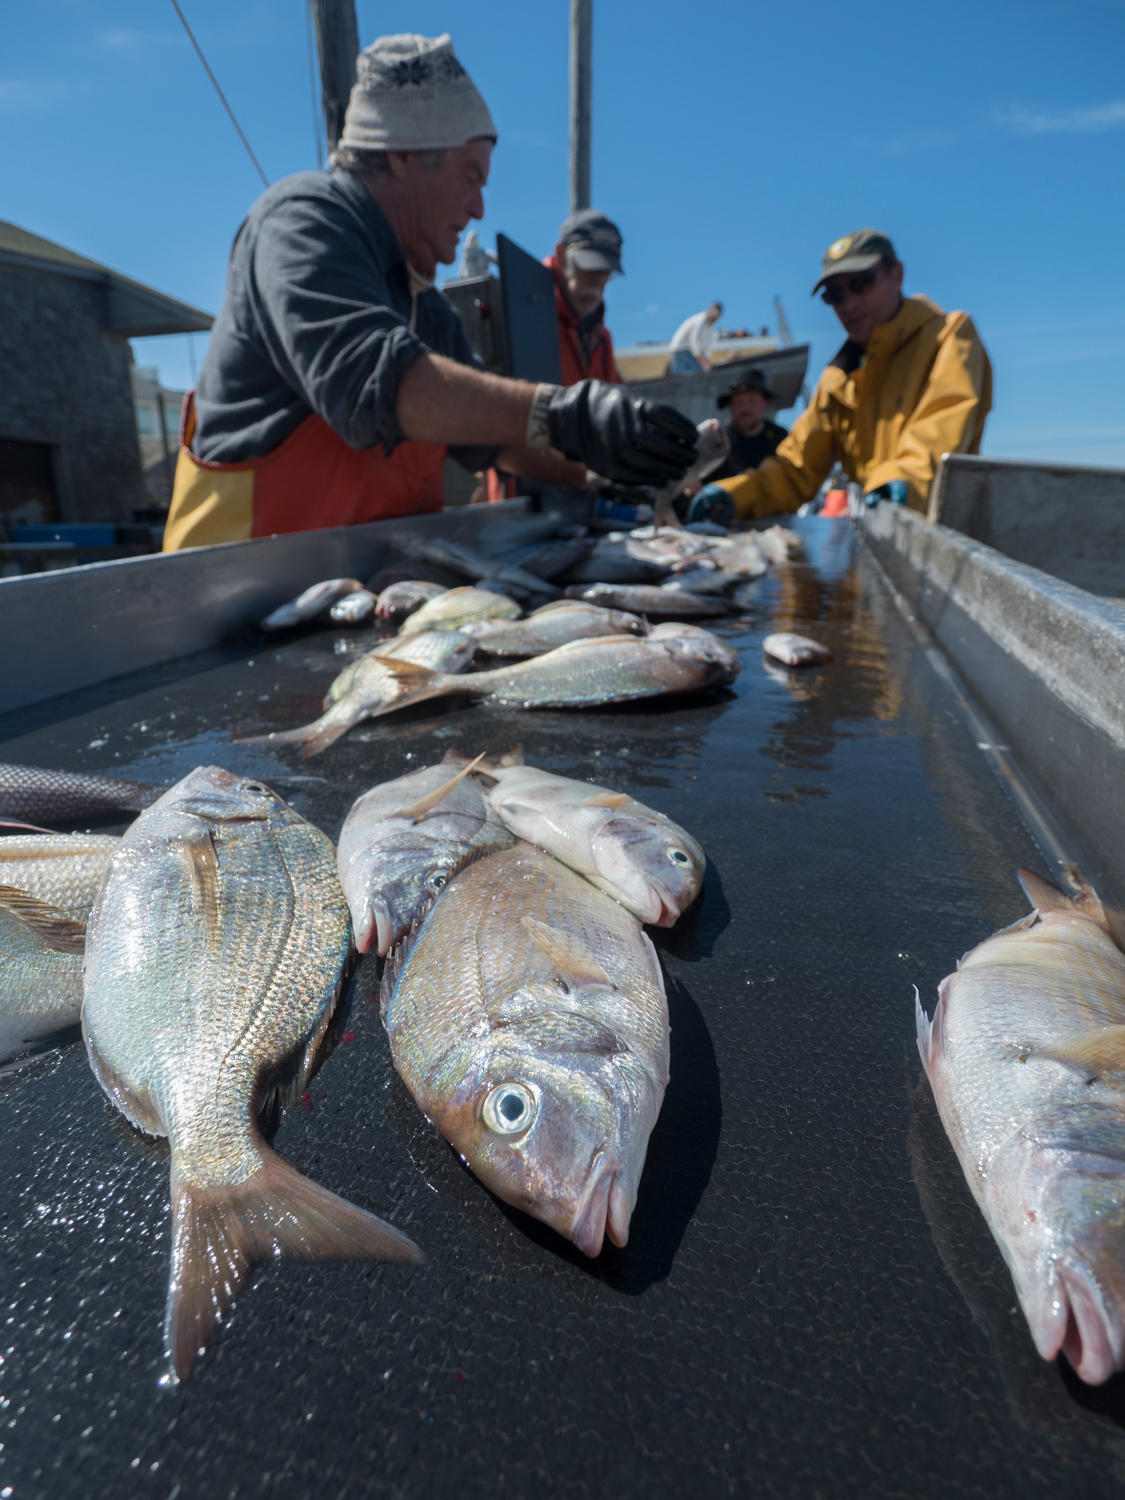
For example, my short documentary film, Farm Time, premiered in June of 2017 at the New Haven Documentary Film Festival. Being juried into a film festival like that is important. It tells me that a given film is in fact good, since the film succeeded in the eyes of film festival reviewers, people who get paid to look at lots of films. The other film I will be discussing, Trap Fishing, was similarly selected in 2018 for inclusion in the Voices from the Waters International Traveling Film Festival in Bangalore, India.
© 2013 David H. Wells
© 2013 David H. Wells
© 2013 David H. Wells
Farm Time can be found at https://vimeo.com/216434196 and Trap Fishing can be found at https://vimeo.com/235236443. To better appreciate this article you might want to watch those two films first. My selected videos can be seen on Vimeo at https://vimeo.com/thewellspoint
Both film started as assignments for one of my favorite clients, the Rhode Island based on-line and print magazine, Edible Rhody. The publication (according to their web-site) “…. celebrates local food of the Ocean State and tells the stories of the farmers, chefs, fishers and food and beverage artisans who work and live here.” http://ediblerhody.ediblecommunities.com/
A lot of what makes my best work possible is simply having good relationships with the people that I work with (both the clients who pay me and the people in the various movies). I know that seems obvious, but it is a very important first step. For example, my editor at Edible Rhody has limited budgets, so we meet periodically to discuss which assignments she needs covered to figure out how her needs align with my interest in her potential projects.
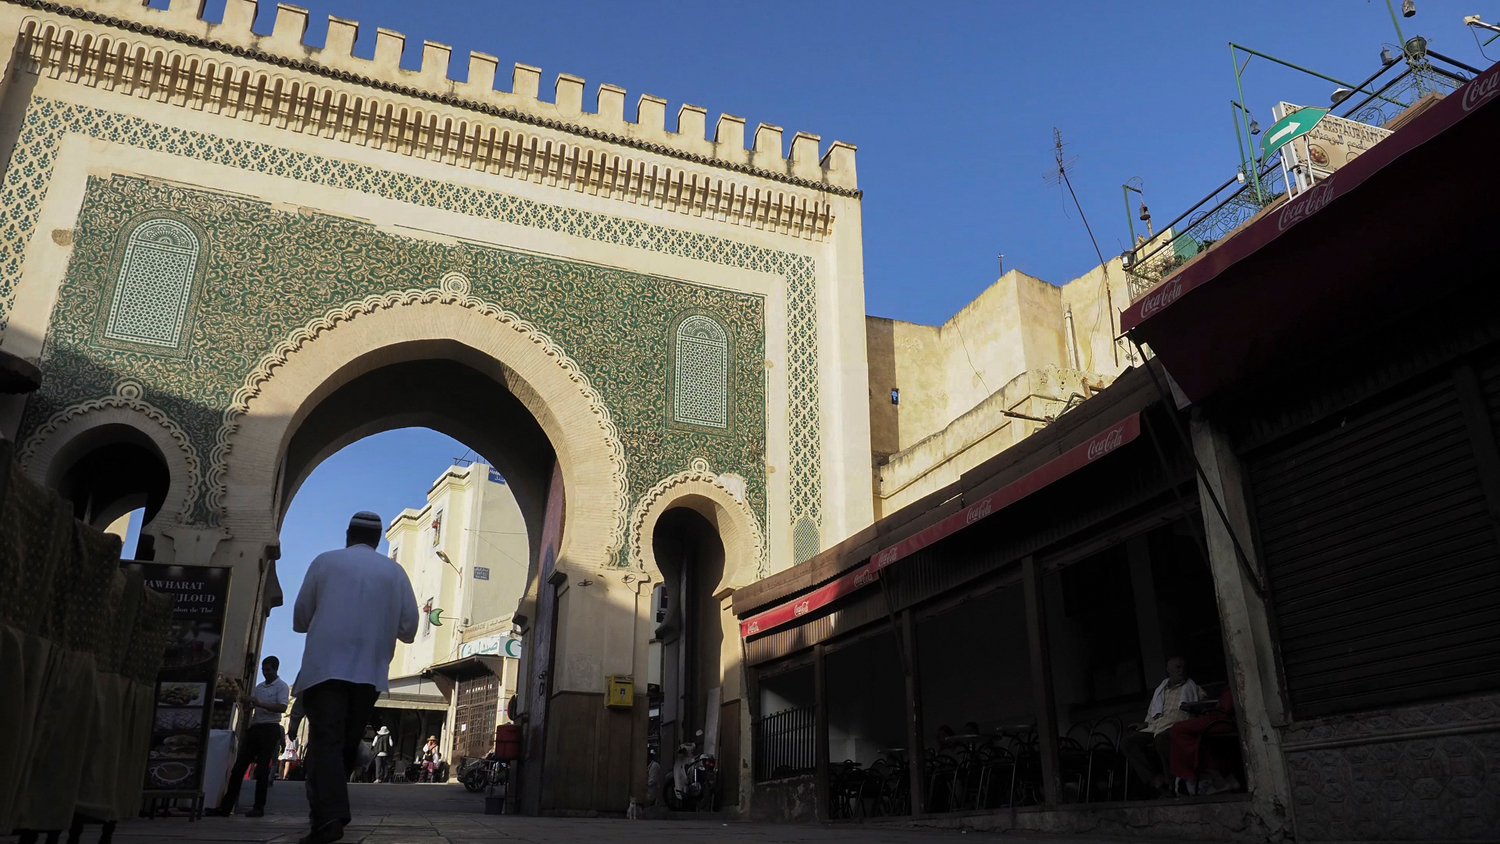
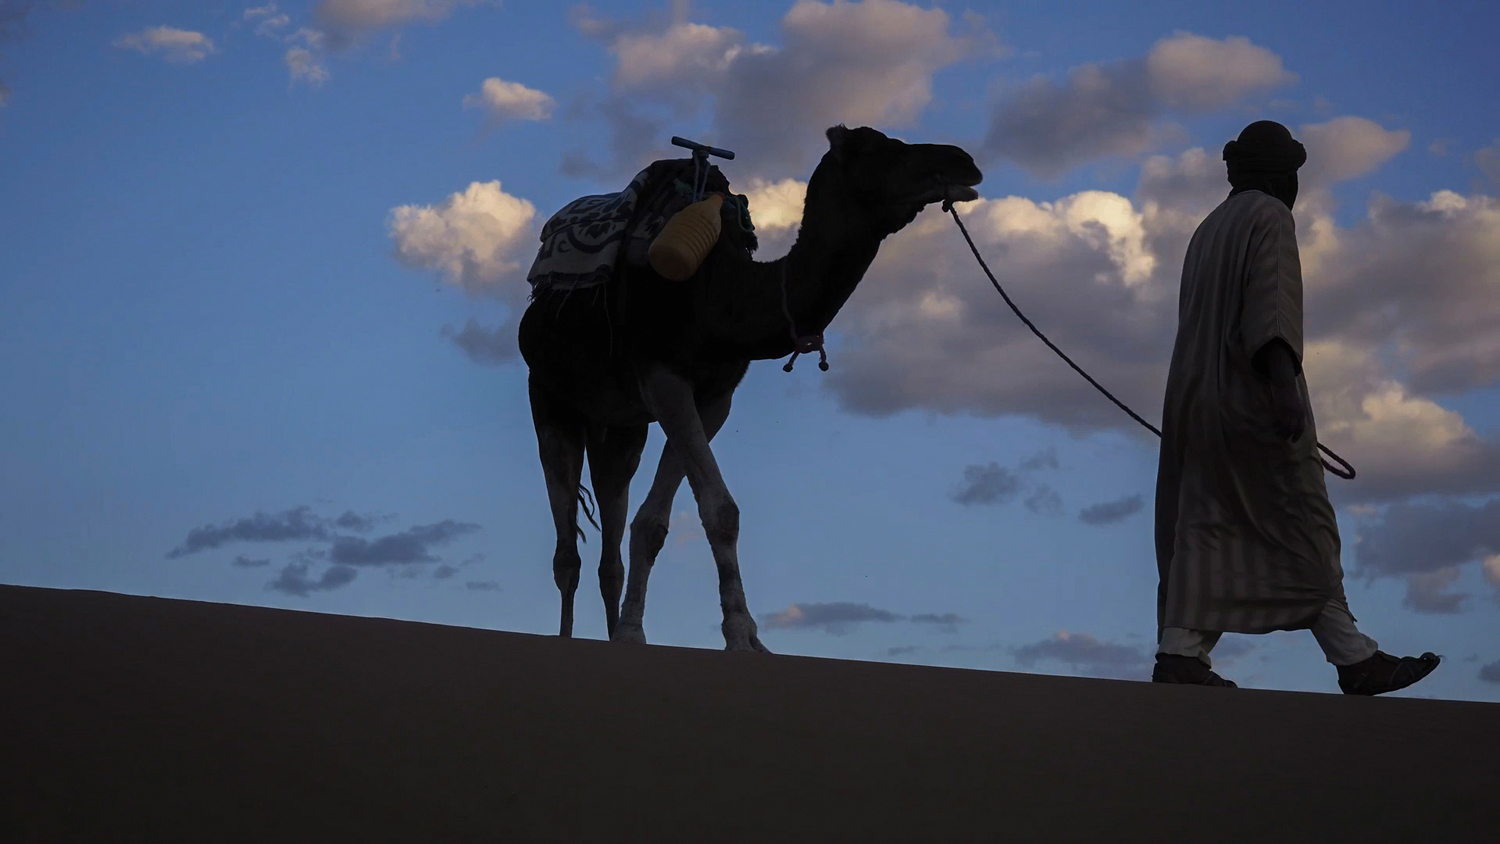
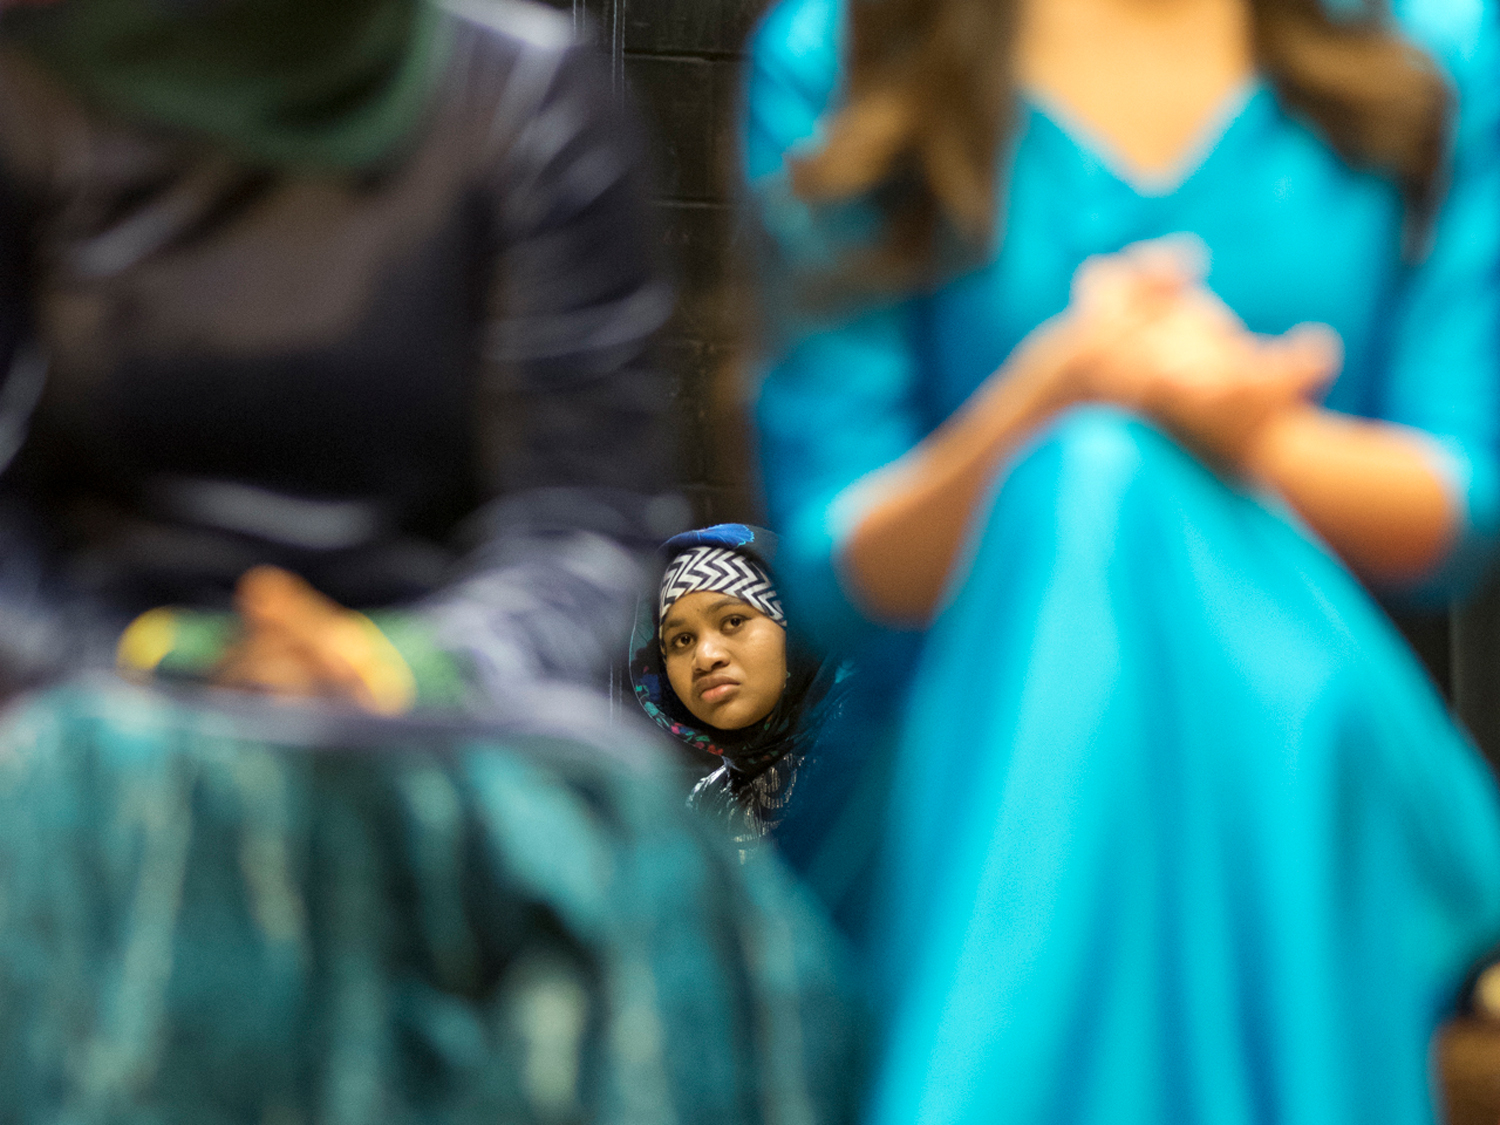
She likes to do only a few videos per year (to save money) so I usually get to choose the projects which I think have the best prospects for making a great short film. In terms of these two films, which were made about a year apart, in each case my editor said she had a “really good one” for me. She suspected that they might end up being bigger projects than just the short three to five minute video that she normally wants. One of the many great things about this client is that since they only publish quarterly, most assignments are done with a one year lead time, giving me plenty of time to “do it right.”
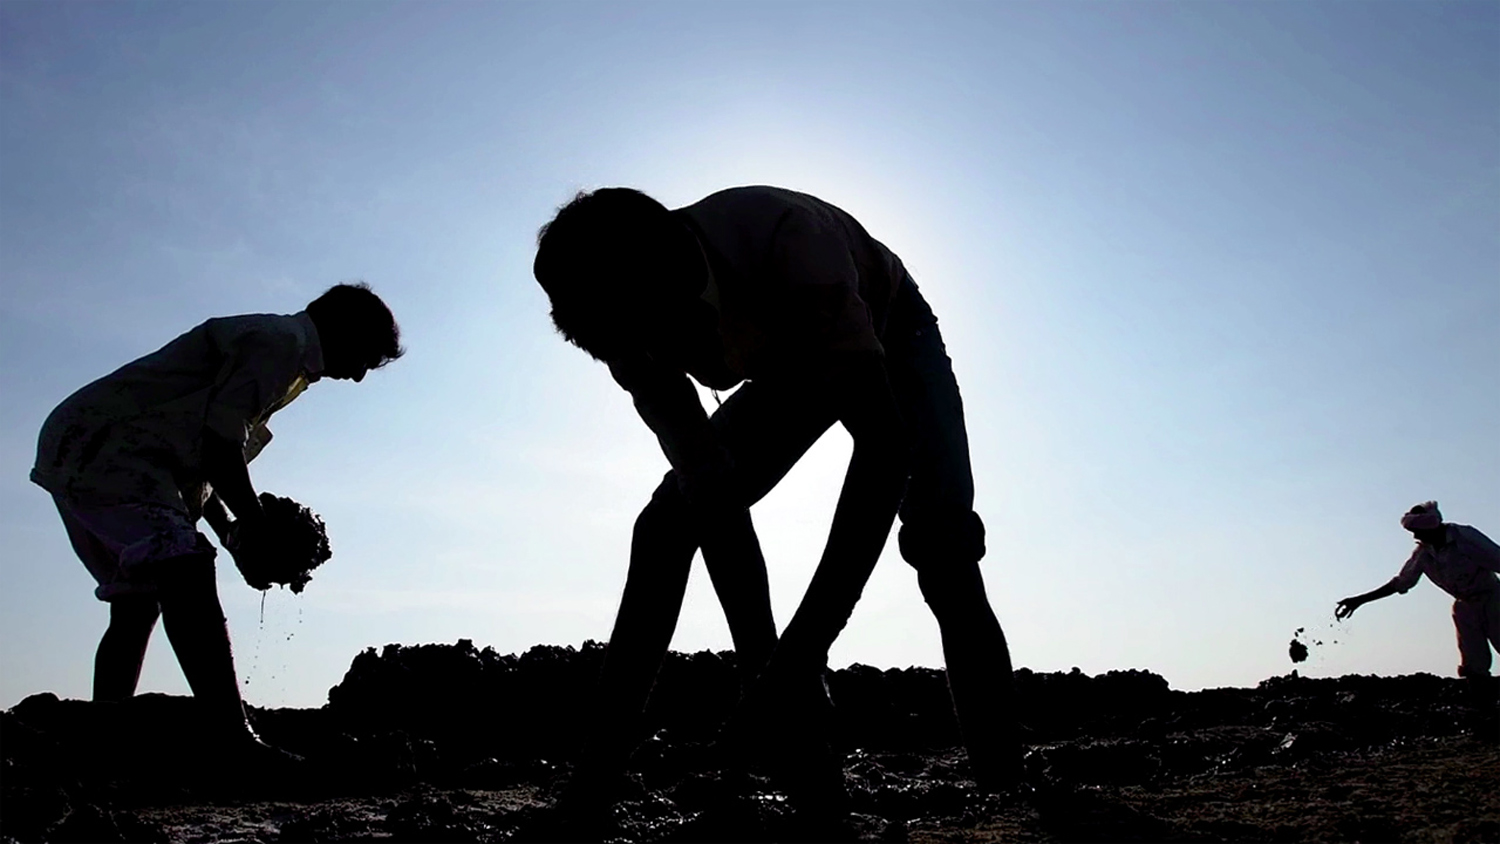
For the Farm Time film, I did a total of six shoots. Most were two hours or less. I mention that because even though I had a year to do the project, in order to make a living, I need to use my time efficiently. I did one shoot each in June, July, October and December of 2015. Those were followed by the one brief shoot in the snow in January of 2016. The final shoot, in March of 2016, was when I did the interviews. I prefer to do the interviews last so the people I am working with are comfortable with me. By the end of the project I will have seen what it is they do, so I can prepare intelligent questions for the interview. During the first shoot and especially during the interviews, I worked closely with my producer, Mae Gammino https://www.maegammino.com/index
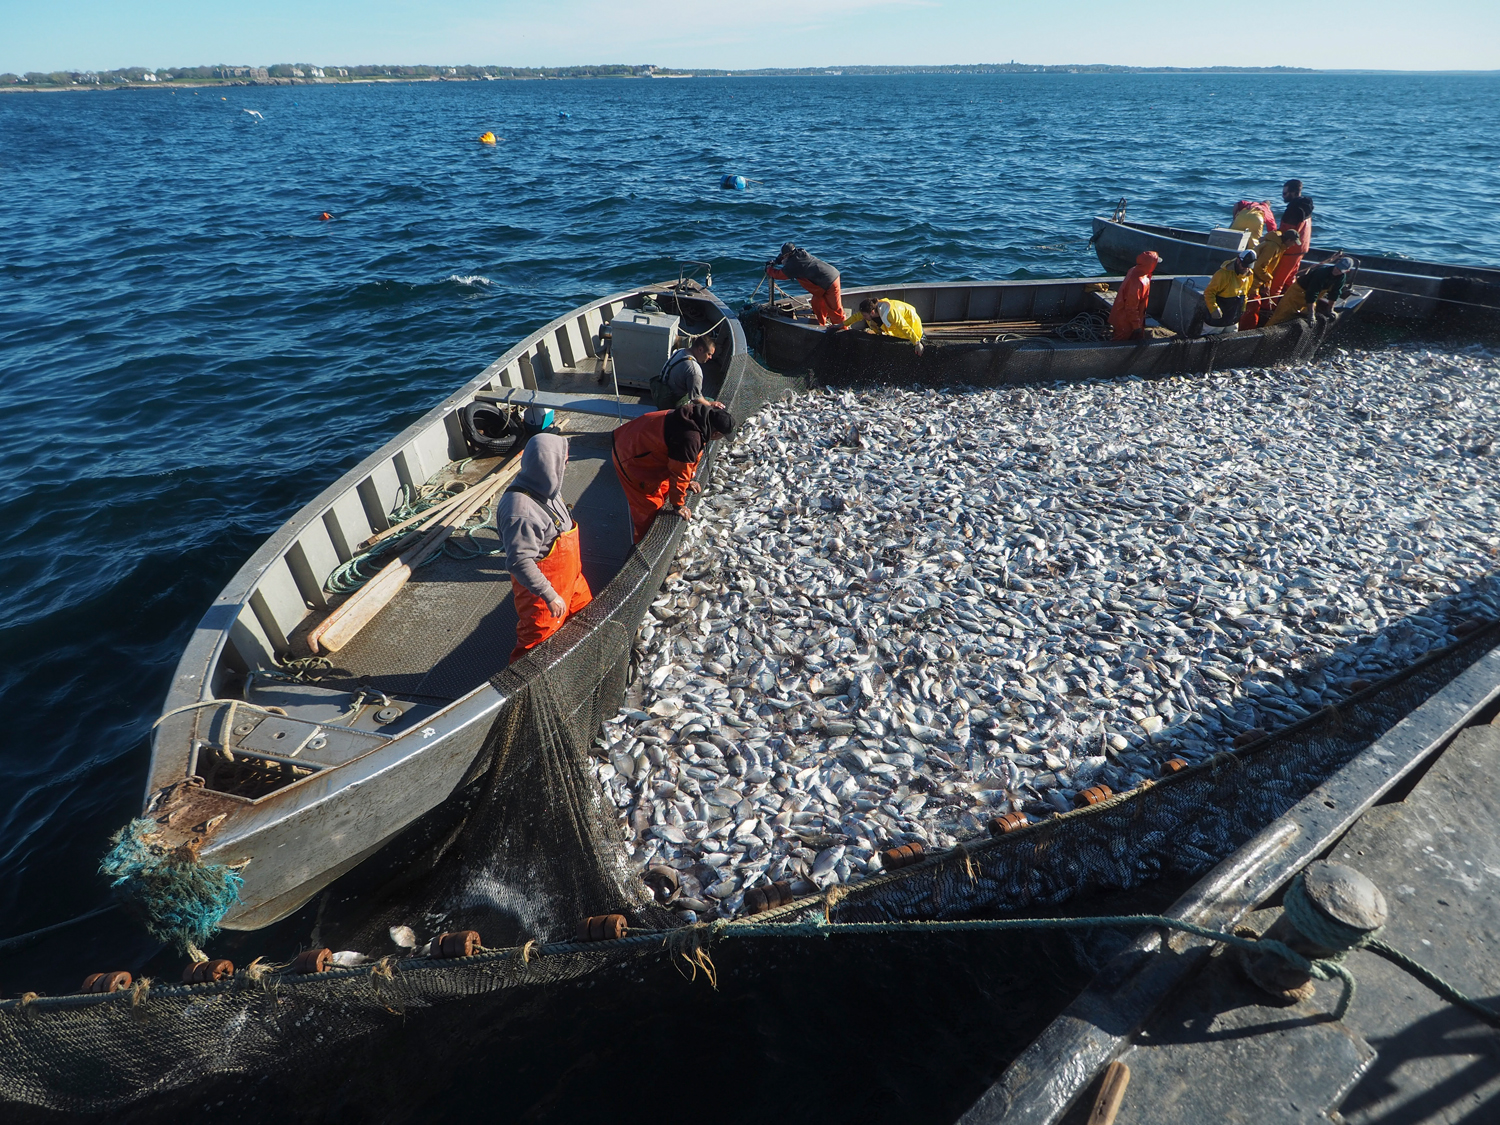
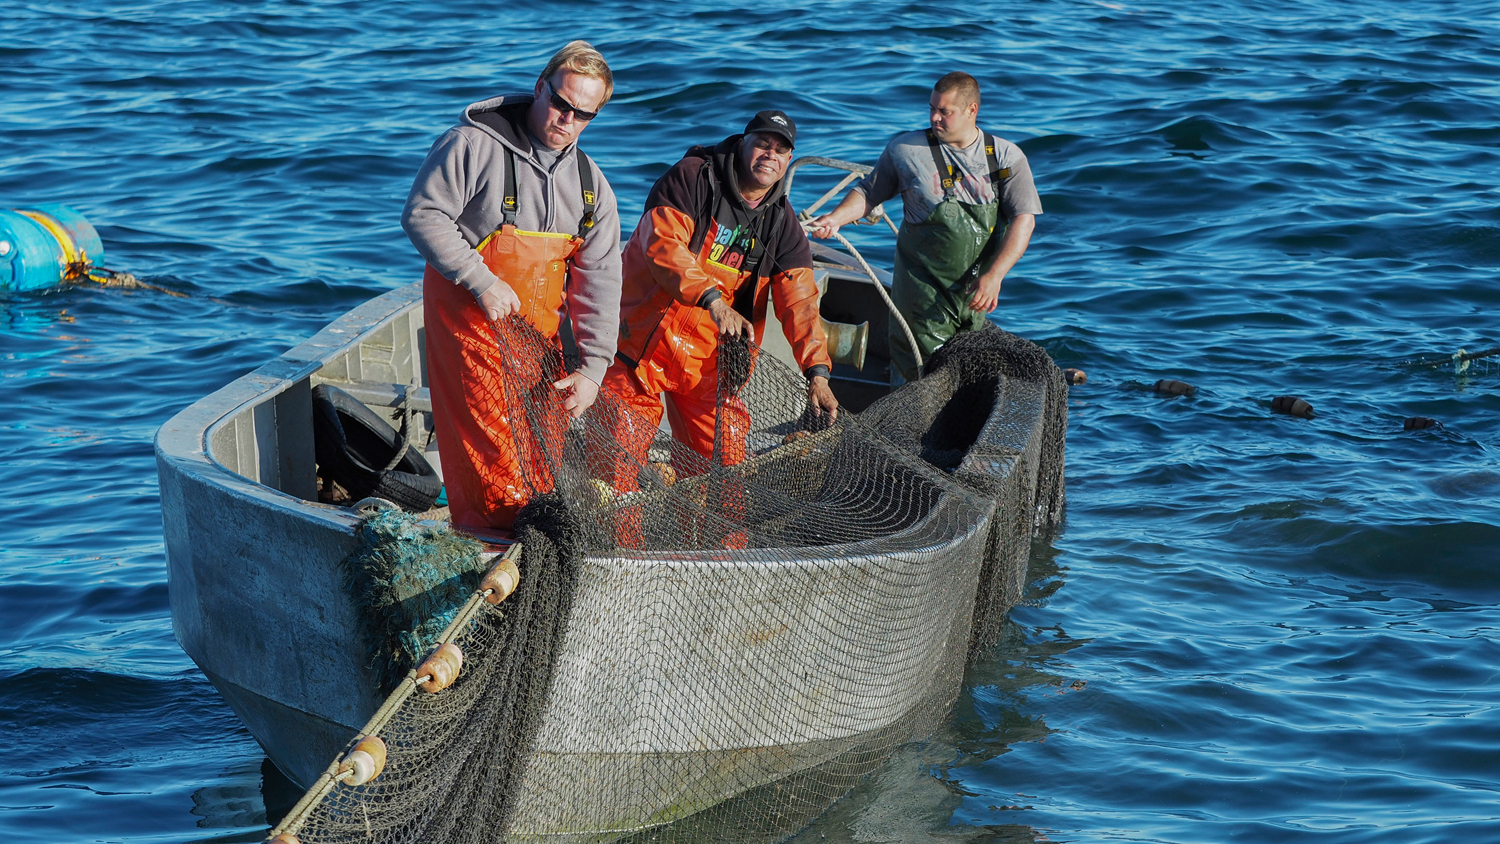
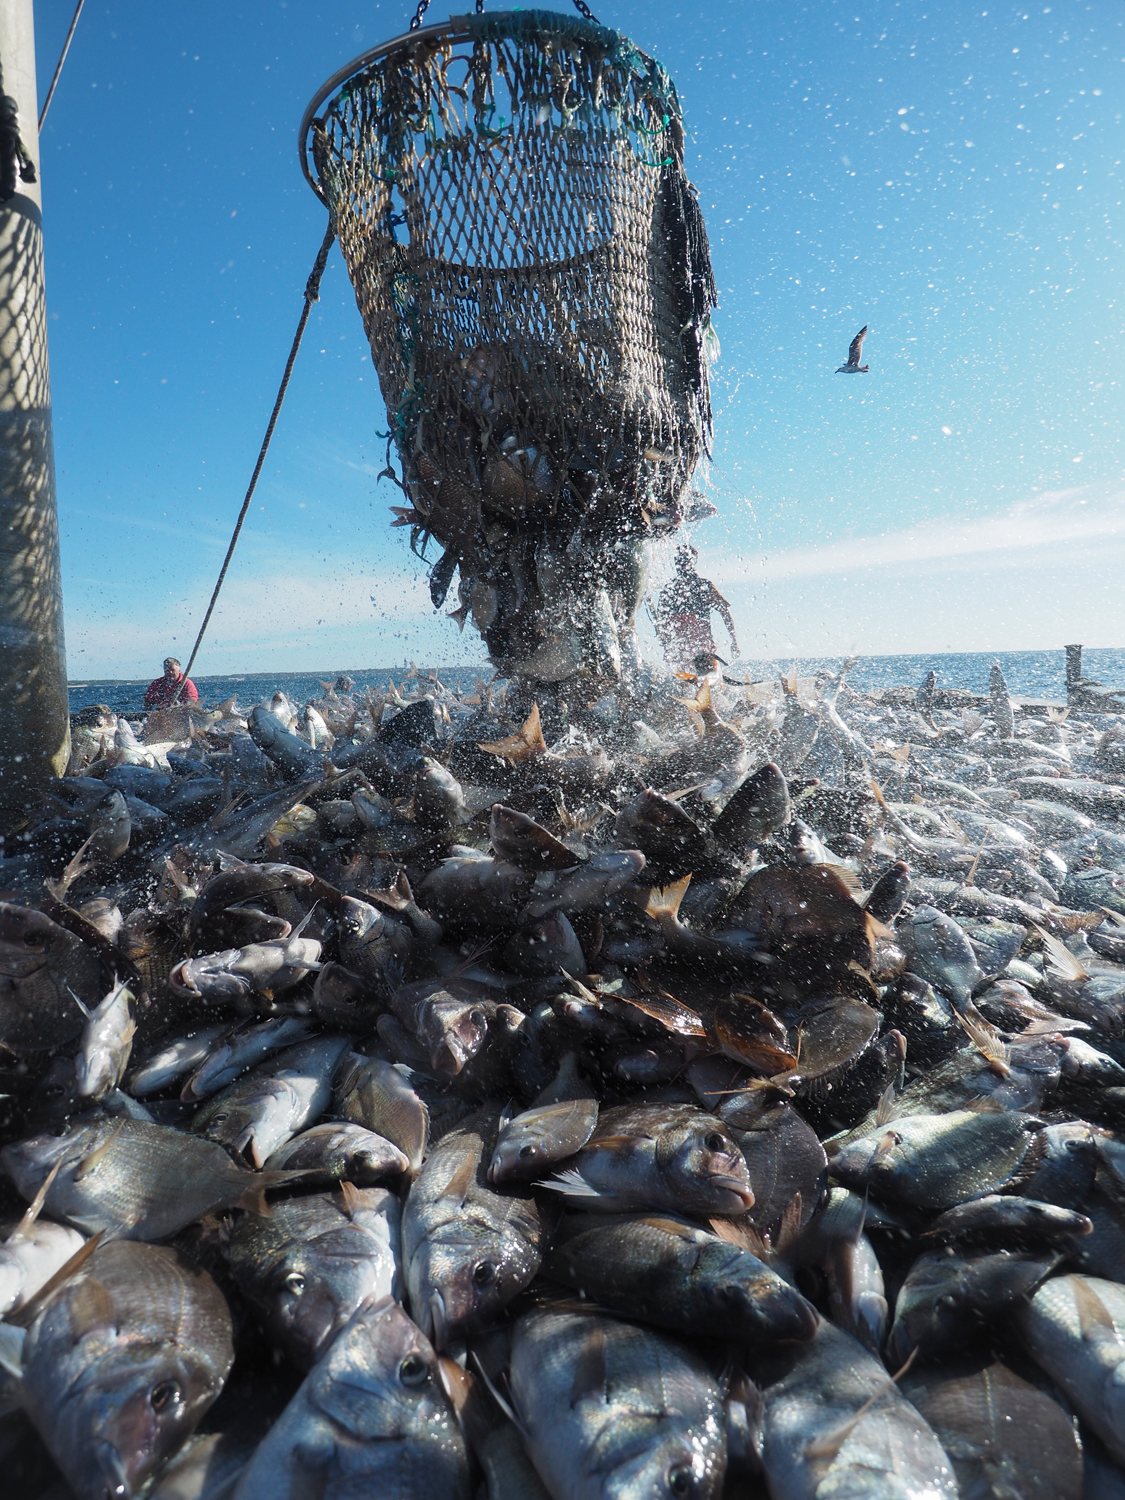
I was given the Trap Fishing assignment in June of 2016 and I did my first shoot with the initial interviews in July of 2016. That day, the boat had just returned from a day of fishing, so I met the crew, interviewed the father and his daughter, watched them unload and generally learned about the process. Figuring out what people do, in person, is key to making good visuals. When the subject of a video describes whatever it is that they do, they rarely are thinking in terms of visuals, so being on location and amidst the actual process is key.
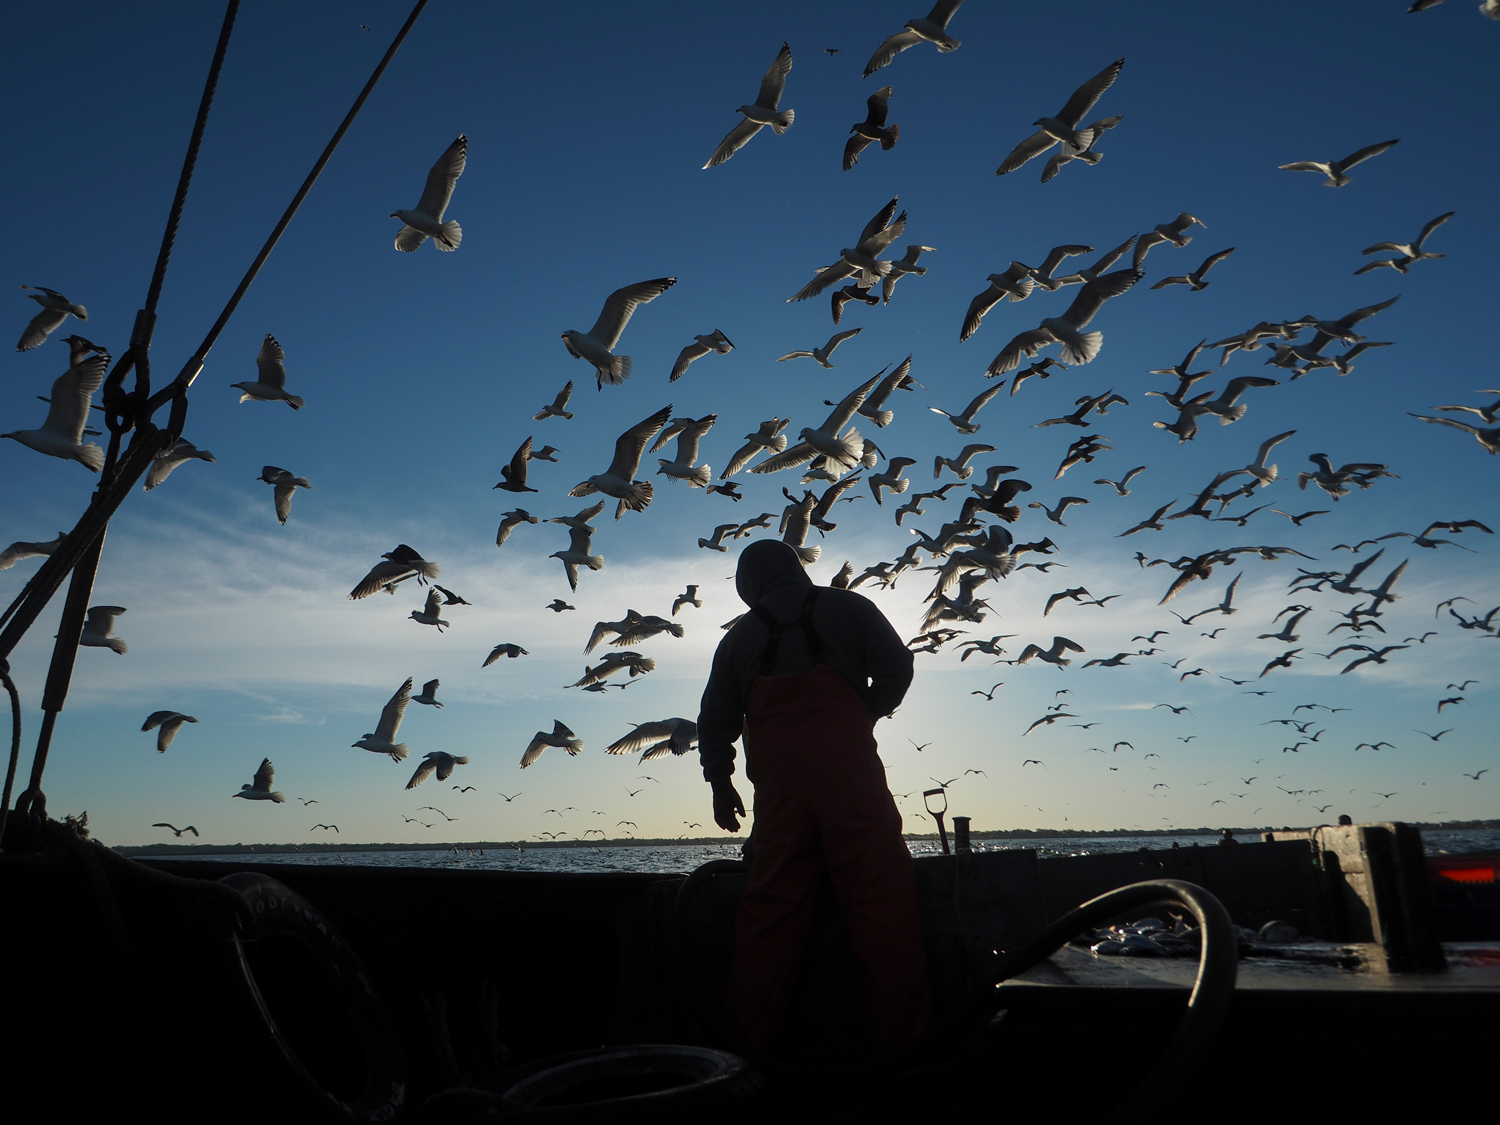
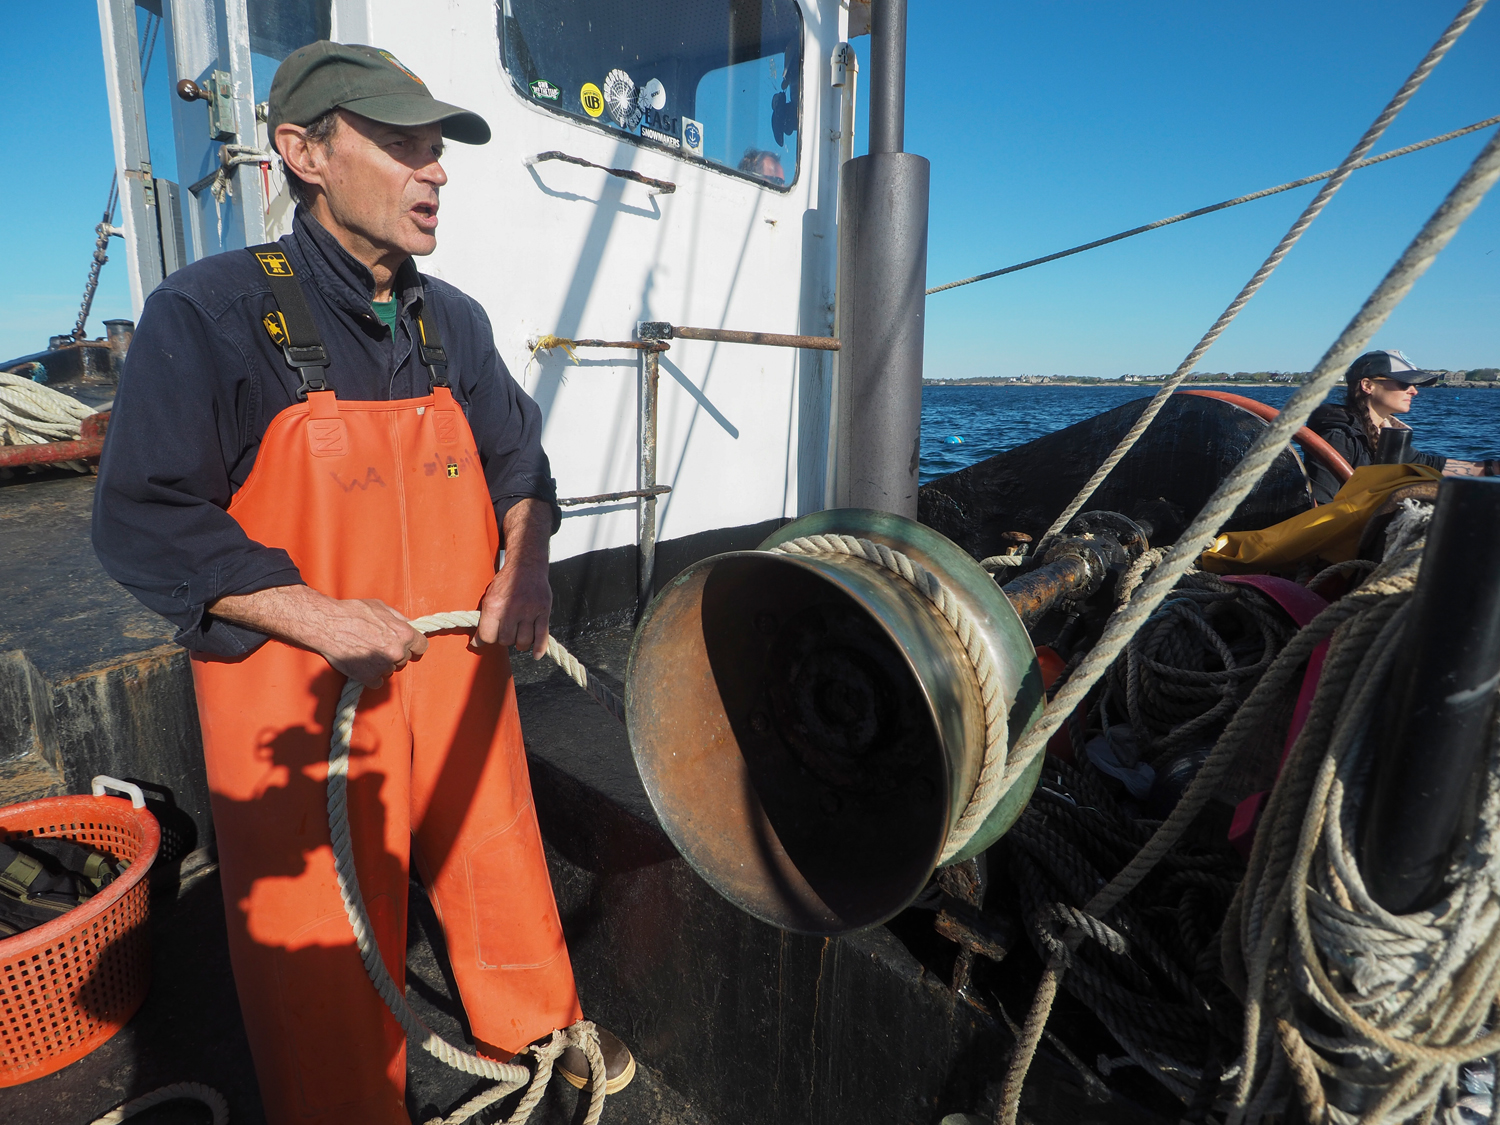
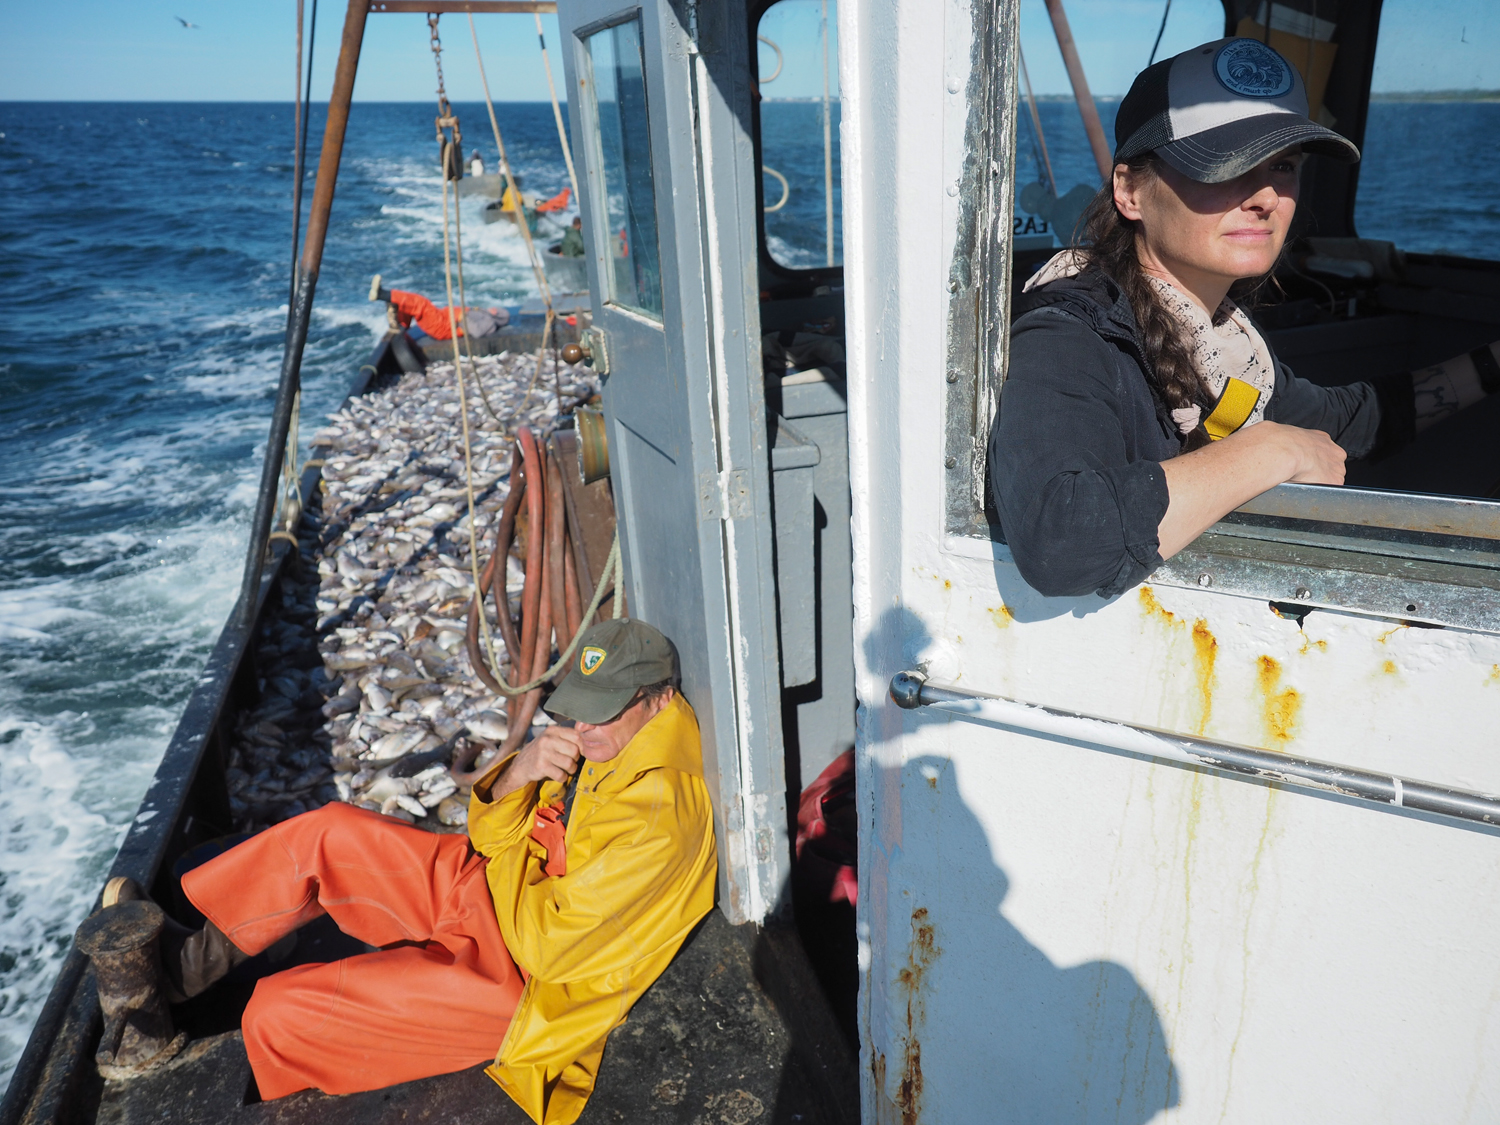
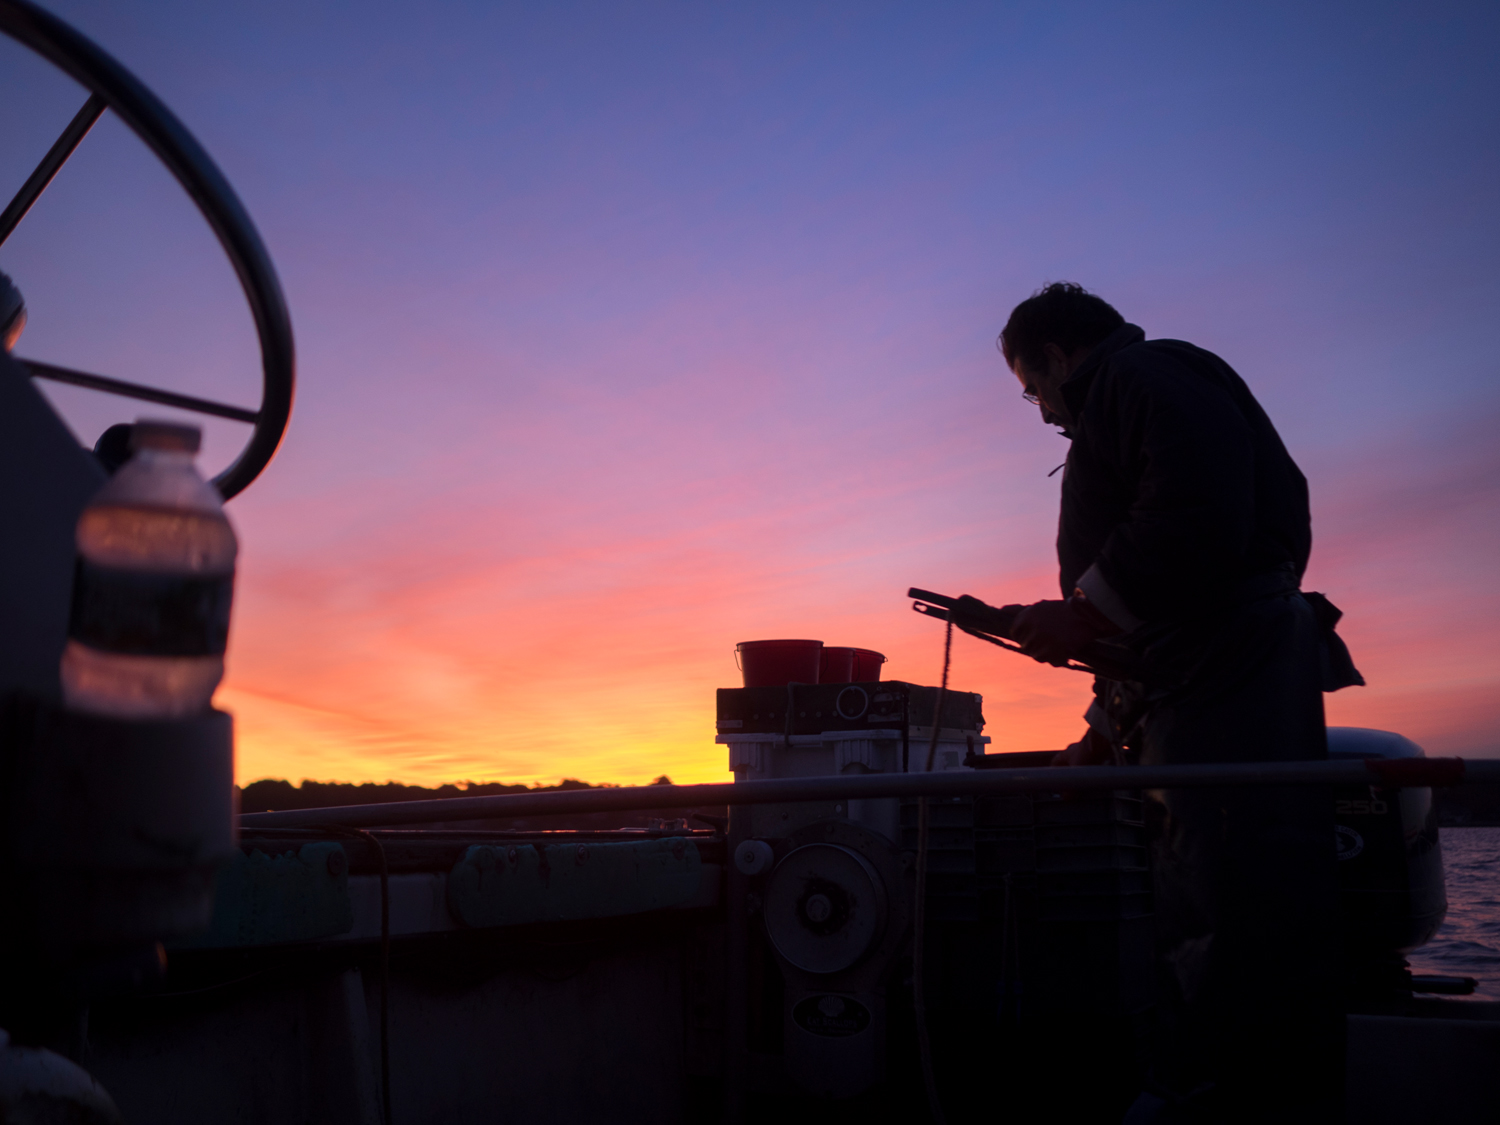
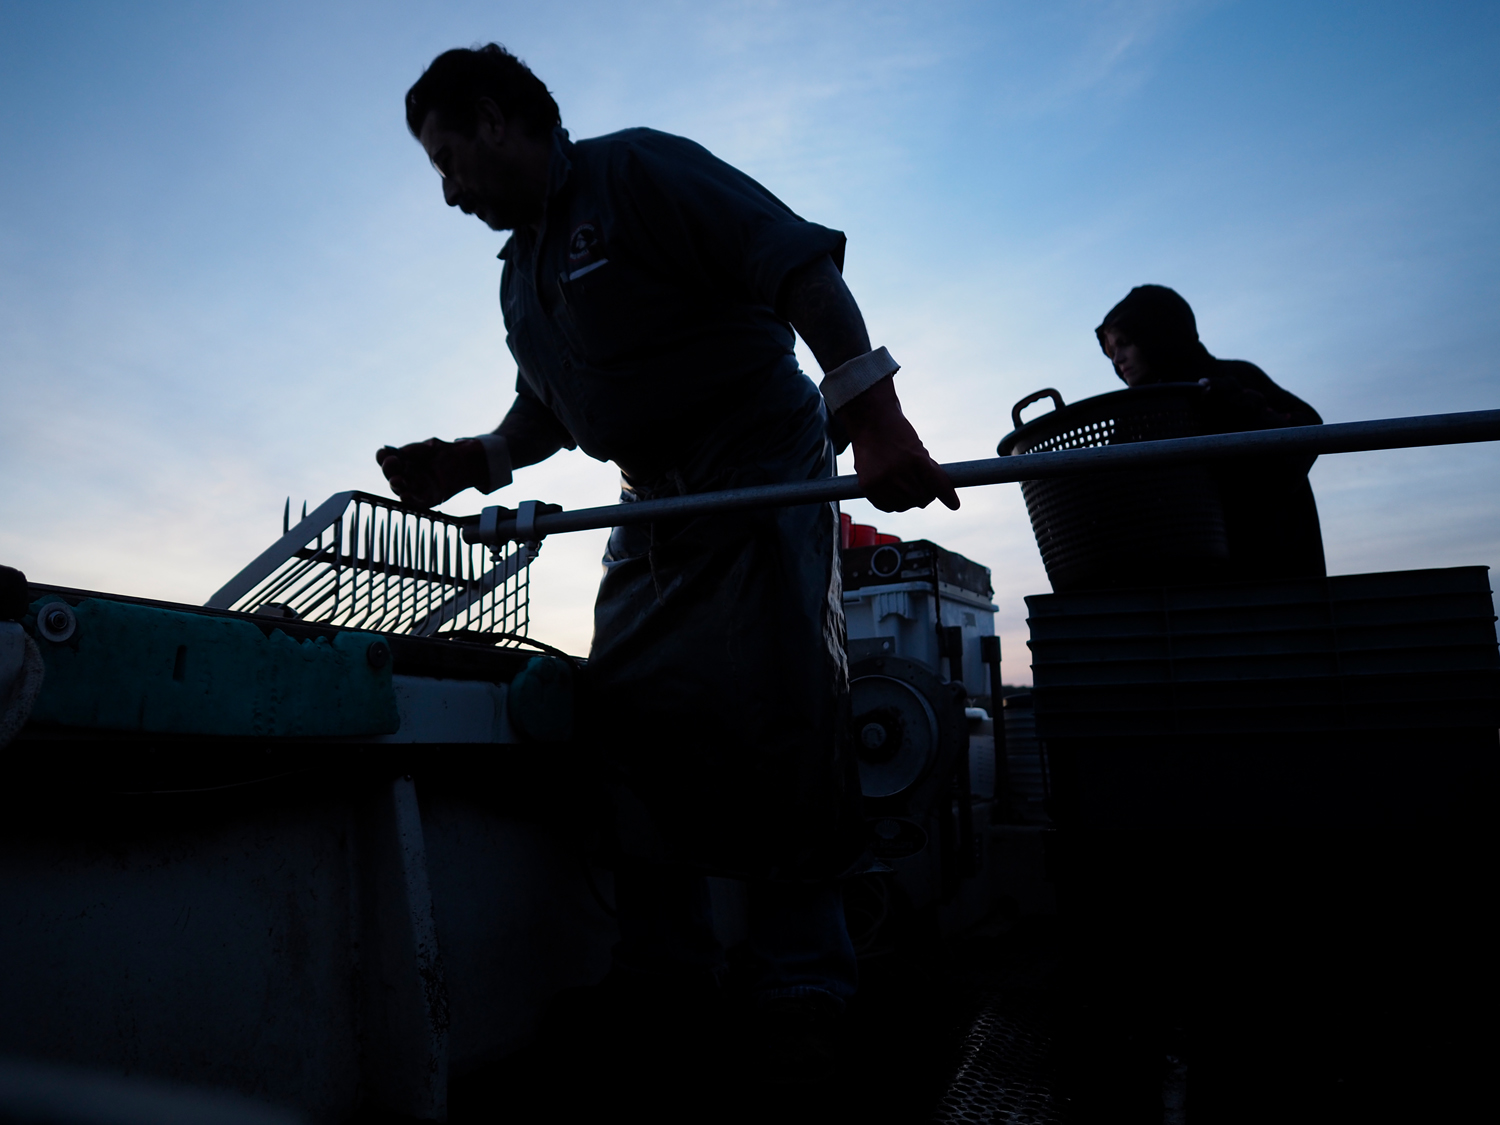
In September of 2106, I did a short sunrise shoot of the men who repair the fishing nets. In May of 2017, I went out fishing with them during their spring busy season. So, the the Trap Fishing project was only three shoots, spread out over a year. The last shoot was the day I was out on the water with the fishermen and women. Upon returning to the dock, I did a short ten minute interview with the fisherwoman who turned out to be the main character. I need to get audio of the few questions that I still needed answered. Based on listening to the first interviews, I had already assembled a short list of questions that I needed her to answer in that brief interview.
As always, I used Olympus Micro Four Thirds cameras and lenses for both projects (OMD EM5 MK2 and EM1 MK2 cameras). They are the basis of all of the still and motion work I do these days. The internal stabilization in the bodies is simply amazing. I was reminded of this recently when I accidentally switched stabilization off for one segment of a shoot. I could instantly see the difference between the stabilized and un-stabilized video clips.
Those particular Olympus Micro Four Thirds cameras have “audio in” plugs and “audio out” plugs. The first enables me to send the good audio from my various microphones (and my sound mixer) to the camera directly and have that all nicely synced with the video. The audio out port enables me to listen in on the audio to make sure the camera is actually getting the sound that I need.
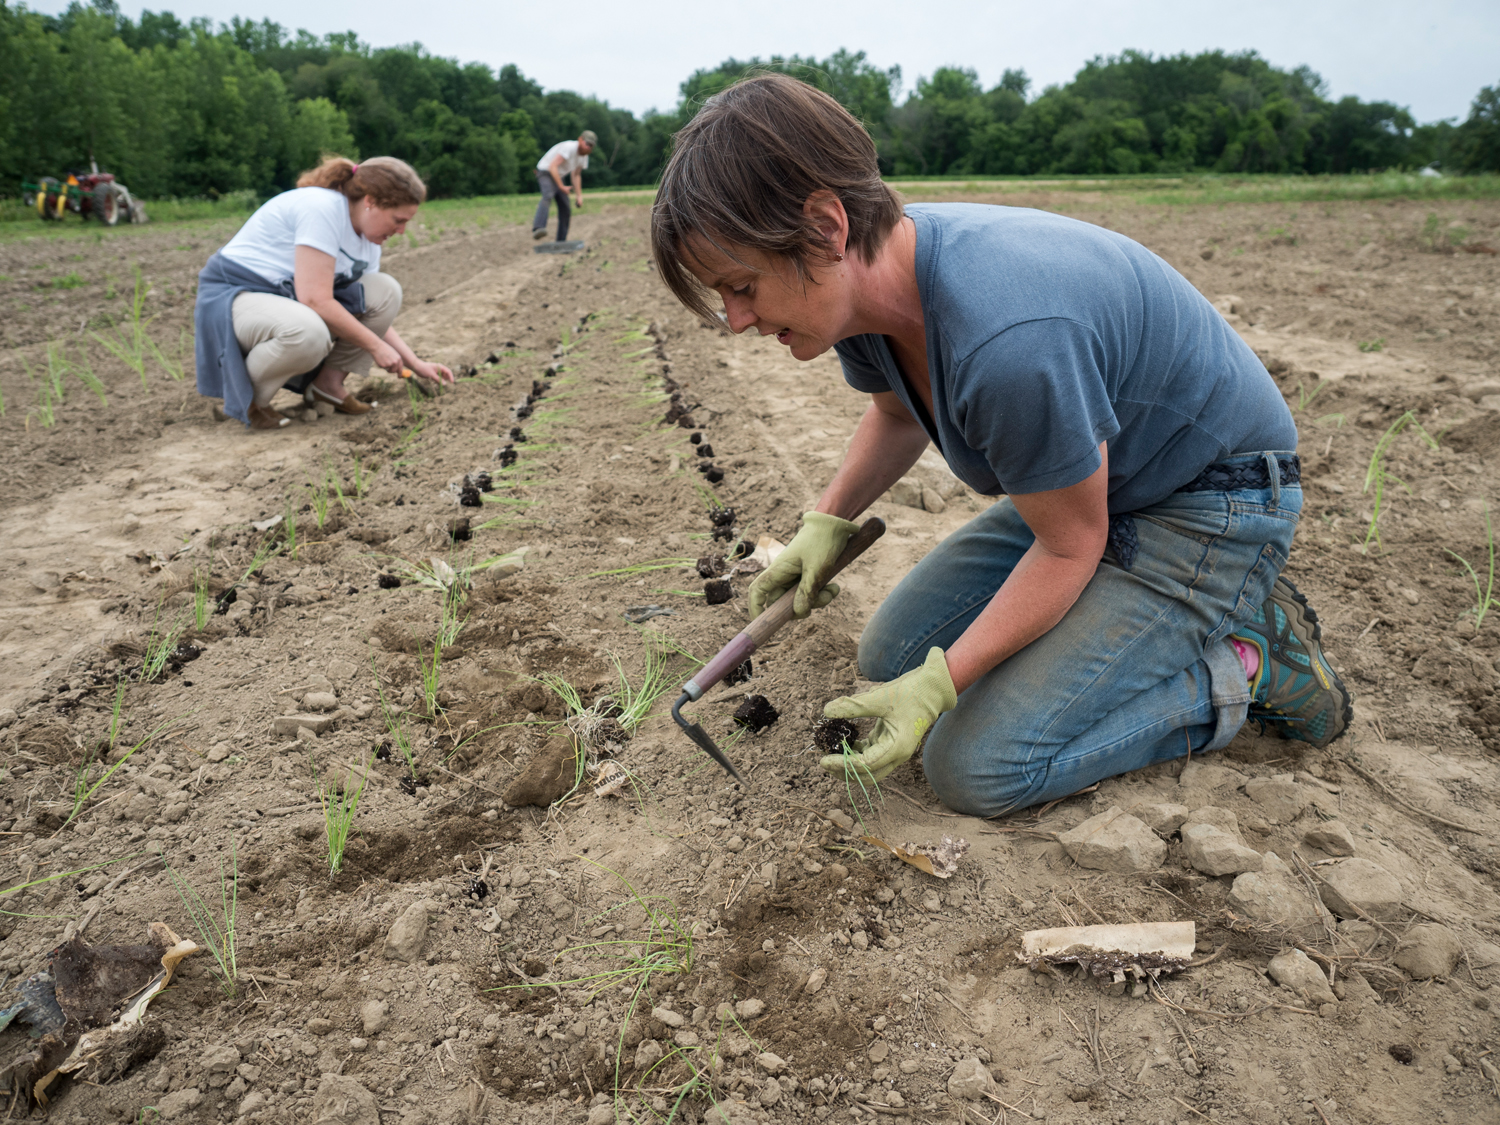
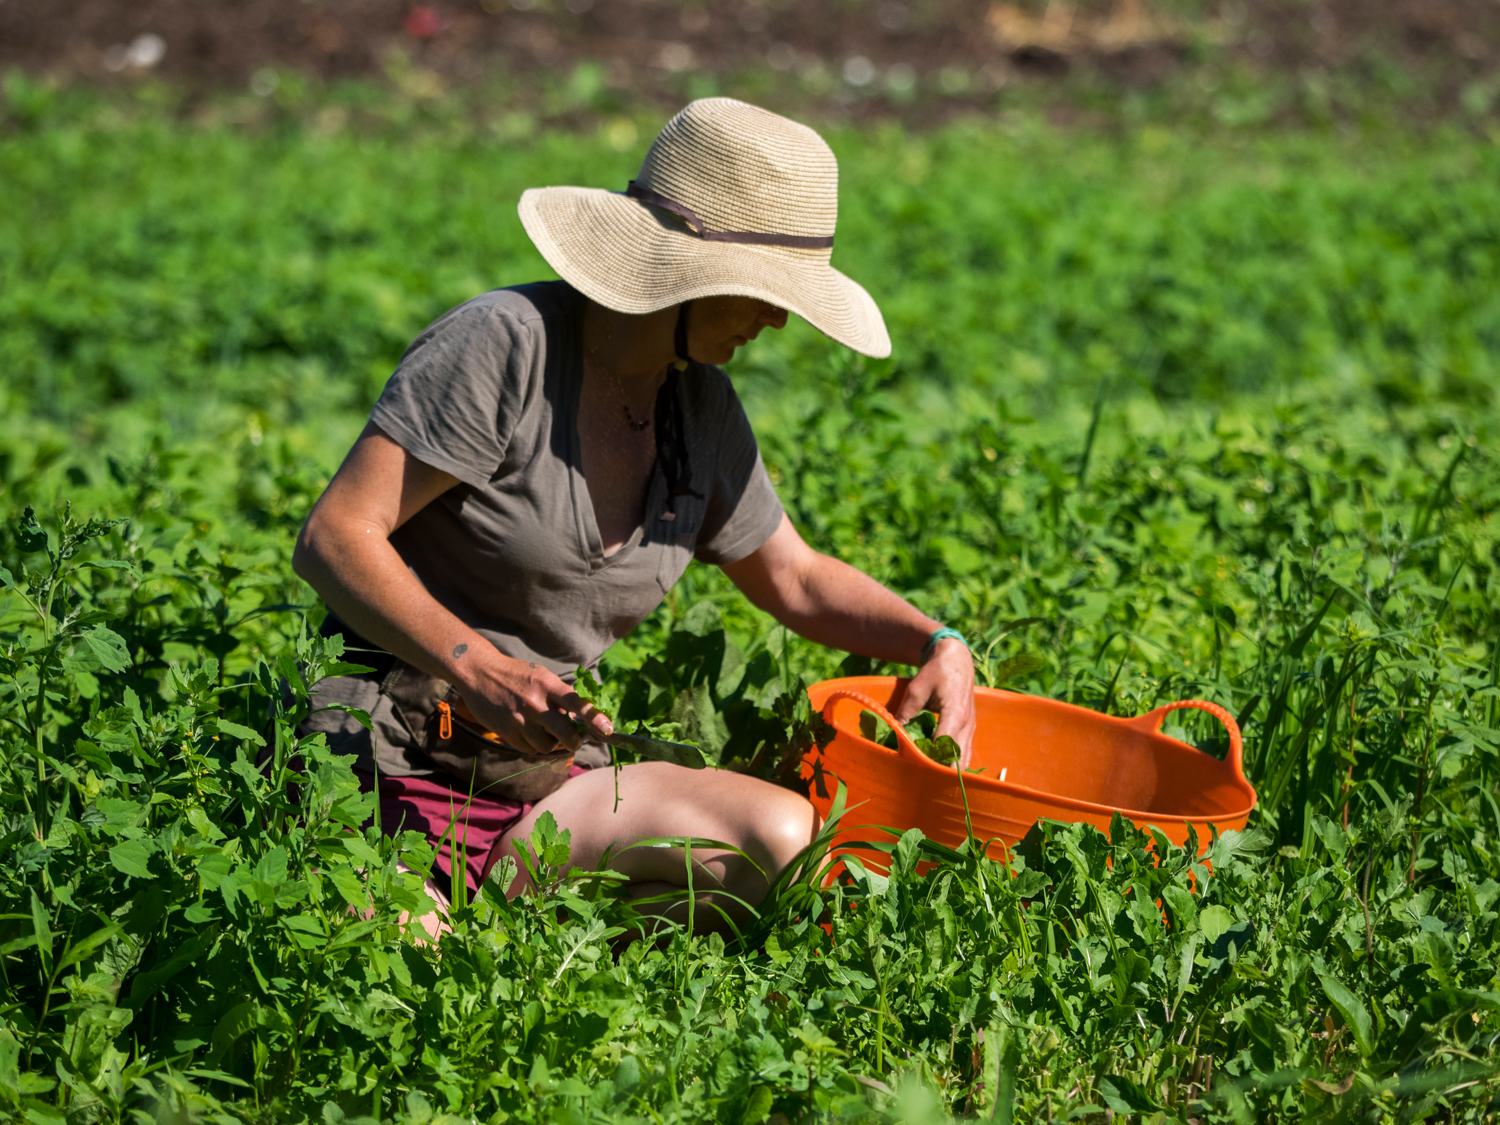
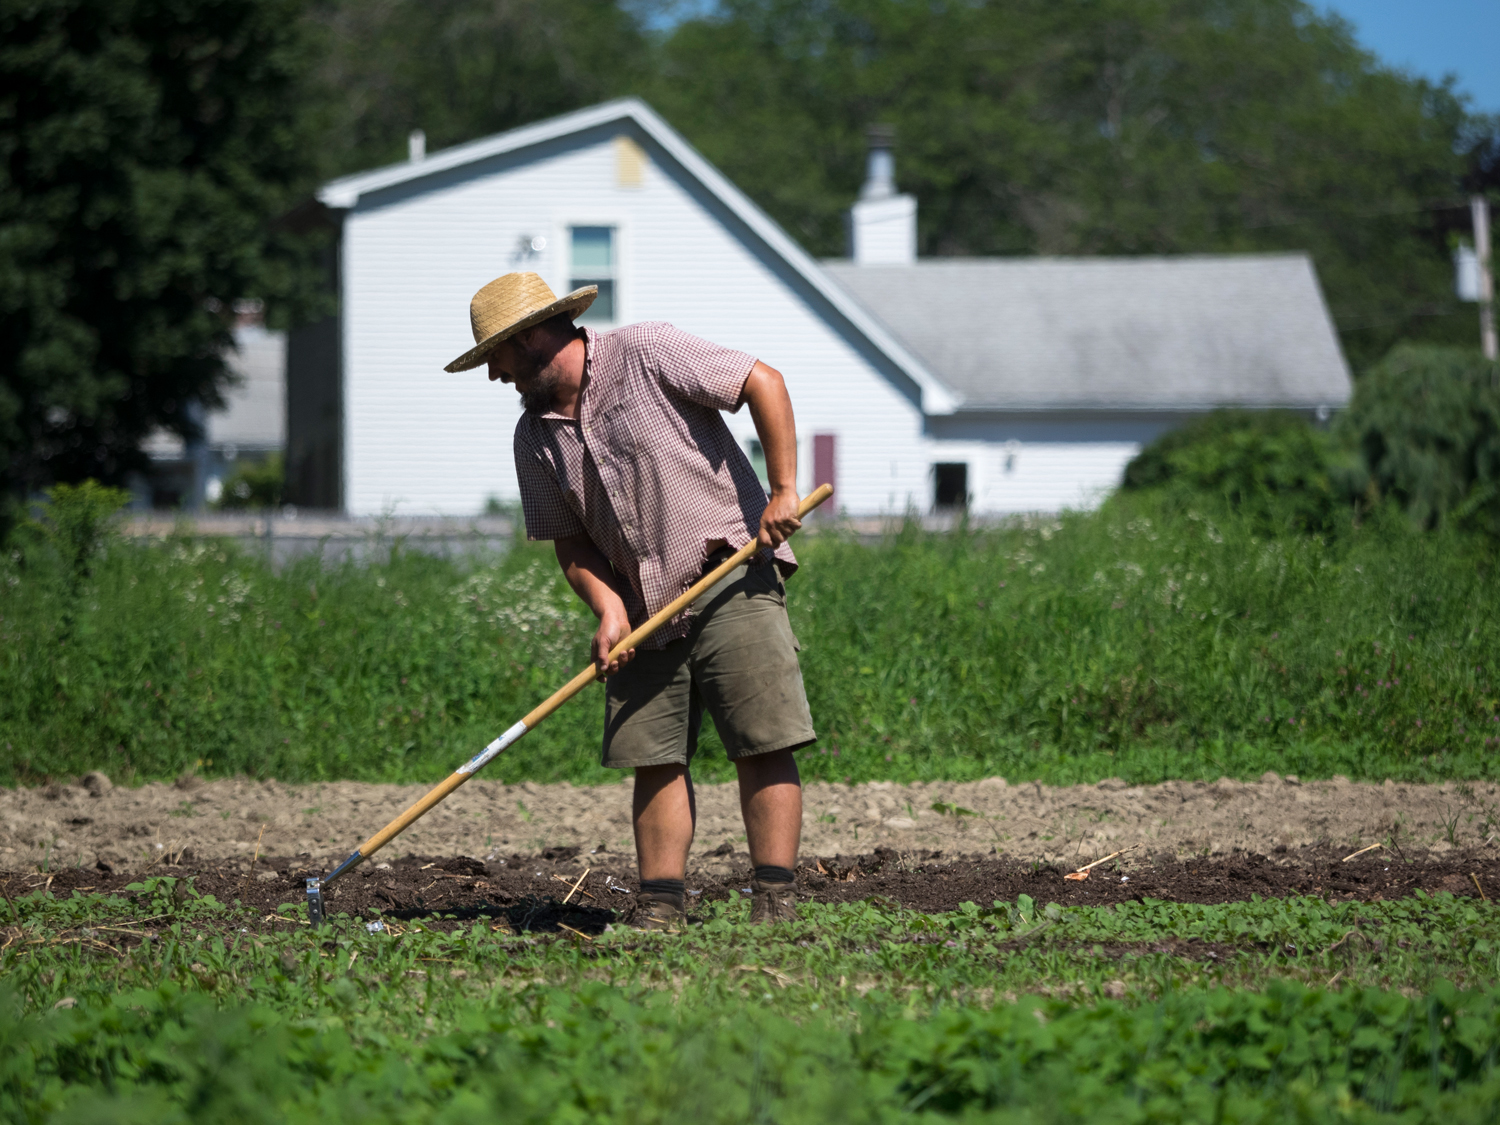
I always work with two cameras of the exact same model, so switching between them is easy. I find it faster to switch bodies than lenses. Plus two cameras means i always have a backup, just in case. I use tow of the same bodies because I like it when all the buttons/settings are in the exact same place so they are easy to find in a hurry. While I loved my OMD EM5 MK2 cameras, I upgraded to the Olympus OMD EM-1 MK 2 cameras recently for the 4K video capability. Because most of my projects involve shooting both still and moving images, I really like the set up for shooting stills while making video on the Olympus OMD Micro 4/3 cameras. I can be rolling along with video and push the stills button to make still images and unlike other cameras, the Olympus system does not disrupt the video shooting. The only downside is that the stills made in the midst of shooting video are JPGs only. Having said that, they are high quality JPGs and if you go to http://ediblerhody.ediblecommunities.com/things-do/pulling-twine-wheelers or if you look at the printed magazine, you will see plenty of images I made that way which look great!
In terms of the short films, I have found that figuring out what to use for the opening and closing sections of such short films is key. The opening of any short is vital to setting the mood for the movie and drawing the viewer in. Once I figure out and successfully capture the opening section for a given film, I feel like I am more than halfway finished with the film.
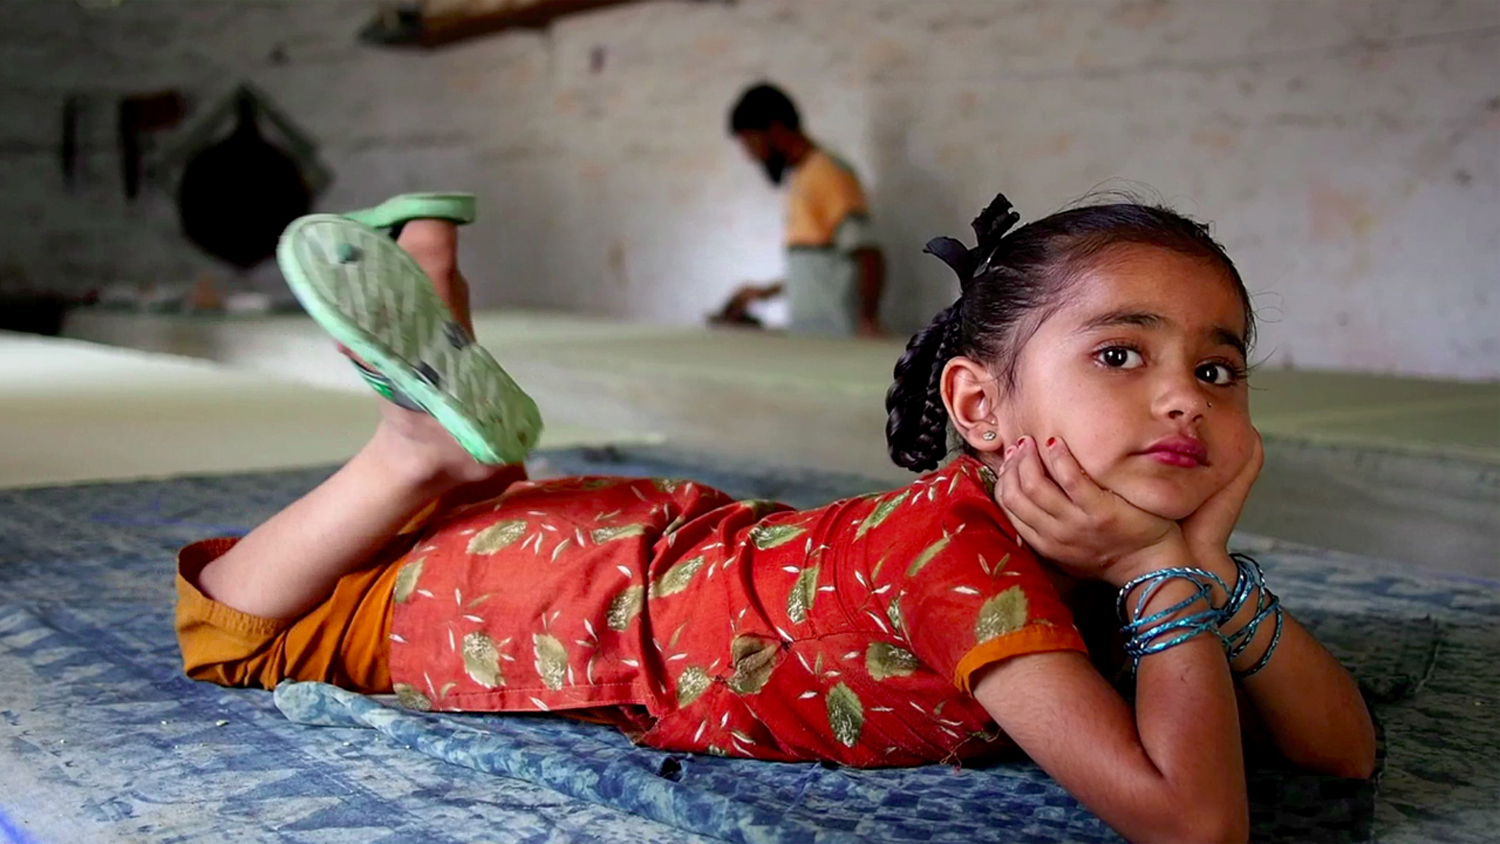
An example of that is the time lapse animations featured in the opening and closing sections of the Farm Time film which were made over four seasons with a compact camera on a tripod in roughly the same spot. I used an Olympus Tough camera atop a “do it yourself” 360 degree camera rotator (also known as an IKEA egg timer with a tripod screw on top and a quick release plate on the bottom – both epoxied in place). That Olympus Tough camera is an action camera much like a GoPro so it weighs very little. You can read more about the camera rotator I made myself and I used for this shoot at: http://www.getawaymoments.com/2011/07/how-to-make-cheap-and-easy-ikea-time.html
On my first visit to the farm, I noticed there was a tree stump on the farm that I could use as a landmark in terms of where to place the tripod during the four different shoots so the four different seasonal videos would align in the final video (they were close but it took some work in Final Cut Pro to get them to align and I am still not 100% happy with that alignment). Finding that tree stump most of the year was easy but finding it in the snow was not.
© 2013 David H. Wells
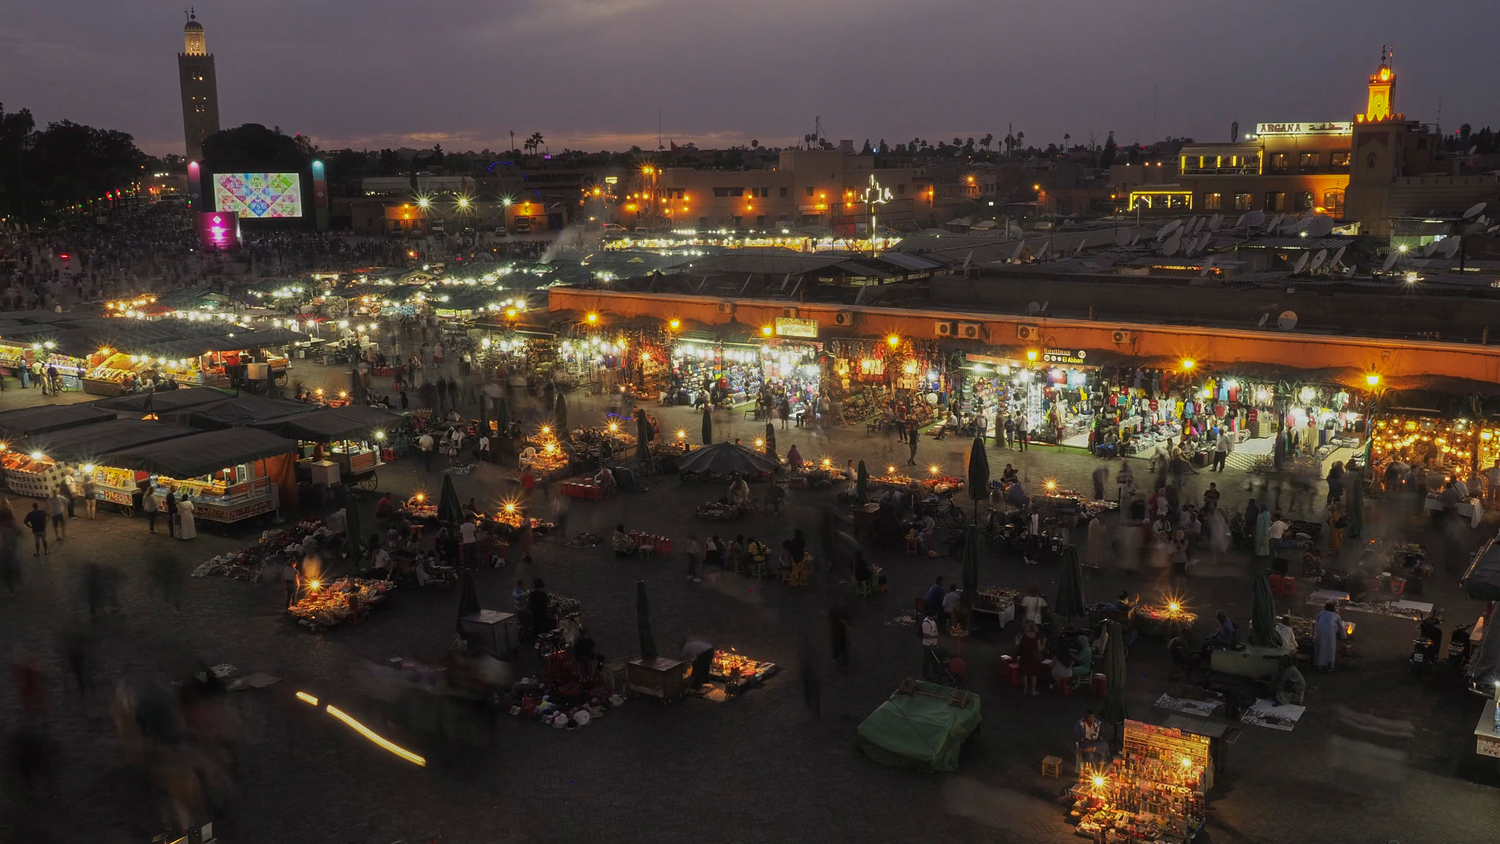
The best thing about the “egg timer” rotator was that I would set it up atop the tripod, wind it up and then go shoot elsewhere. I would come back to it an hour later and I had my “shot.” If you watch closely in the winter section near the end of the video, you will see me in the video. Most of the shoots were on the farm in Johnston, Rhode Island, which is about 15 minutes drive West of the state’s capital city, Providence (where I live). The one brief shoot in town, was at the Farmer’s Market in Providence. The last shoot was in January of 2016 and the film was edited in March/April of 2016.
All the skills that I have practiced doing photo-essays in still images over the last thirty plus years come into play on these projects. Working with people, developing trust, teasing out a story line, using my shooting time efficiently, composing beautiful frames, etc. Then you throw in sound, which is both a challenge and an opportunity. The format of these videos, ten to twenty minute documentary shorts, plays to my strengths. It allows me to lay out an idea/story in a way not possible in the typical three to five minute short.
My background in magazine photojournalism (and newspaper photojournalism before that) makes me something of an expert at B-Roll. In the photojournalism world, it is all about getting a wide range of imagery, varying angles, focal lengths, qualities of light, etc. So I usually do pretty well in that realm. The one ongoing challenge in video is the fact that I can not shoot verticals like I used to do when magazines were my primary market and vertical images were needed for magazine covers.
© 2013 David H. Wells
© 2013 David H. Wells
In general I am learning to love video as a format for visual storytelling. It incorporates visuals (of course) with the addition of sound and motion. When they figure out how to add smell and touch, it will be a complete sensory encompassing storytelling technology. Ironically, I tried to work in video in college, decades ago, but back then videotape was the recording media and the only technology I had access to was black and white. Plus editing that kind of video was a huge pain. So I never returned to video, until the DSLR video revolution came along and with it, a rapid drop in the price of the technology and and an explosion in the ease of use of the cameras and the editing software.
As for sound, which is the new variable as compared to my still image work, my audio set-up is built around the idea of using as little gear as possible. It is also built around the idea of working on my own, without any other crew, as I am recording both audio and video. Most productions have “crews“ which might include a director, a camera person and a sound person. I prefer not to do that. This is a highly personal choice that impacts the quality of my work in many ways. My audio may not be quite as perfect as someone else’s with a larger crew. On the other hand, I can work more closely with my subjects while working at much lower costs.
© 2013 David H. Wells
© 2013 David H. Wells
I use a Tascam DR 60 MKII portable recorder. http://tascam.com/product/dr-60dmkii/ My set up is to have the main audio coming from a wireless lavalier mic http://en-us.sennheiser.com/lavalier-clip-on-microphones-wireless-set-presentation-ew-112-p-g3 that is usually clipped on the primary speaker’s collar near their neck. I have that set up so that sound goes wirelessly to the Tascam as channel one in that audio recorder/pre-amp/sound mixer.
That set up gives me the main speaker’s narration/voice on channel one. The second channel going into the Tascam DR 60 MKII portable recorder is usually the sound from a shotgun mic that is aimed at the activity in front of the camera. http://en-us.sennheiser.com/shot-gun-microphone-cameras-video-recordings-mke-400 That gives me good ambient audio. That shotgun mic is hard wired into channel two of the Tascam and usually sits atop the camera in the hot shoe or on a bracket above the camera’s hot shoe. The sound mixer can handle up to four channels incase I have more than one person using a lavaliere microphone.
So I am usually set up with two audio tracks (call them left and right) going into the Tascam. Then I send that stereo signal from the Tascam into my camera so that both left and right tracks are recorded in synch with the video. Since I have the two tracks in stereo, separated and on their own, in the editing I can cut out the left or right channel (or adjust the volume difference between the two channels) as much as I want and still have the sound synced with the video.
The other thing I like about the Tascam DR 60 MKII portable recorder is that it also records the audio track onto an SD card inside the Tascam recorder so I have an extra copy there. I prefer the setting which makes that recording at the normal volume and a duplicate copy 6 decibels lower in case there is a massive fluctuation upward in the volume as in when someone I am recording shouts or generally raises their voice.
Each project I am doing is edited on Final Cut Pro X, a software I feel like I am getting close to understanding. Every project that I complete in Final Cut makes me a better editor than before. In both cases I laid down the interviews first into Final Cut Pro X, then chopped out the the “ums” and “ahs” as well as the background noise. I kept cutting and cutting that to get down from an hour of interviews to about a 15-20 minute audio track. Having lots of lead time meant that I could edit, then wait a few days, then edit again.
The audio for all my projects is initially laid out in the order of the actual capture. Once I get it down to a smaller selection, I have it transcribed and then I print out that transcription. I then cut up the paper with the various blocks of interviews into small strips with each paragraph of narration being one strip. I lay those out on my dining room table. I keep moving them around till I got the order that I wanted, roughly. This process is apparently called a “paper edit“ or a “radio edit” in the world of film-making. Once I have that, I go back into Final Cut and rearrange the audio clips in that new order. Then I refine the audio, cut the sound further down and then started putting ”B-Roll” of the actual process (be it farming or fishing in these cases) over the narration.
© 2013 David H. Wells
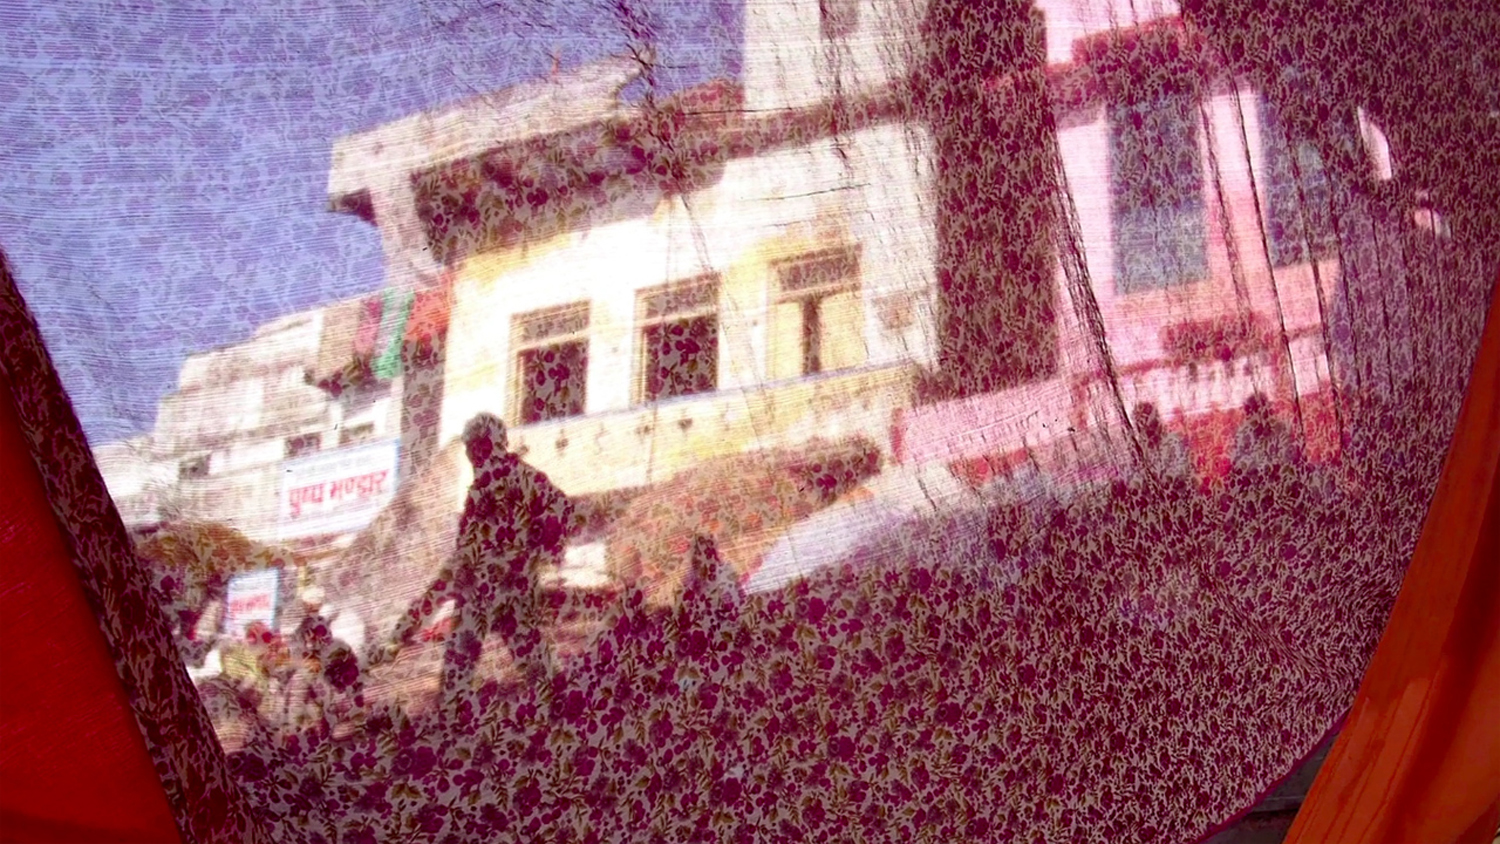
© 2013 David H. Wells
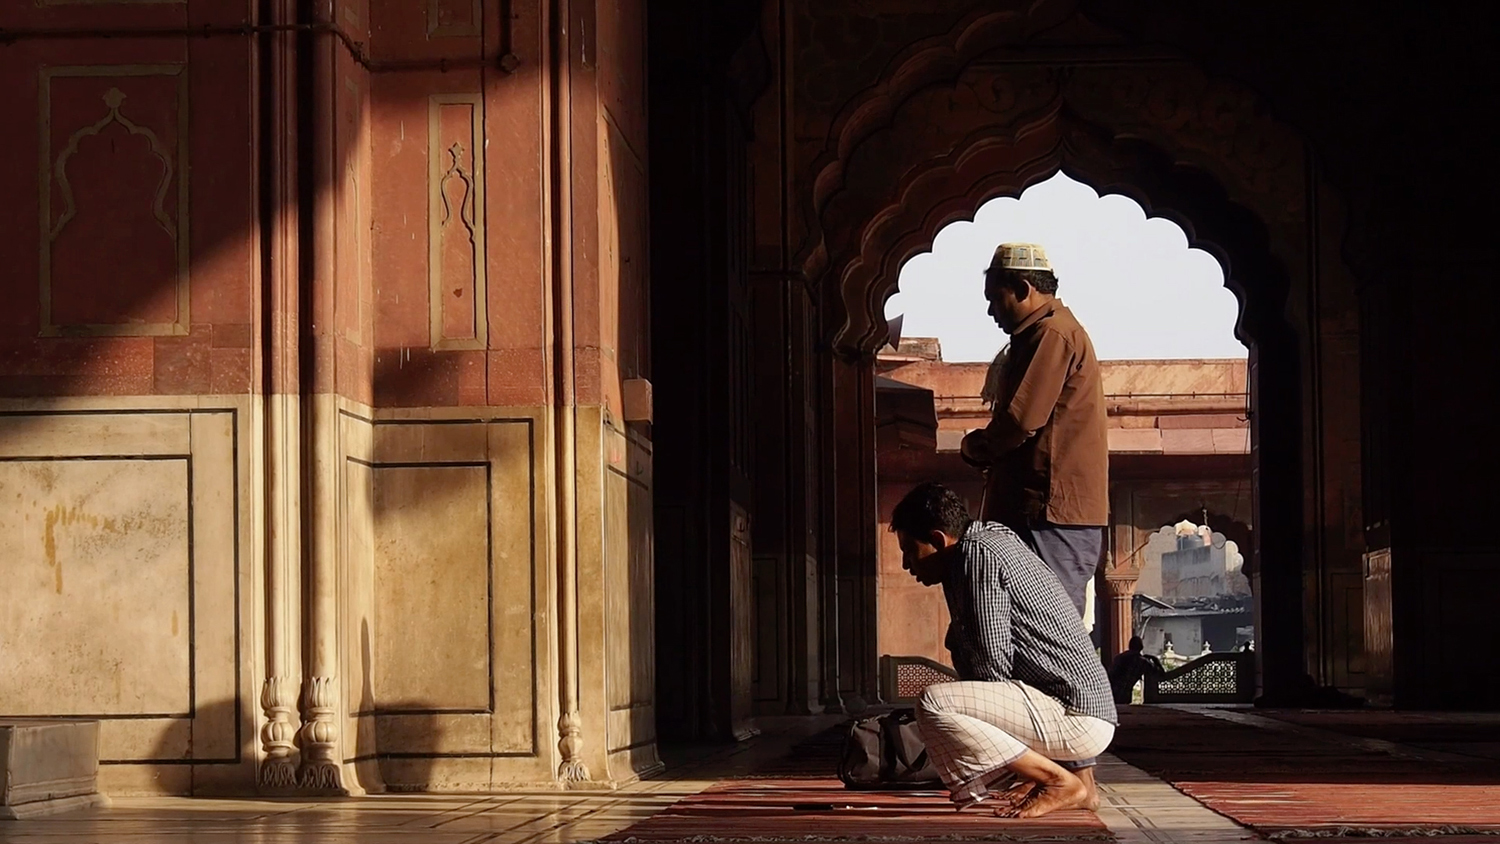
At this point I will do a rough cut and share it with a few friends to get some feedback. Then I take some time away from a project and then revisit the editing process with feedback from my friends in hand. Being away from the piece for a couple weeks it also gives me something of “new set of eyes” with which I look at the video. The great thing about having such a long lead time is that I can review the piece over and over, hearing and seeing new things that need fixing. While a piece is never finished, in both cases I had enough time to make something that I am proud of and something that has garnered a lot of praise since they were posted.
So, to summarize (in no particular order):
- Choose a project that motivates you and thus one that will maintain your enthusiasm and commitment from start to finish.
- Make a plan of what you will do, especially in terms of what to include and exclude.
- Make sure your personal budget (or the client’s payments) align with your plan. The final film will inevitably be different, but a good plan is a good guide. Using your time wisely is the key to making a living and a great film.
- Choose the equipment you will use carefully. More importantly, know how to use it by practicing using it a great deal before doing the real project shoot.
- Build opportunities into the process to get feedback (from outsiders not involved in the project) at numerous points along the way of making the film.
- Keep in mind that good relationships, person to person, are key to the process.
- Keep in mind how time of day, the season, the weather, etc., can make good visuals and how those elements can add information to the unfolding story.
- How are you going to resolve the audio, ideally using gear that has “audio in” and “audio out” ports. If those are not options, how will you solve that issue since bad audio can ruin an otherwise good film?
- Camera stability is very important. Hand held video rarely looks good Use a tripod or a monopod or at minimum, a camera that has internal stabilization.
- Always keep your eyes out for an opening and closing sequence of videos.
- Figure out early on how you will figure out exactly what happens in the process, with the people, in the environment, etc. that you will be filming.
- Plan your interviews keeping in mind the specific questions that you need to ask AND the larger topics you need to get answered by interviewees.
- Editing will make or break your final film! Your great content will be destroyed by weak editing. Learn to be a good editor (which is as much a challenge as learning to be a good photographer) or find a good editor to work with.
If you wish to join David in one of his workshops, please visit the link below and choose one of his many offers:
http://www.davidhwells.com/classes/
“I welcome ALL photographers, regardless of style, format, skill level, etc., Having worked years in retail selling cameras I am good at working with all the various camera types. I am especially welcoming to mirrorless shooters since I have been a mirrorless shooter for years.”
SUBSCRIBE TODAY THE OLYMPUS PASSION VIRTUAL MAGAZINE
“David Helfer Wells is a publication photographer/film-maker and a photo-educator, based in Providence, Rhode Island. He specializes in intercultural communications and the use of light and shadow to enhance visual narratives. He has received two Fulbright fellowships, a grant from Nikon/N.P.P.A. and a fellowship from the Pennsylvania Council on the Arts. His work has been in over fifty exhibitions and he has taught workshops at the International Center for Photography in NYC and at the Maine Photographic Workshops. He was featured in Photo District News as one of “The Best Workshop Instructors.” He also publishes a photography-education blog at www.thewellspoint.com full of free resources for photographers.”


