Using FD Lenses on my Olympus E-M10 MK II
After buying my Olympus E-M10 MK II, I knew I wanted to also get an adaptor to be able to use my Canon FD film lenses on this camera and after having done so, can say it’s been fantastic and has enabled me to make great use of features such as focus peaking and magnification on this camera. Below is a review of the adaptor itself as well as the results from a few various FD lenses.
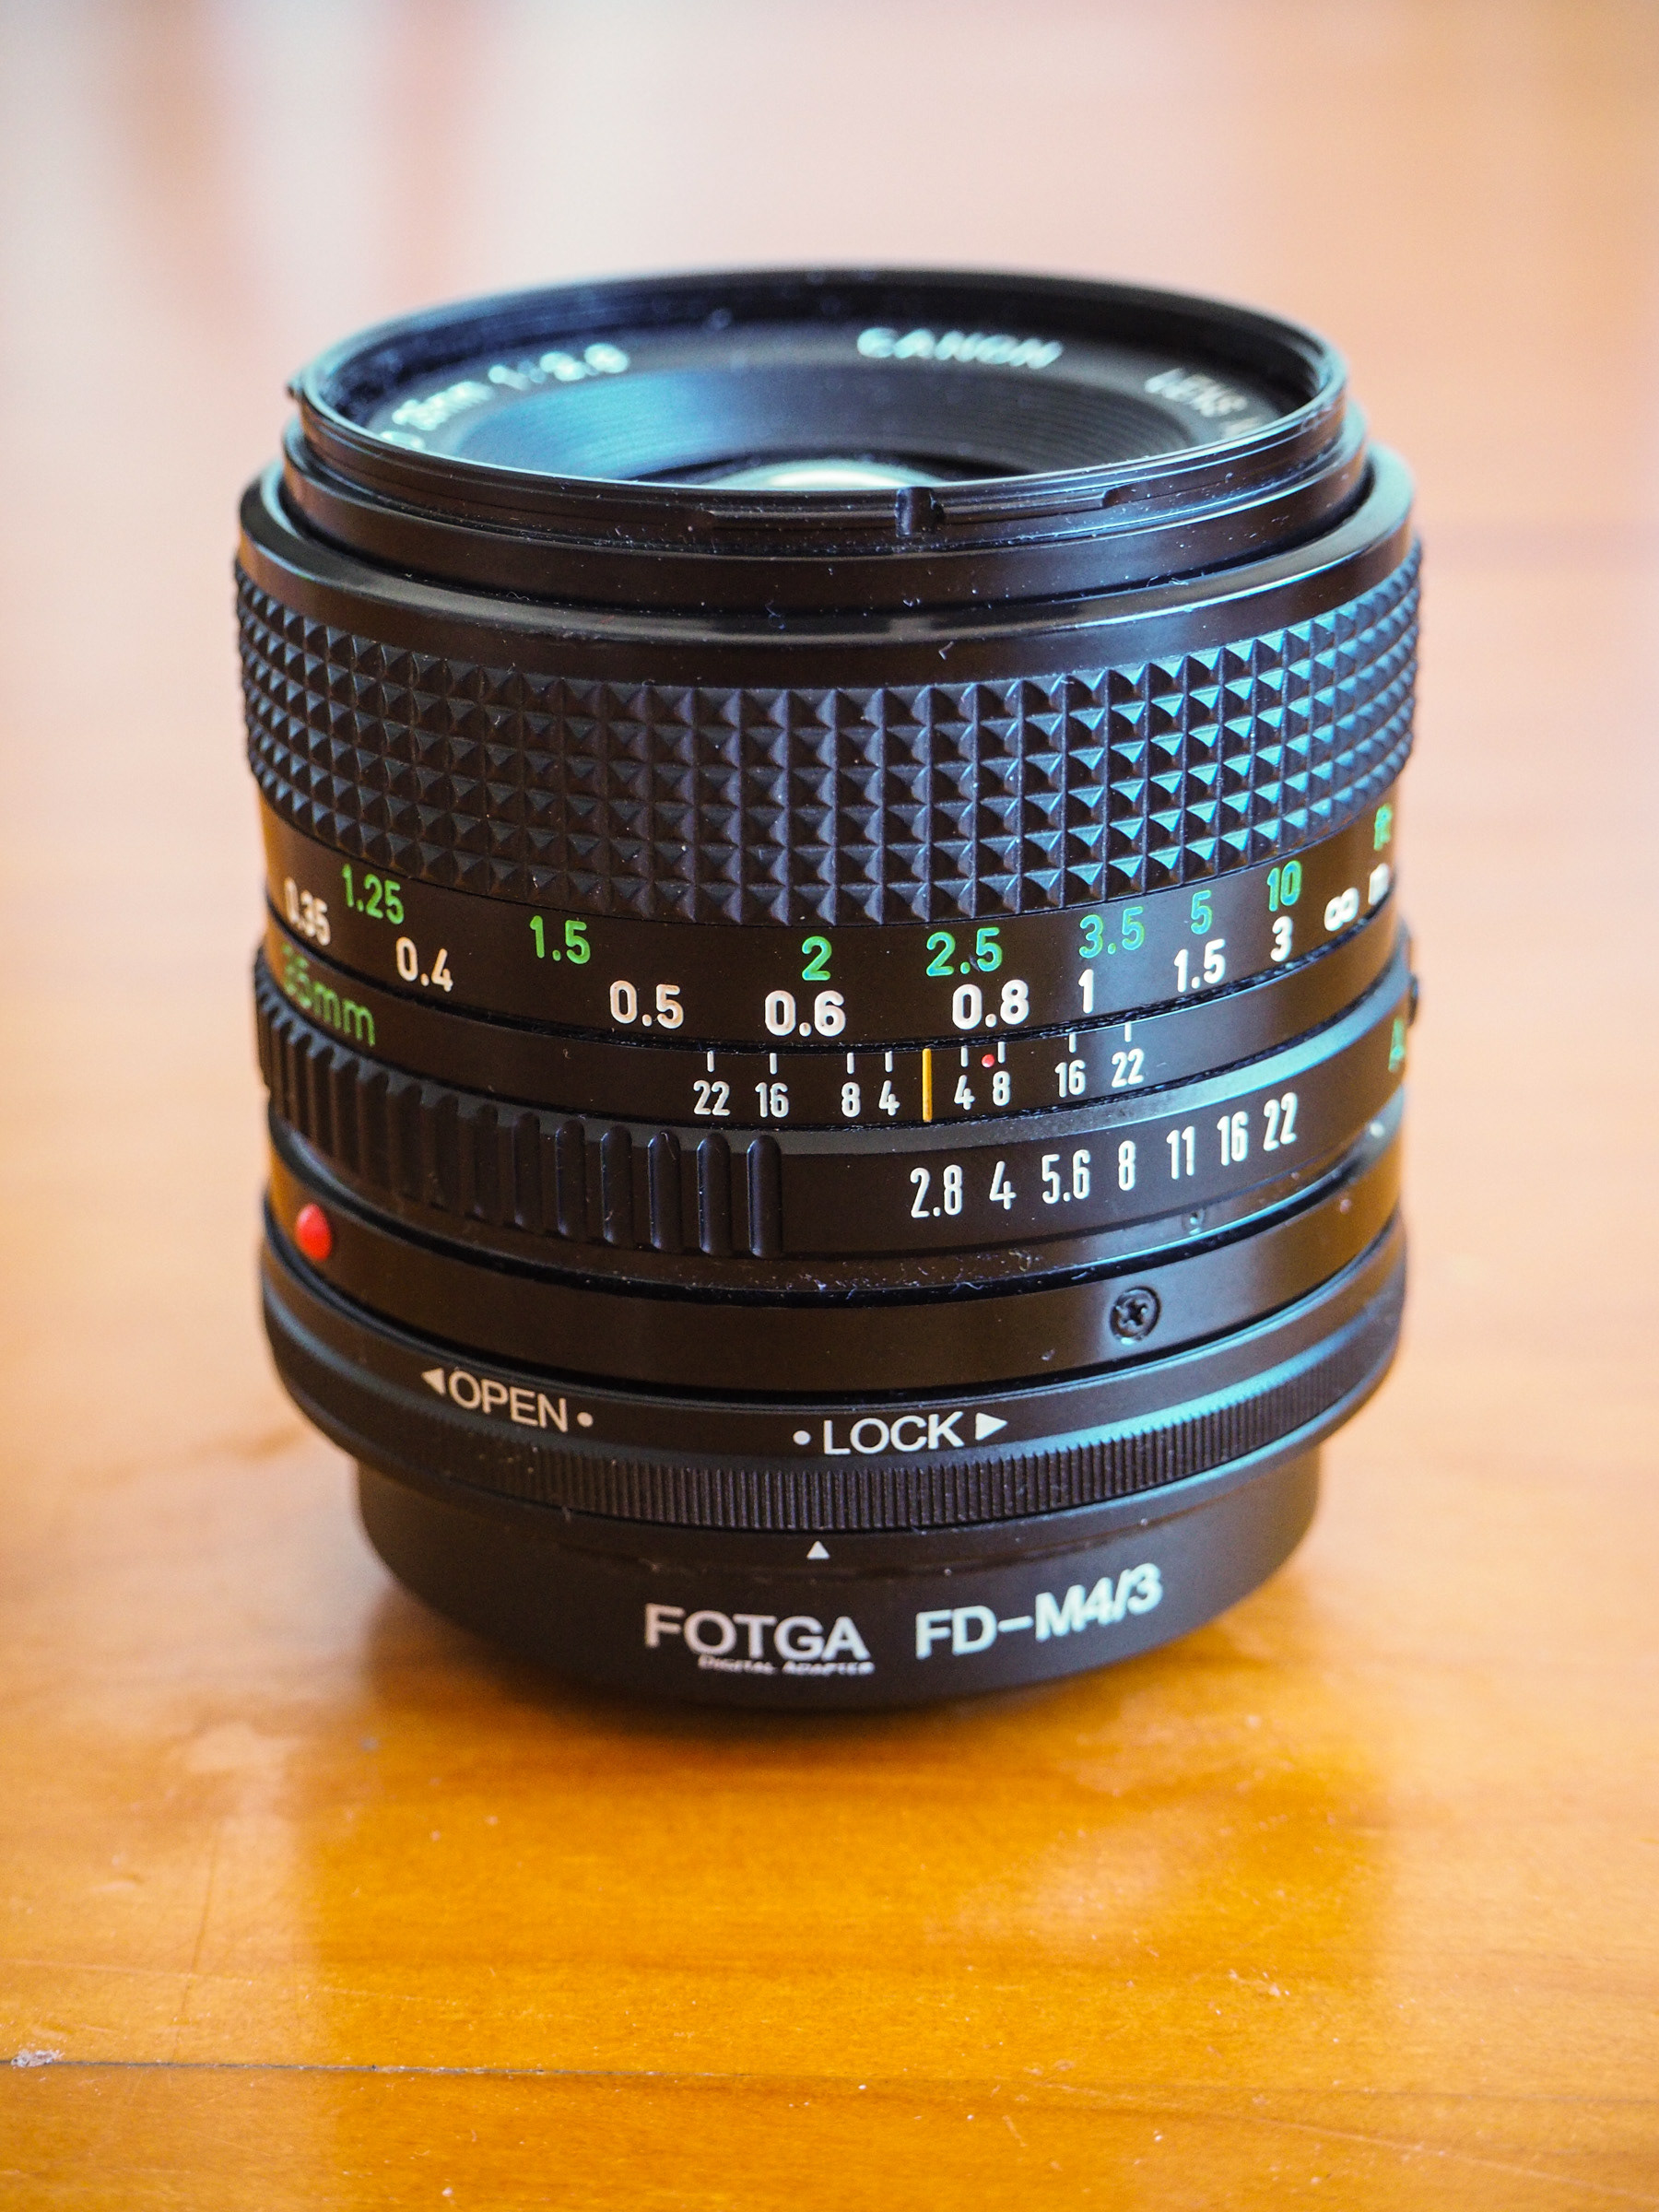
Below: The Fotga brand FD-M43 adaptor bought for $24.95aud from eBay, fitted to the 35mm 2.8 macro fd lens. It’s all metal and well constructed and thus far I’ve given it a lot of use, all of which it has been able to take in its stride.
Fitting the adaptor itself is a fairly routine process, ensure it is in the ‘open’ position, fit it onto the camera body, then fit the fd lens onto the adaptor. Then it should be moved across into the lock position in order for the aperture to be changed on the lens, ensuring correct exposure etc from within the camera. As expected, the lenses must be used in aperture priority mode, meaning that you set the aperture on the lens itself and the camera then adjusts shutter speed to maintain correct exposure. While focus peaking isn’t necessary in order to use the lenses, I’ve found that it’s no trouble at all to just leave it on as it makes quick focusing a breeze and is very helpful for ensuring that for example the eyes are in focus when doing portraits etc and for other precise focusing requirements. I use yellow as the peaking colour and have found this to work well although individual preferences may vary.
50mm 1.8 (100mm equiv)
This was the kit lens for many Canon FD mount cameras and is still very common today due to this fact. At 100mm it’s a medium telephoto length which makes it a great focal length for taking portraits of people due to the subject isolation it’s capable of, especially considering the 1.8 max aperture. At 1.8 the shots tended to have a slight haze/softness to them, not unpleasantly so, and still showed very nice results, however once even stopped down to 2.8 there’s a noticeable improvement right through to 4-5.6 at which sharpness seems to begin to peak.
The shot below of my nephew was done at f1.8, as can be seen there’s a very good result, and the bokeh has worked very well, particularly when slightly overexposed, giving a nice, smooth blur that gives very nice isolation to the main subject. Quite a nice result given that this was indeed a kit lens.
It’s interesting to note the difference in sharpness between the above shot and the one below of my wife, which was shot on the same day at the same time however at f5.6. The shot above is more than acceptable and does give a good result, however it’s not until you look at the below shot that you realise how much more sharpness and resolution it’s capable of. This is also without any further sharpening done in post processing etc. Although this lens can sometimes flare when faced with sunshine, it does handle sunny conditions such as this quite well and I still like the look of how it transitions into a nice background blur.
This shot of my youngest daughter was also taken at f1.8, inside and from the closest distance that the lens allowed. The precise nature of the focus peaking available shows its effectiveness in situations such as this where the depth of field is quite shallow and unforgiving. I was really happy with how the lens was able to work with the peaking in order to focus on the right eye, all in the very short time that she managed to stay still!
Below shot also using the 50mm 1.8, also showing a nice smooth bokeh in the background while outside in bright, sunny conditions with a distance of a few metres between the subject and the background.
Another benefit of being able to make use of these lenses, is that of being purpose built for manual focus. The ability to pre-focus in this manner is often undersold however it definitely still has its benefits, and for this shot of my daughter, it was very handy for simply focusing the 50mm first and then taking the shot once she hit my focusing point, something that can sometimes be a challenge to do with a 4 year old on a bike coming straight towards you! In this overcast conditions there was still a nice vibrancy retained in the colours, particularly the greens and purples, with the green foliage and house bricks retaining very true to life colours. Once again showing a good synergy between this lens and the Olympus image processing.
35mm f2.8 macro (70mm equiv)
The shots below were both taken with the 35mm f2.8 macro lens, which gives an equivalent length of 70mm. The sharpness its capable of has been fantastic and I’d have to say all round, being a slightly shorter length, having macro capabilities and being so sharp all have made it my favourite lens to use on this adaptor. It’s colour rendition is also great, as is that of the 50mm f1.8, with both giving very nice, slightly warm results which tend to be very flattering to subject matter. I’ve found it to be very handy for a wide variety of subjects, but especially for things such as food, its macro abilities really make it shine especially when combined with those nice vibrant colours.
Being a macro lens also allowed me to have a lot of fun taking shots of some busy bees such as this feasting on some lavender. Considering the tiny size of the bees being focused on, it was vital to use focus magnification with peaking which worked really well, also being fast enough that I was able to get some shots in the few seconds they were still on the blossoms.
The 35mm f2.8 has also shown itself to be a very good choice for sunny outdoor conditions as was below. This was an extremely bright day with a large amount of glare present, however, both the lens and E-M10 MK II handled this very well, and once again the pleasant colour rendition of the lens can be seen in the skin tones below. This was also shot at f5.6 and the pin sharp ability of the lens is shown in the fine details maintained in the strands of hair etc. It’s also a strong testament to the E-M10 MK II’s ability to draw as much detail as possible out of the lens attached. Once again the background blur is nicely smooth and transitions well between colours and dark/light areas.
The 35mm f2.8 is also a great choice for fast action shots,as its sharpness and resolution helps to capture even the most minute of details such as these water droplets which were shot at 1/2000 sec. It also shows just how effective the EM10 MK II is in taking action shots, with its very minimal shutter lag meaning it’s always ready to capture fast moving action. Also a testament to how useful pre-focusing can be in these situations, as is focus peaking, to know what and where will be in focus before the shot is taken. Children going as fast as they can on a water slide can be very tricky to get shots of, but it was nice to know that once the focus was set, shutter lag wasn’t an issue.
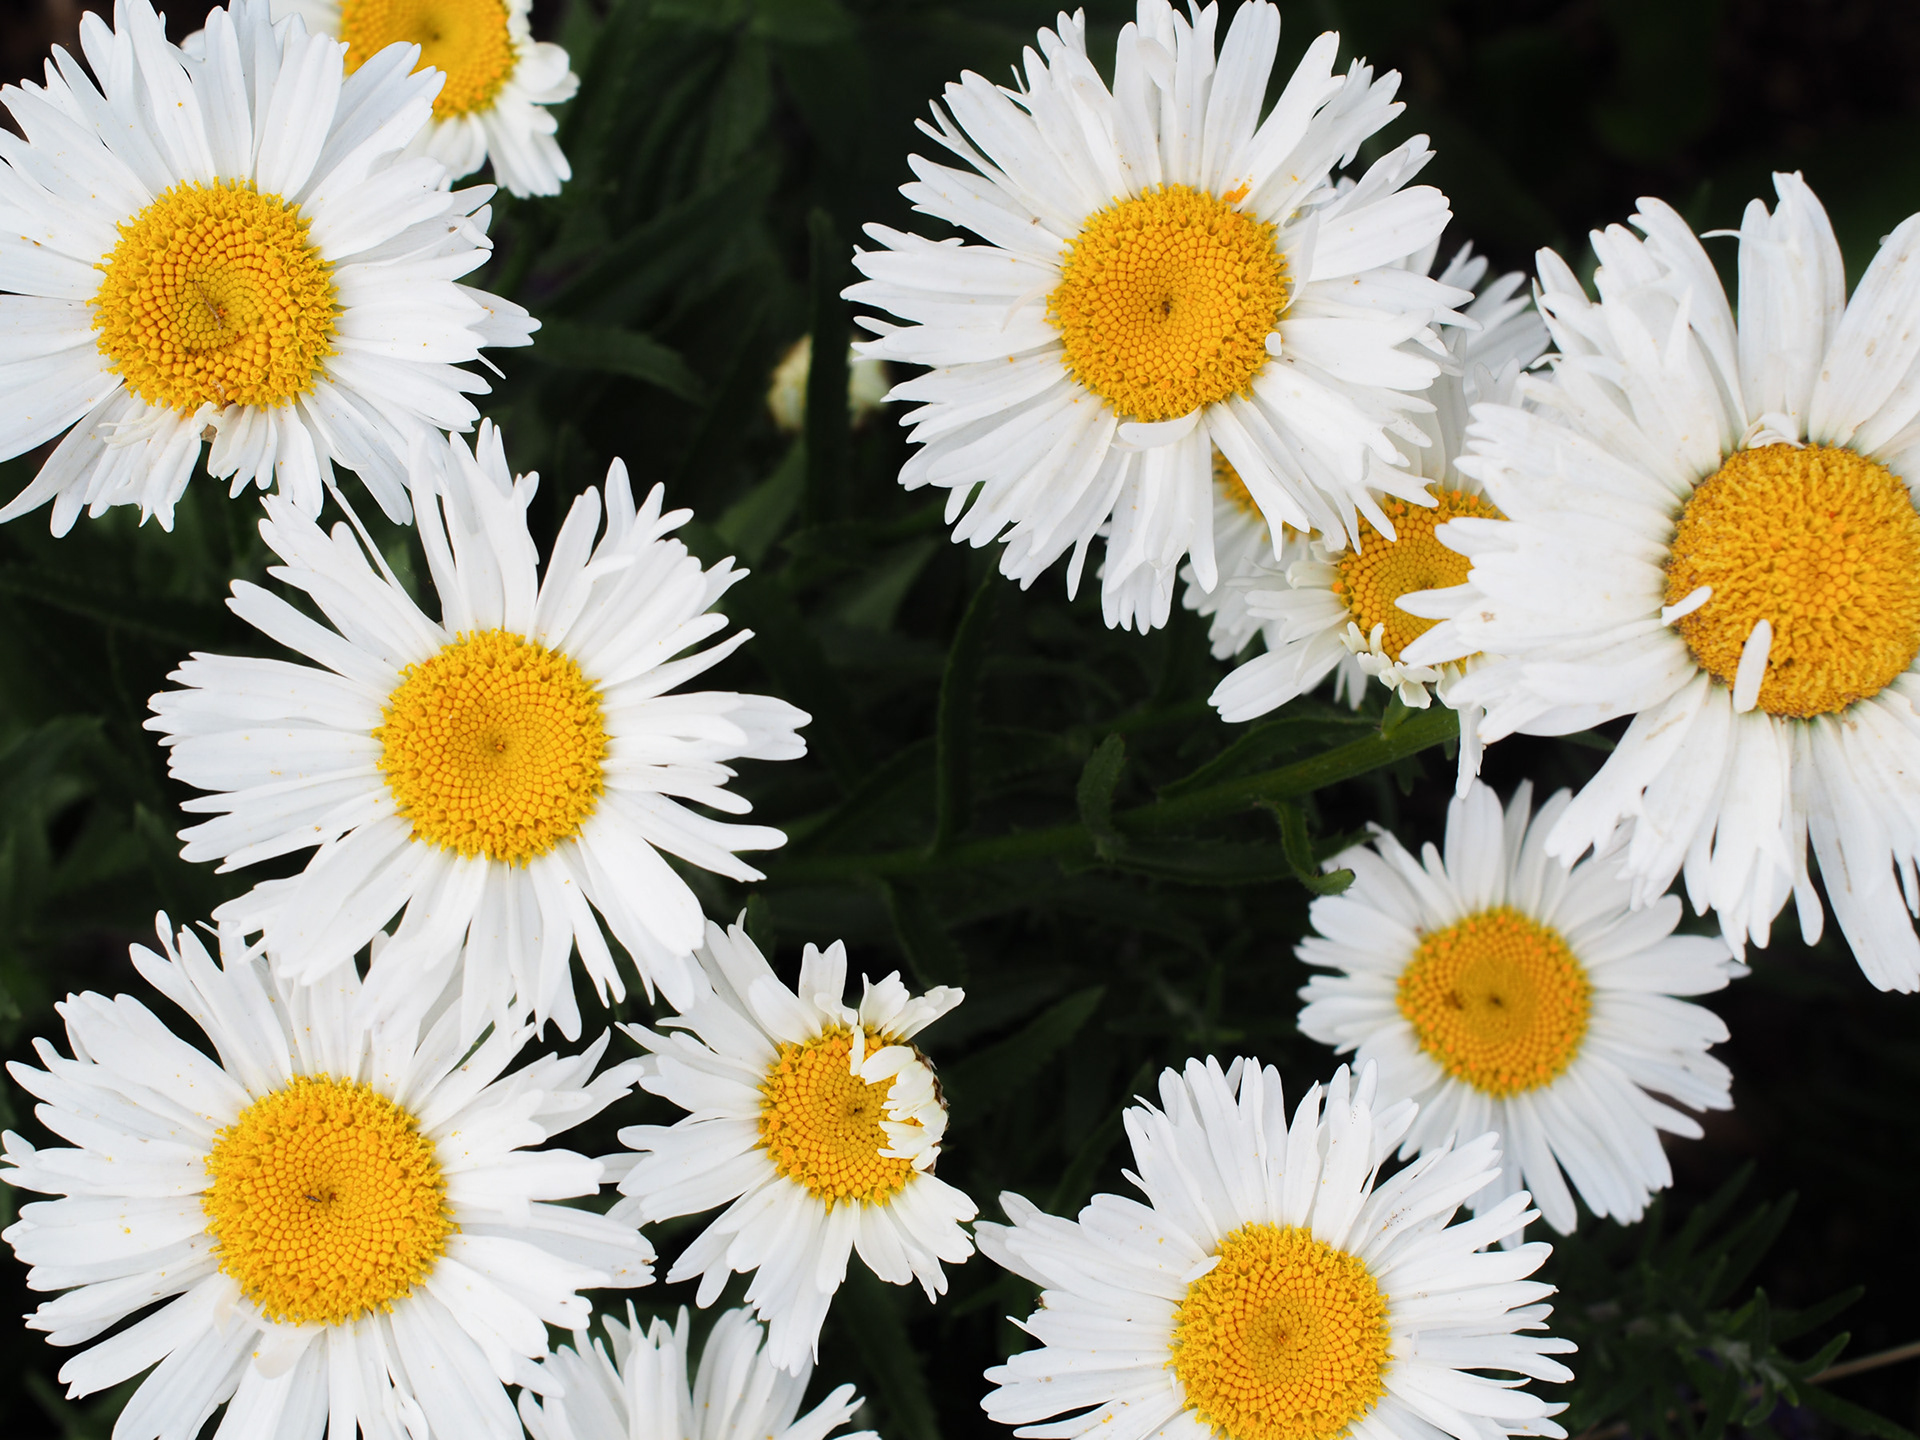
The below shot of some daisies also helps to show the capabilities of this lens in combination with the E-M10 MK II body. The stamens are captured very sharply and the minute details of these are resolved very well, with a nice amount of background blur considering this image was shot at f5.6 to ensure a number of the flowers were in focus.
135mm f3.5 (270mm equiv)
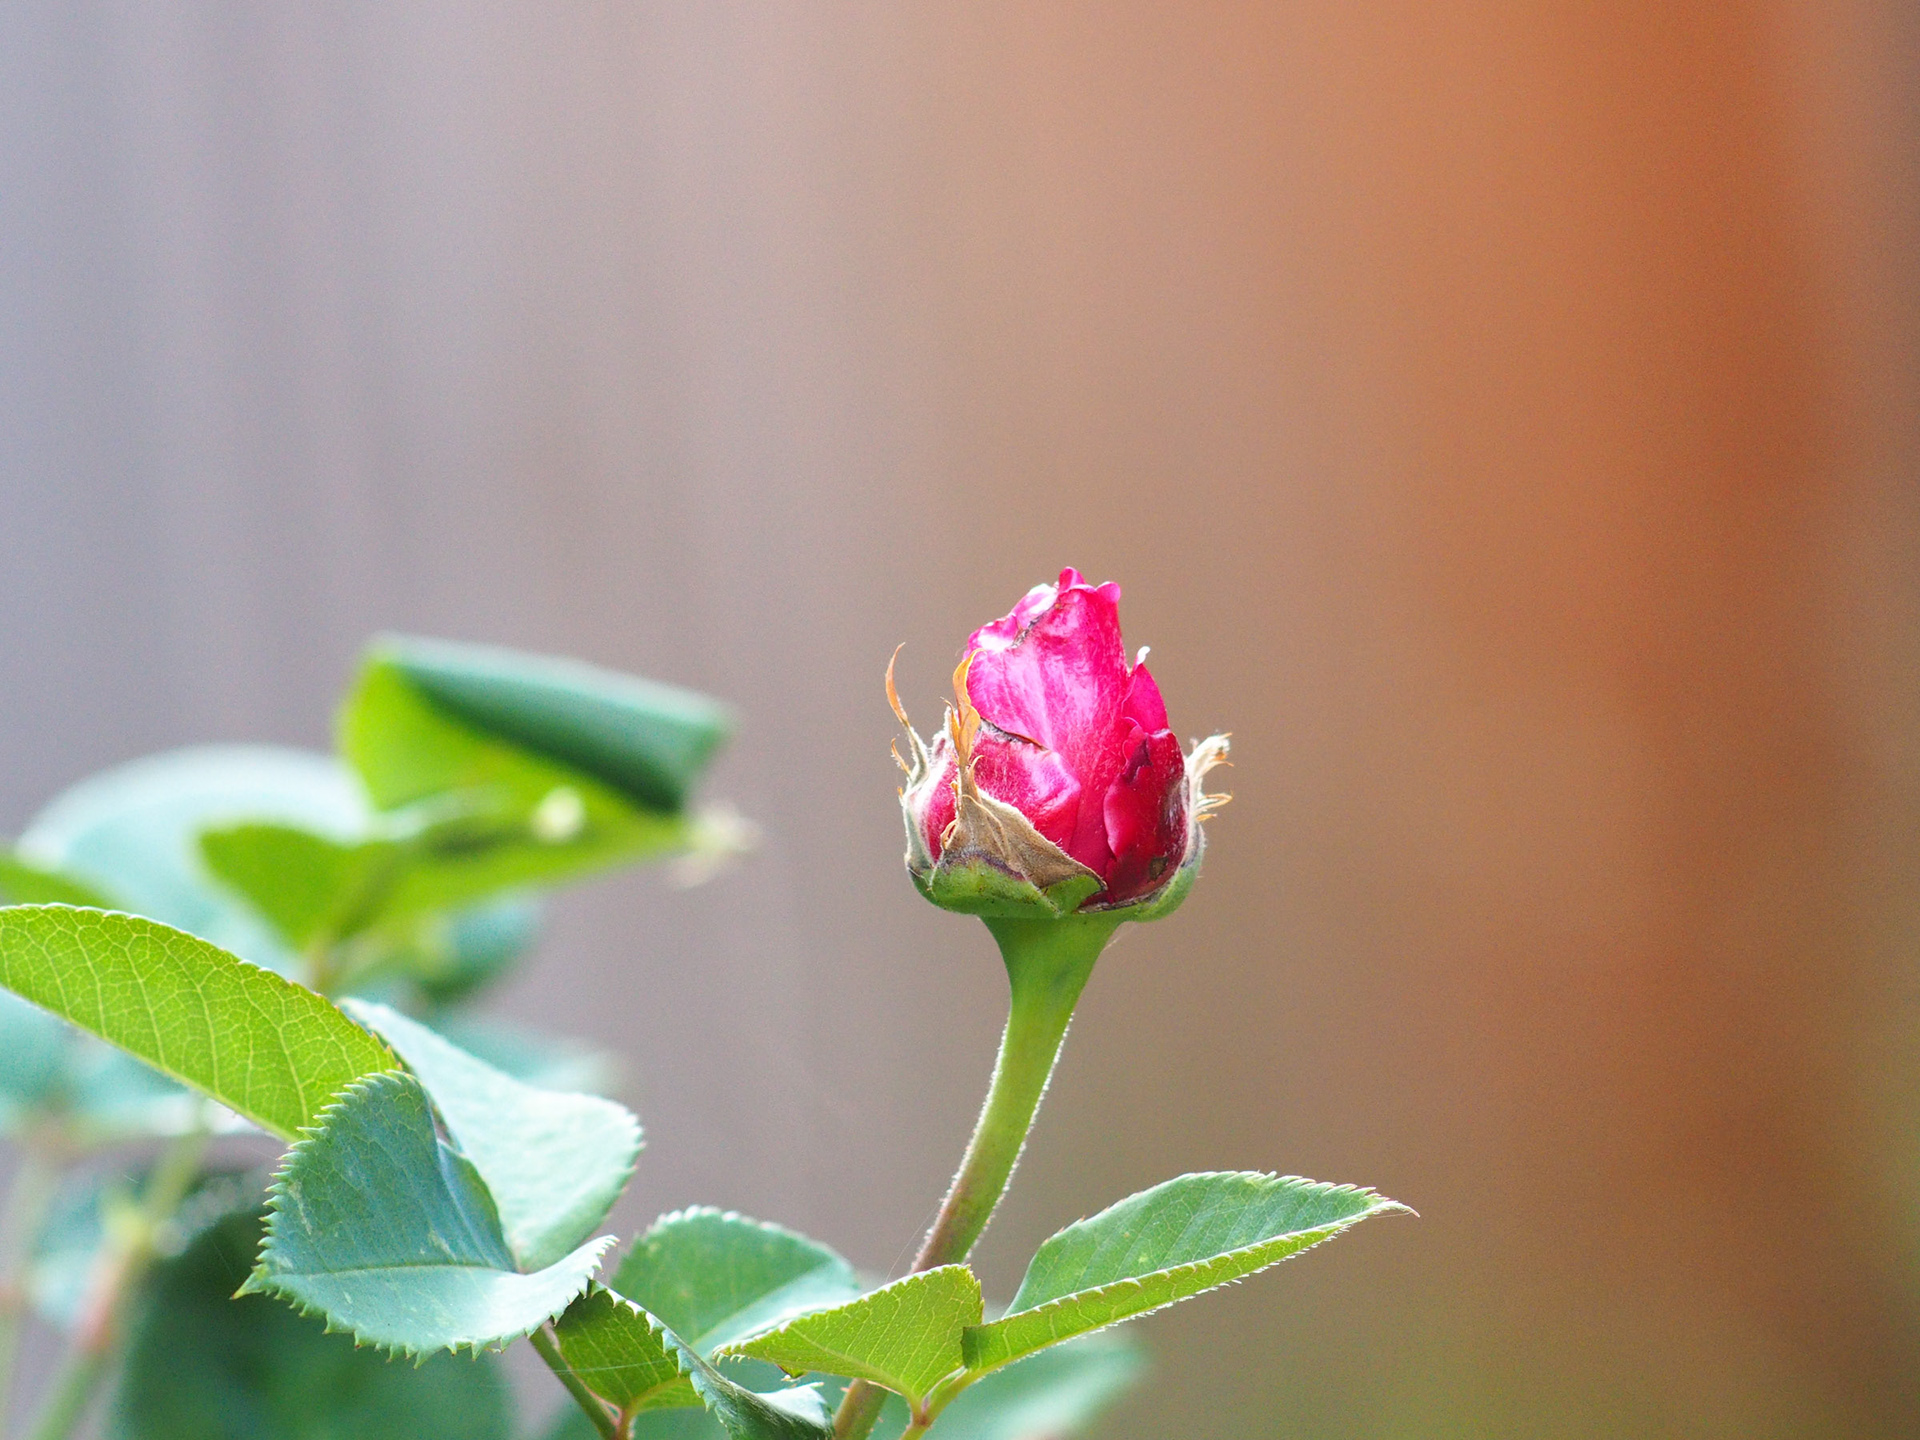
The next lens – the 135mm f3.5 was also designed as a mid length telephoto lens, however on the M10 MK II it comes in at a long 270mm f3.5 beast! This long focal length somewhat restricts what it can be used for, however it’s nevertheless a lot of fun to play around with. The below shot shows its bokeh capabilities and the rather nice way it’s able to isolate a subject such as the rose while effectively blurring the background.
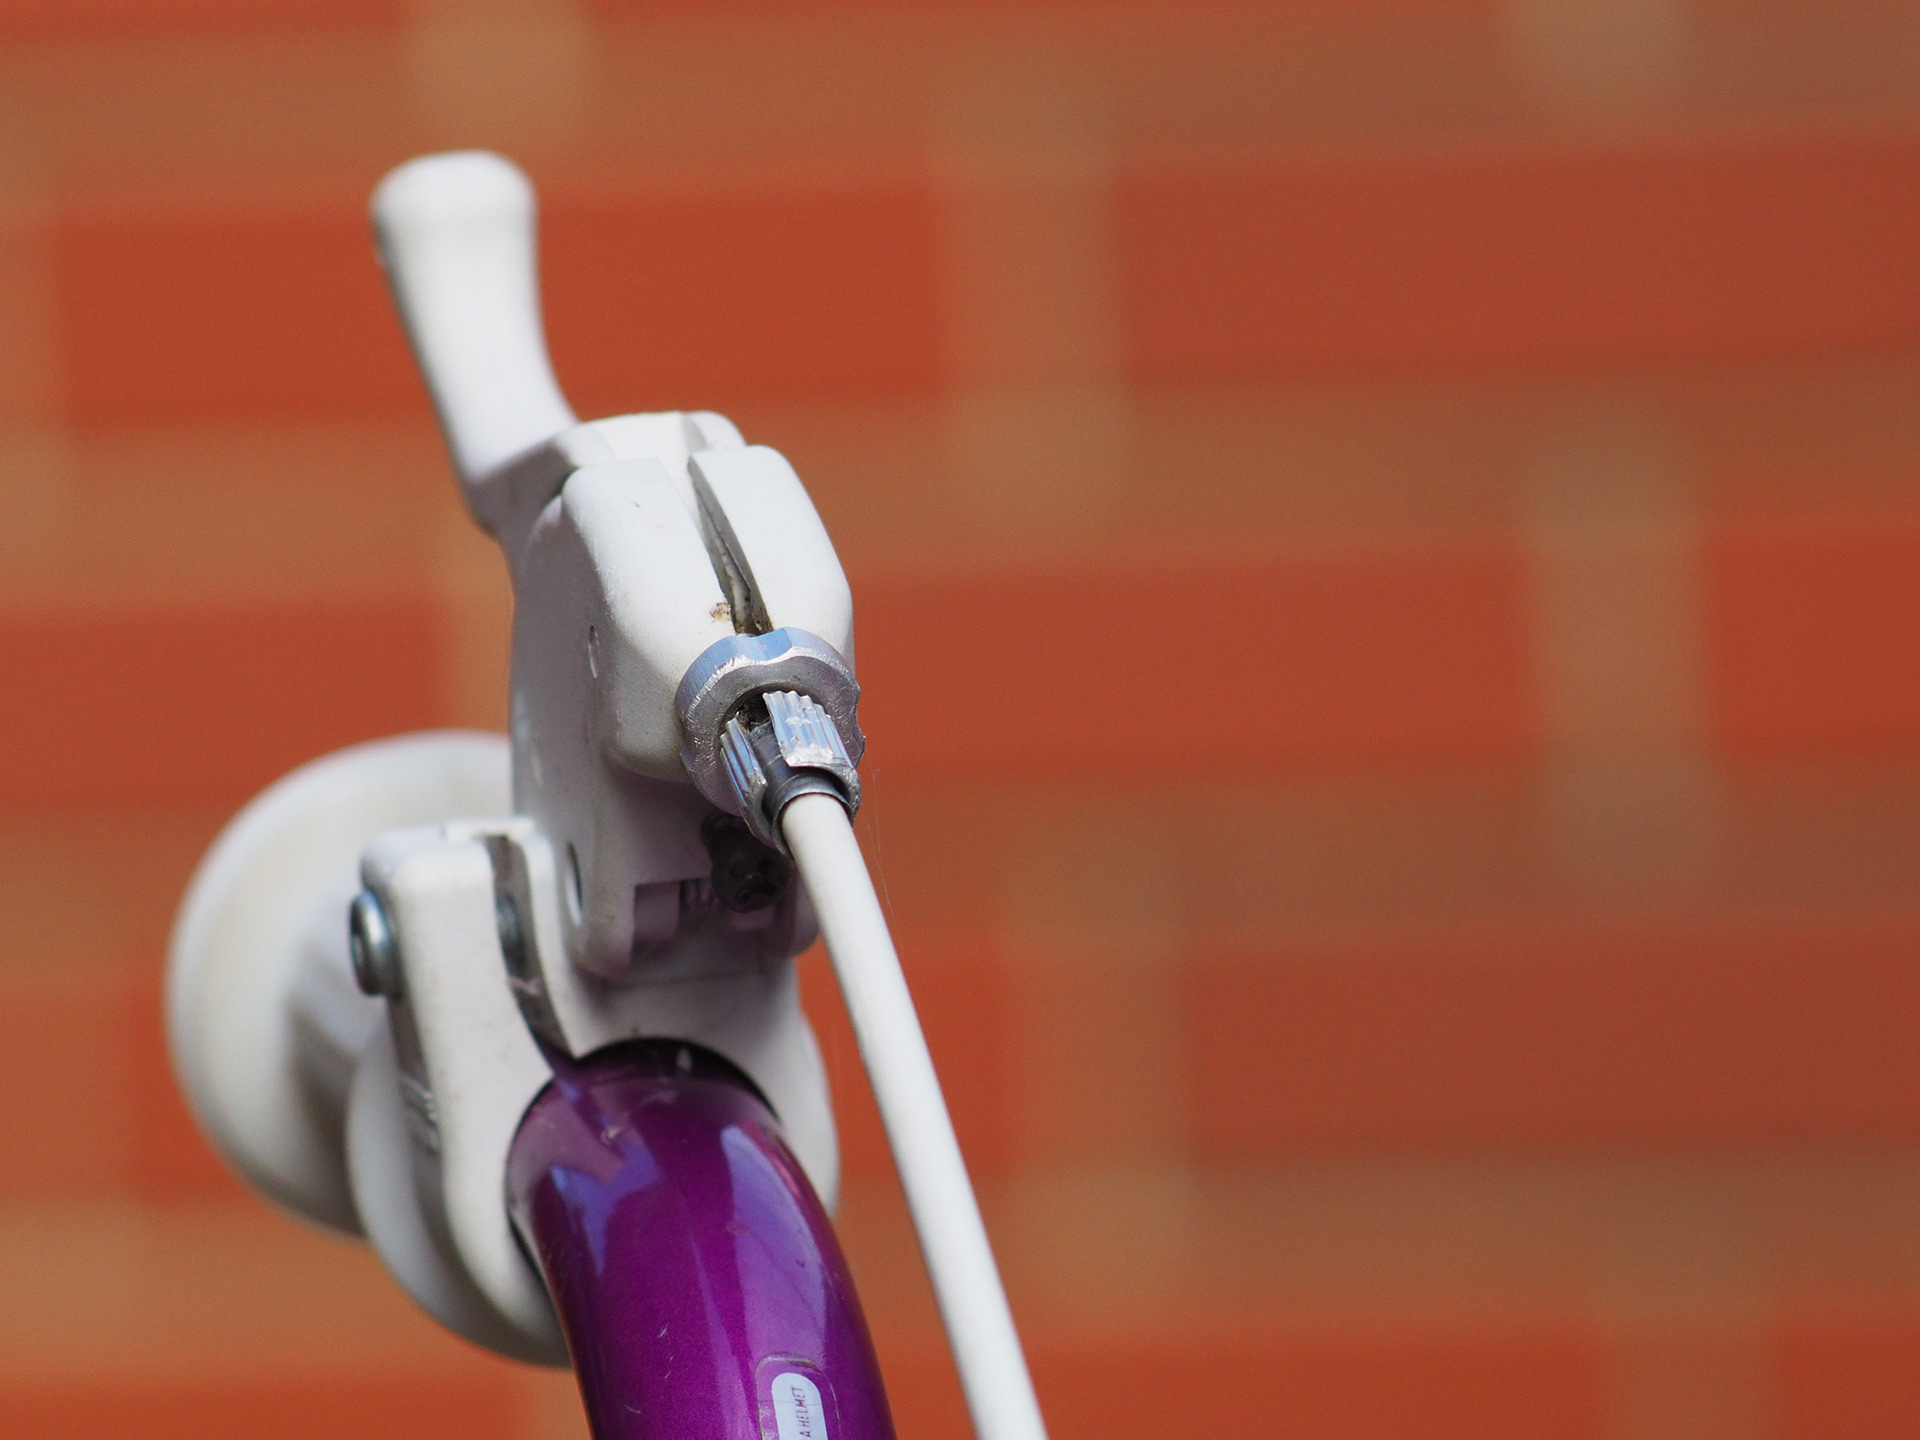
This shot, of the handle bar on my daughter’s bike, was taken to basically test the depth of field and bokeh of this lens when shot at f3.5 – wide open. As you can see, its still very sharp wide open, with the metal part of the brake being very well defined before a smooth gradual blur going towards the background, which shows the bricks on the wall, albeit nicely blurred in a smooth, pleasing way. Due to a combination of its long length – 270mm equivalent, and fairly wide aperture – f3.5, it’s able to exhibit a nicely shallow depth of field and a very smooth result.
This shot of another rose in my garden also shows how the 135mm 3.5 handles transition from in focus to full bokeh all in a short distance. The space between the rose bloom and the wall behind is only about 0.5m however the pattern in the brick wall can’t even be seen which is very nice for drawing more attention to the rose without any background distractions. While depending on how critical you want to be it could be said the background blur may be slightly harsh, the fact is for most people it will be perfectly fine and is of secondary importance anyway to the actual isolation of the subject itself.
Conclusion
All in all it’s been a lot of fun to be able to use such a wide variety of film-era lenses on the E-M10 MK II and give them a new lease on life. Using manual focus is also a great way to keep your photography sharp by doing something a bit different to what you usually would. I was really happy with the results gained from all three of these lenses, all being equivalent lengths – 70mm, 100mm and 270mm – different to what I usually shoot which was great fun for taking a different approach to my photography. I’ve used them on stationary subjects, fast moving ones and everything in between and haven’t had any issues so far with the lenses, the adaptor or the way they work with my camera body. After being as happy as I am with the results I’ve been able to get I’d definitely recommend buying one of these adaptors in order to be able to bring new life to any old lenses you have!
JOIN OUR FACEBOOK GROUP

“I’m from the South West coastal region of Victoria, Australia. I’m experienced in stock and portrait photography but nothing quite captures my imagination like travel photography due to the creative freedom it allows you. I was lucky enough to grow up watching my Dad always taking photos and developing them in his darkroom at home, which as a kid was always so fascinating and showed me how important it is to document your travels.”


