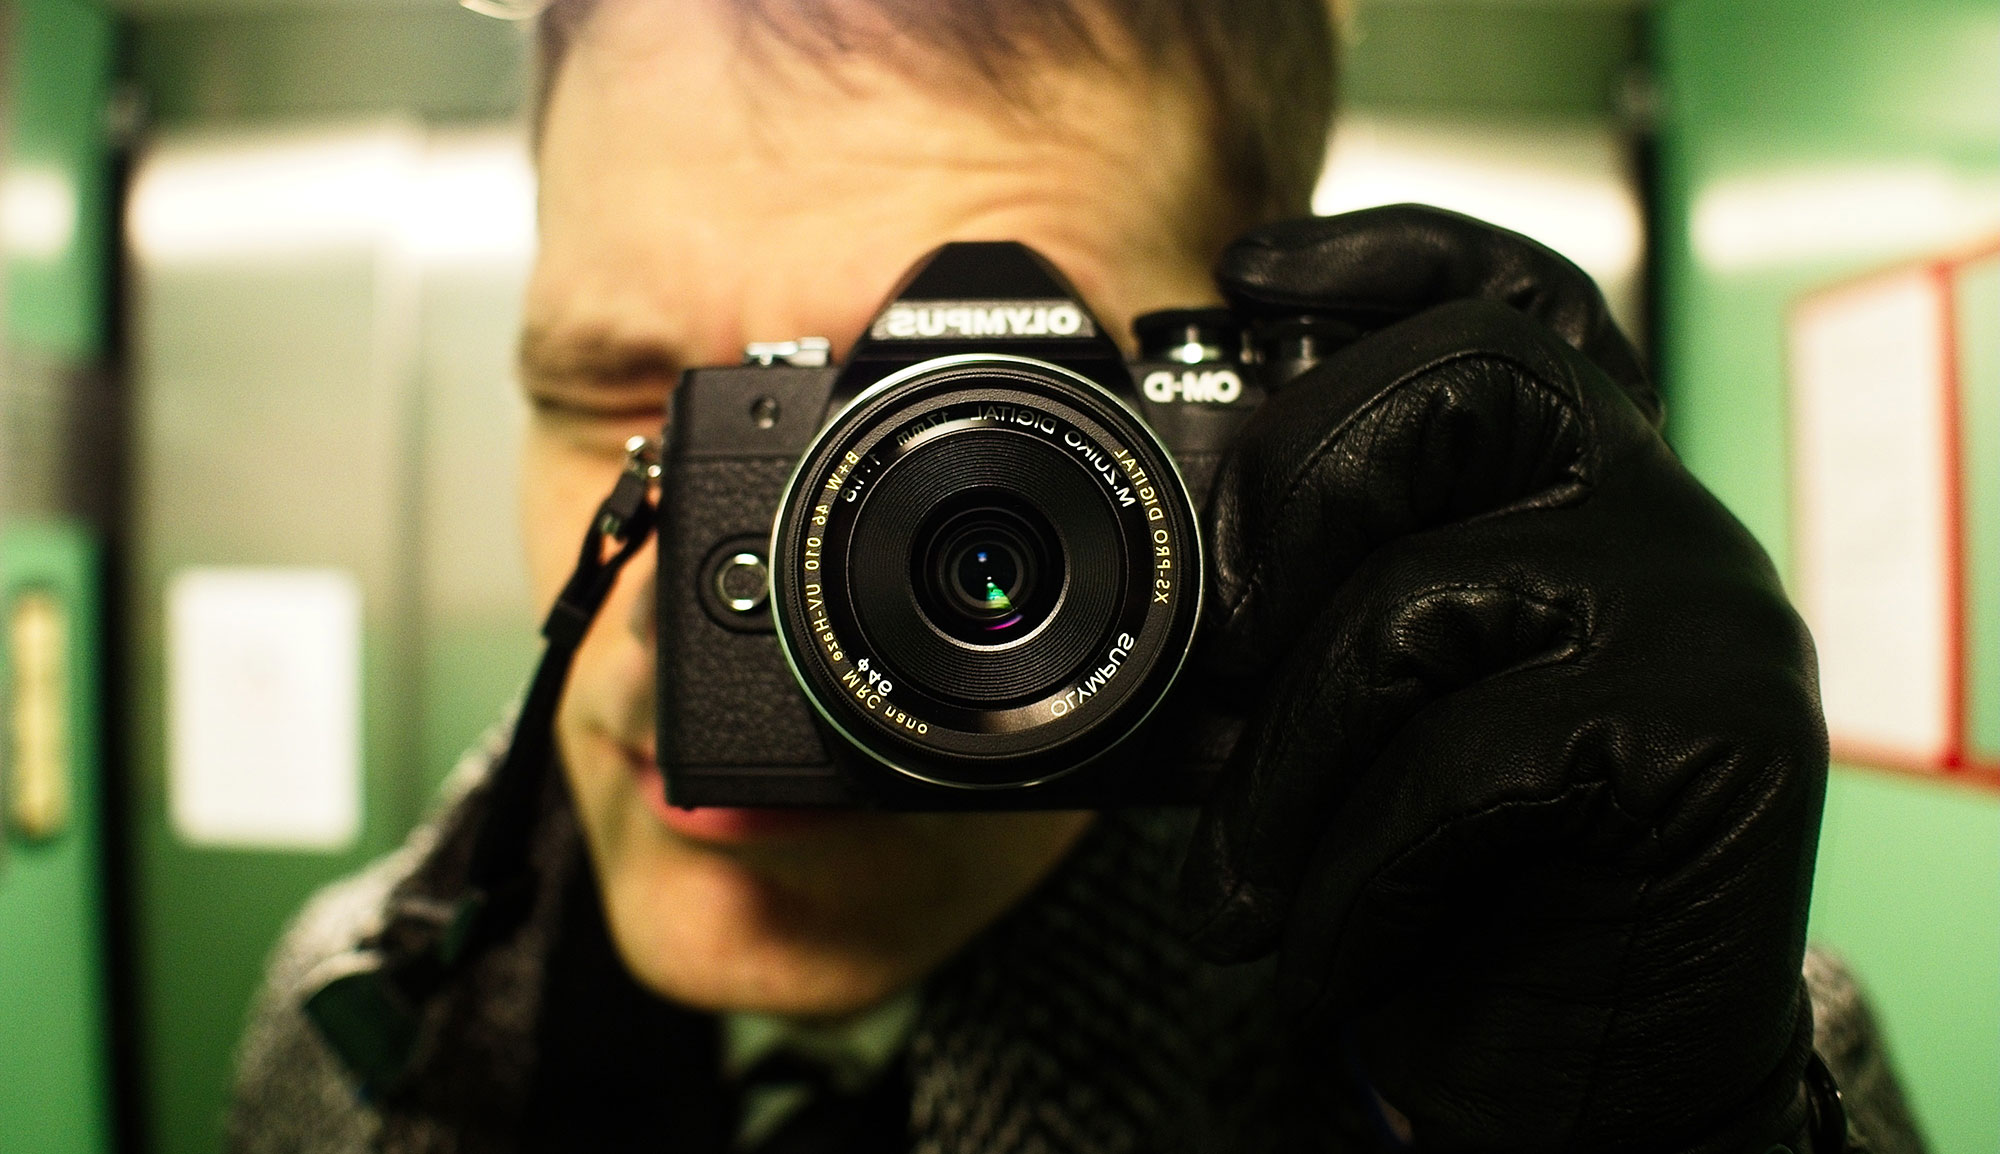
Olympus E-M10 Mk II Review – The perfect travel camera
I’ve now had my Olympus EM10 MK II for about a month and feel that after giving it extensive use both at home in Australia and also overseas in Malaysia (with a 4 year old and 11 month old!) that I’m in a good position to be able to give a comprehensive review of what has basically become a seamless integration into my photography.
After many long days holding camera equipment that was uncomfortably heavy and also way too bulky I did a lot of thinking. The Canon 5D I was currently using was simply too big for me and this was having an effect on how much I was enjoying my photography, both paid jobs and basic family snapshots. Tired and aching hands are not really on any photographer’s wish list and I’m certainly no exception. I’d also seen the ease with which my Dad had been carrying around his EM10 to every family occasion with no worries at all, while I lugged a camera bag containing a body and lens around, doing my best to swiftly use it before the moment had passed. When holding this EM10 I’d also noticed how well built and balanced it was as well as how practical certain things were, for example, the touch screen focus and shutter for quick snaps of my kids.
As we planned our first overseas trip as a family – back to Kuala Lumpur where my wife’s from – I knew I wanted to take the smallest possible equipment that would still let me have full control over my photos and so I began to look around (or as my wife would say – procastinate!). I looked and looked but kept coming back to the EM 10 MKII for a few reasons which have all proven relevant in the review below. Although the new EM10 MK III was on the verge of being released I was more than happy to grab the MKII and have not been let down by this decision.
Controls: Firstly, the control layout looked fantastic and in practice it has proven to be so easy to use for me, a person with very average dexterity who simply can’t handle hard to use controls, those with ‘press hold and rotate’ designs etc. To be able to have such full and extensive control over all aspects of the camera’s operation has been fantastic and if you try one setting and don’t like it, it’s as simple as setting it to what suits you better. I’ve found that being able to change and make so many adjustments so easily while still looking through the EVF has been great, especially in bright tropical conditions and also night time, both of which require your eyes to adjust considerably for ambient brightness.
While the menu system does take a while to get used to, it’s definitely worth it to learn and maximise the ways you can customise this camera. I’ve found one of my most frequently accessed menus is to change the dial functions to adapt to different situations that will demand different functions. From here, its as simple as scrolling through and adjusting what you need to, something I’ve been able to do in a hurry on multiple occasions.
A fantastically simple way of changing settings quickly is also to simply press the ‘ok’ button to bring up the settings menu on the screen, then proceed to adjust what’s necessary. The tilting touch screen is also very practical, especially for taking food shots, meaning you don’t have to stand up and lean over your food to get a shot, instead being able to stay seated and simply raise the camera, tilt the screen and touch to focus and fire the shutter. Colours in these food shots are also generally very flattering to what’s on your plate, being rich and warm, as can be seen in this shot from the fantastic Al Amar in Pavilion. Shot at 1/20sec, f3.5, iso 3200.
Size: Another huge benefit of the EM10 MK II on this holiday was the ease with which it can be used due to its small size and also weight. While in the plane on the way home, I was able to take the obligatory sunset shot out the window with one hand, even changing the settings, while holding my baby in my other arm! The balance of weight in the camera means it always stays centered and to be able to hold it, easily turn the dials and take some shots all with only one hand was just fantastic and meant I was able to get some shots I otherwise couldn’t have (see below).
The small size also meant I was able to fit the camera and 14-42 EZ lens into the pockets in my cargo shorts which was fantastic for when we were heading out and I needed all my hands free and also for when you’re going somewhere and don’t want everyone to see you with a camera bag. While your pockets do need to be large to fit the body and lens, it is definitely possible with something like cargo shorts/pants and if you’re doing something like going out for dinner etc, it’s a great way to still be able to take great pictures.
EVF and rear screen: I’ve found the EVF on the EM10 MK II to be fantastic and I still prefer it to the touch screen on many occasions. Firstly, as I’m long sighted, the EVF makes it a bit easier for my eyes to focus, especially with the diopter adjustment which does a great job, and secondly, I find it much more natural to look through a viewfinder rather than at a screen. However, the rear screen is also great and there are also times when it will be the preferred option – for example, for a quick shot of the kids I often quickly raise the camera, frame it on the screen and use the touch function to focus and shoot on my chosen area. It really is that easy and many times this has saved me from missing shots.
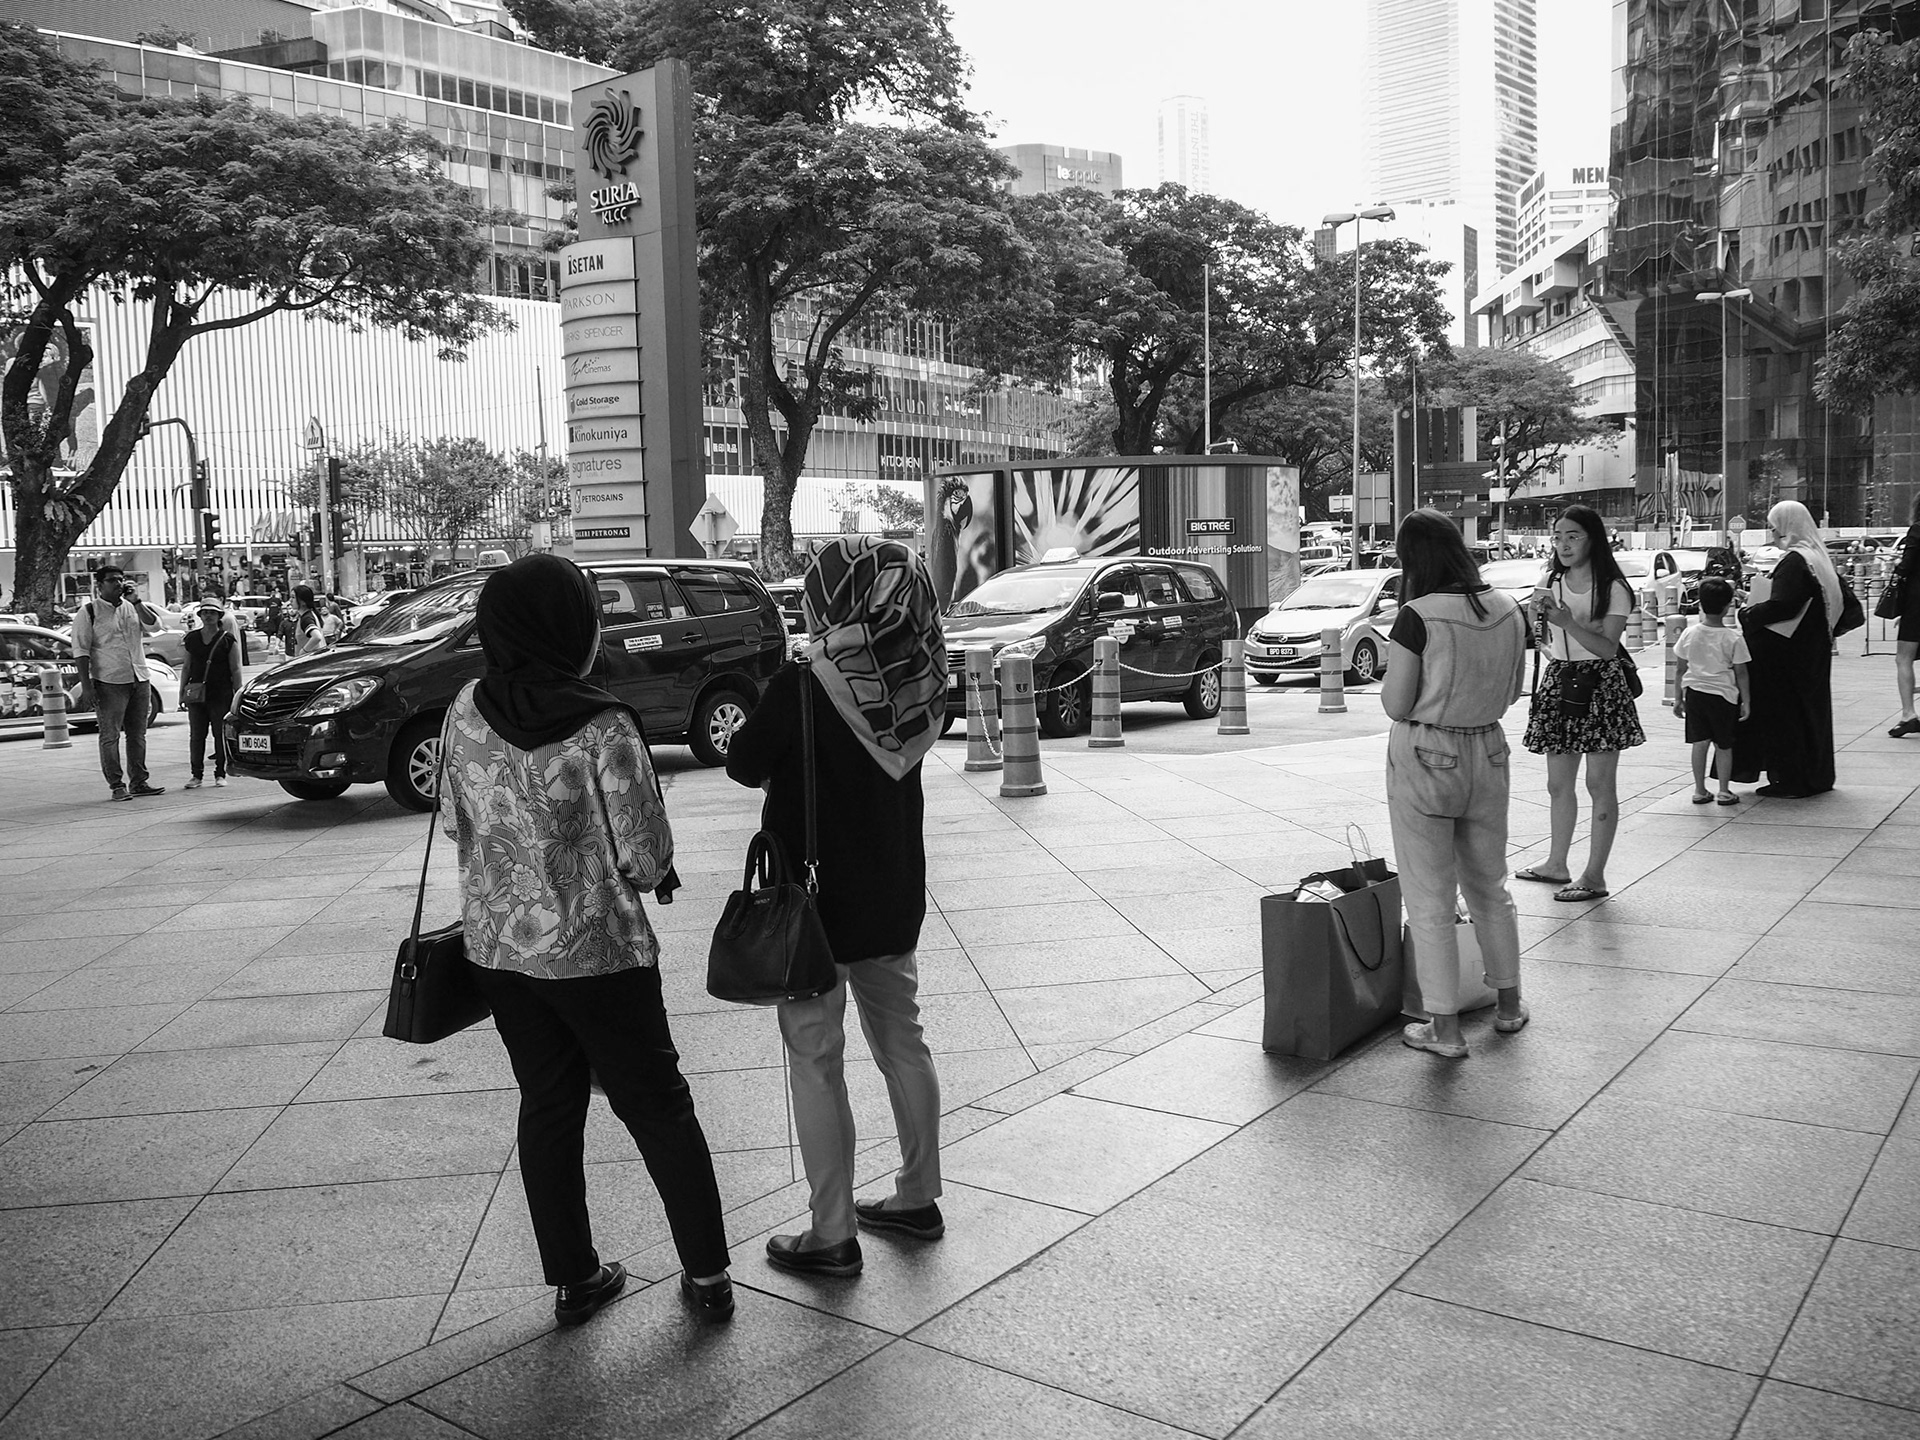
In sunny situations I also much prefer the EVF as it stops you from squinting at the rear screen while taking your shot. However, for quick tap to adjust setting changes the touch screen is great as you can then proceed to simply touch the screen again to focus and shoot. This is also really handy for quick snaps of candid moments, which can be made even more candid by shooting from the waist with the screen tilted towards you, such as at the KLCC taxi line just before the rain came down.
Battery life: Battery life is often discussed regarding mirrorless cameras and with the OM10 MK II being quoted at around 300 shots, many people have questioned whether this is sufficient. I never found this to be an issue, and typically got more shots than this per charge by turning off auto review and other similar battery drainers and also by not chimping and looking at every single shot after you’ve taken it. And if it’s that vital, simply get another battery and keep it in your pocket as they’re small enough in size to not be an issue. I’ve always thought of spare batteries as a cheap way to get rid of any concerns you have and for the OM10 MKII this is no exception, especially if you’re traveling and one battery stops working.
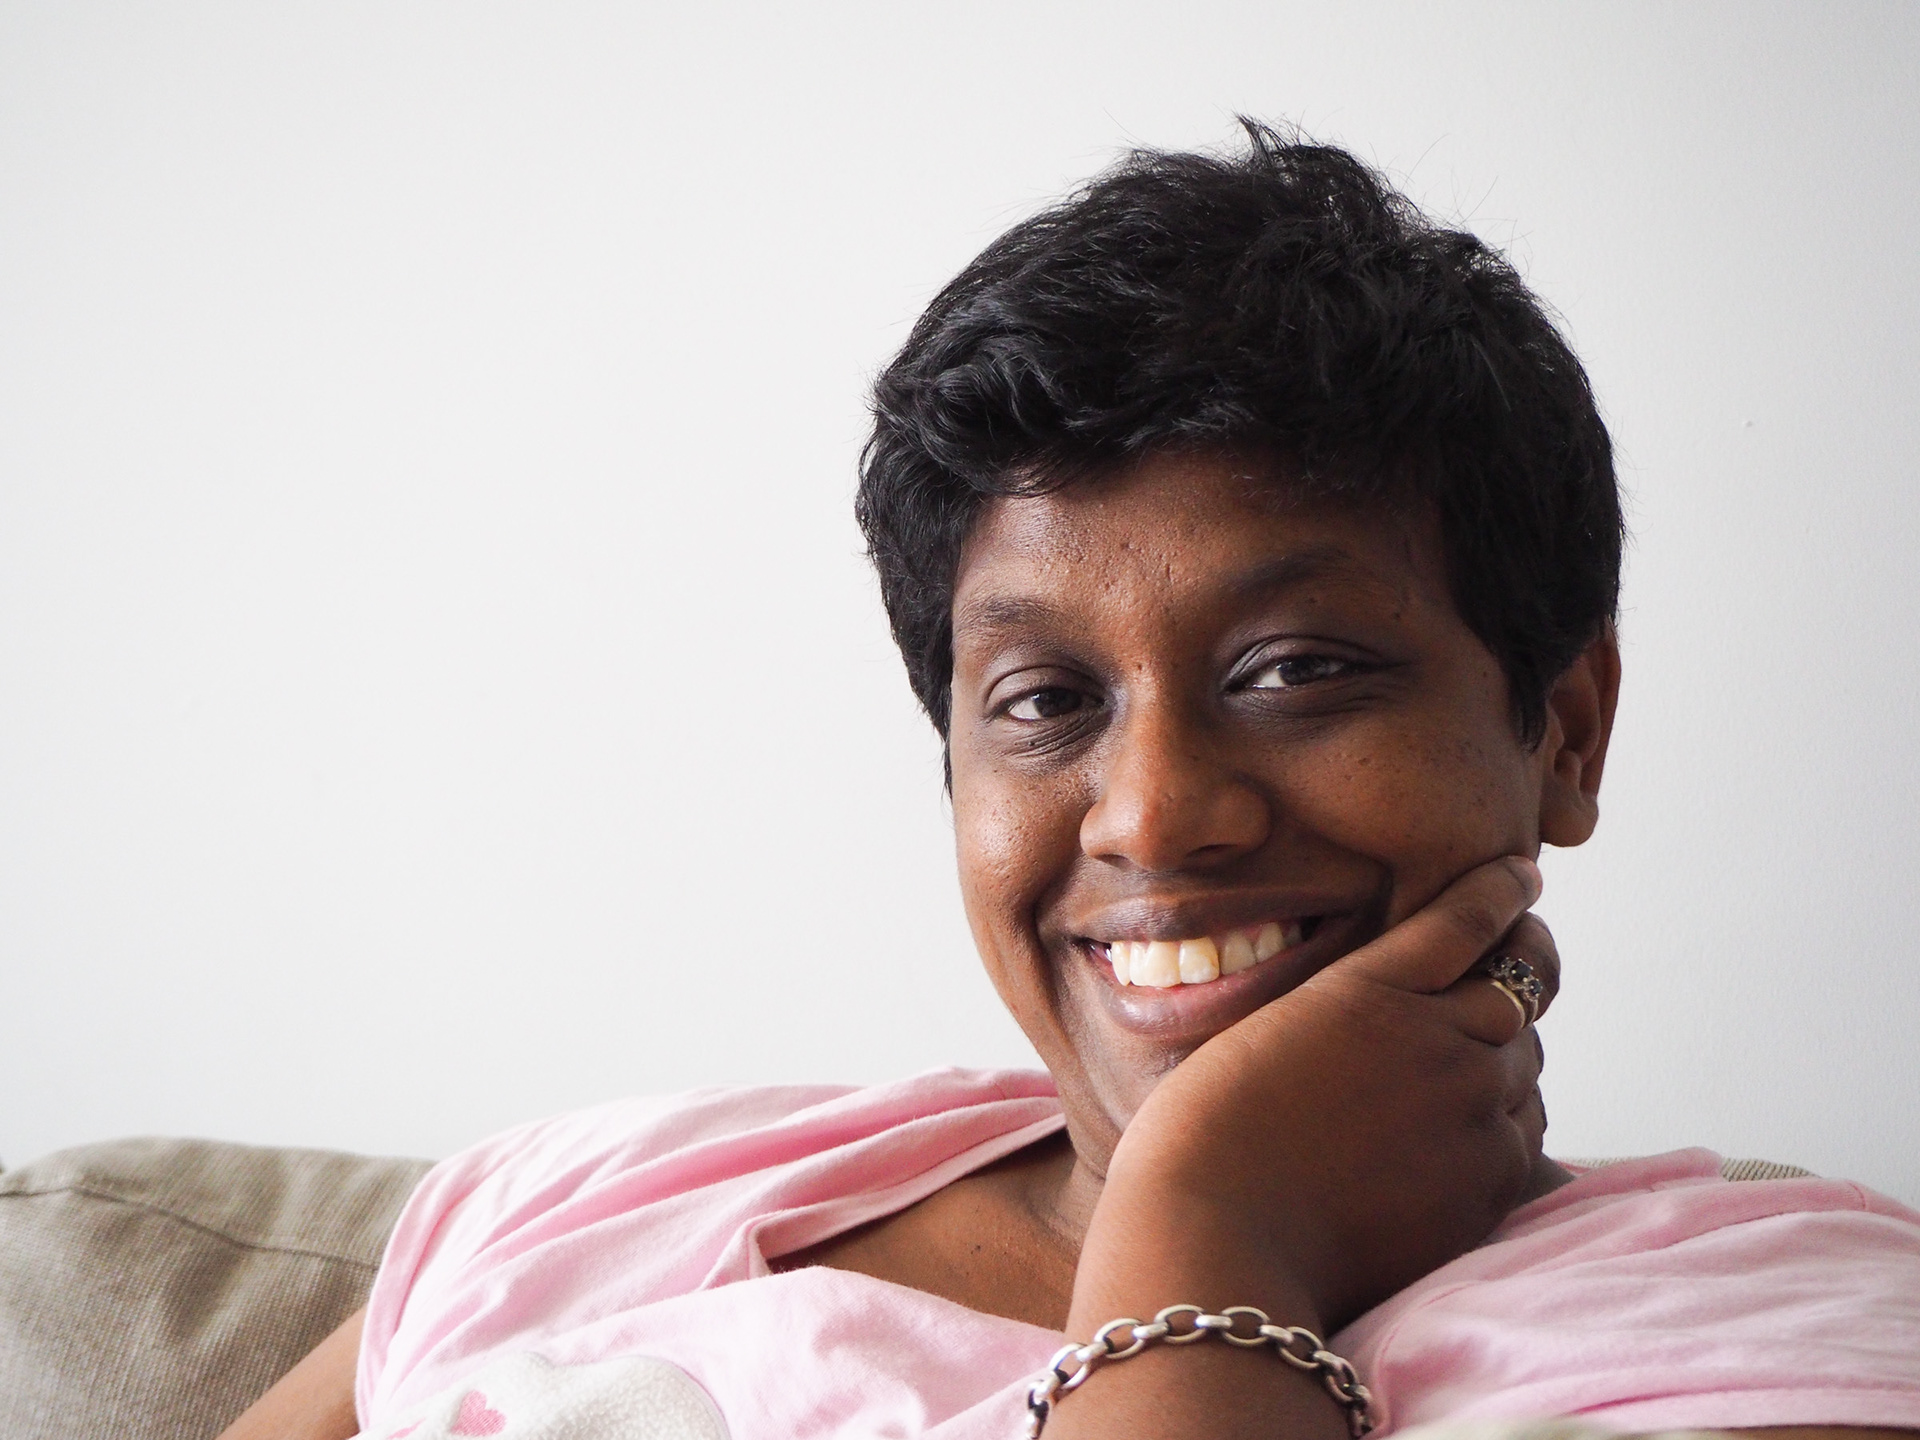
14-42 EZ lens: For convenience while traveling I was really keen to try this lens due to its super compact size. It was the first power zoom lens I’d ever used and while it took a little while to get used to, once I had done so it wasn’t an issue at all. Covering the 35mm equivalent of 28-84mm means everything from wide angle to telephoto is taken care of and I found that in my couple of weeks traveling it did the job nearly all the time, except for when I needed a long zoom for wildlife shots etc. It’s somewhat prone to showing corner softness, however stopping down to f5.6-f8 helps to minimise this and I found that center sharpness remains good throughout the whole range. As a mid range portrait lens at about 25mm (50mm equiv) it’s capable of delivering some really sharp, really good results as shown in the below shot of my beautiful wife that was taken at f4.9, 28mm, iso 1600.
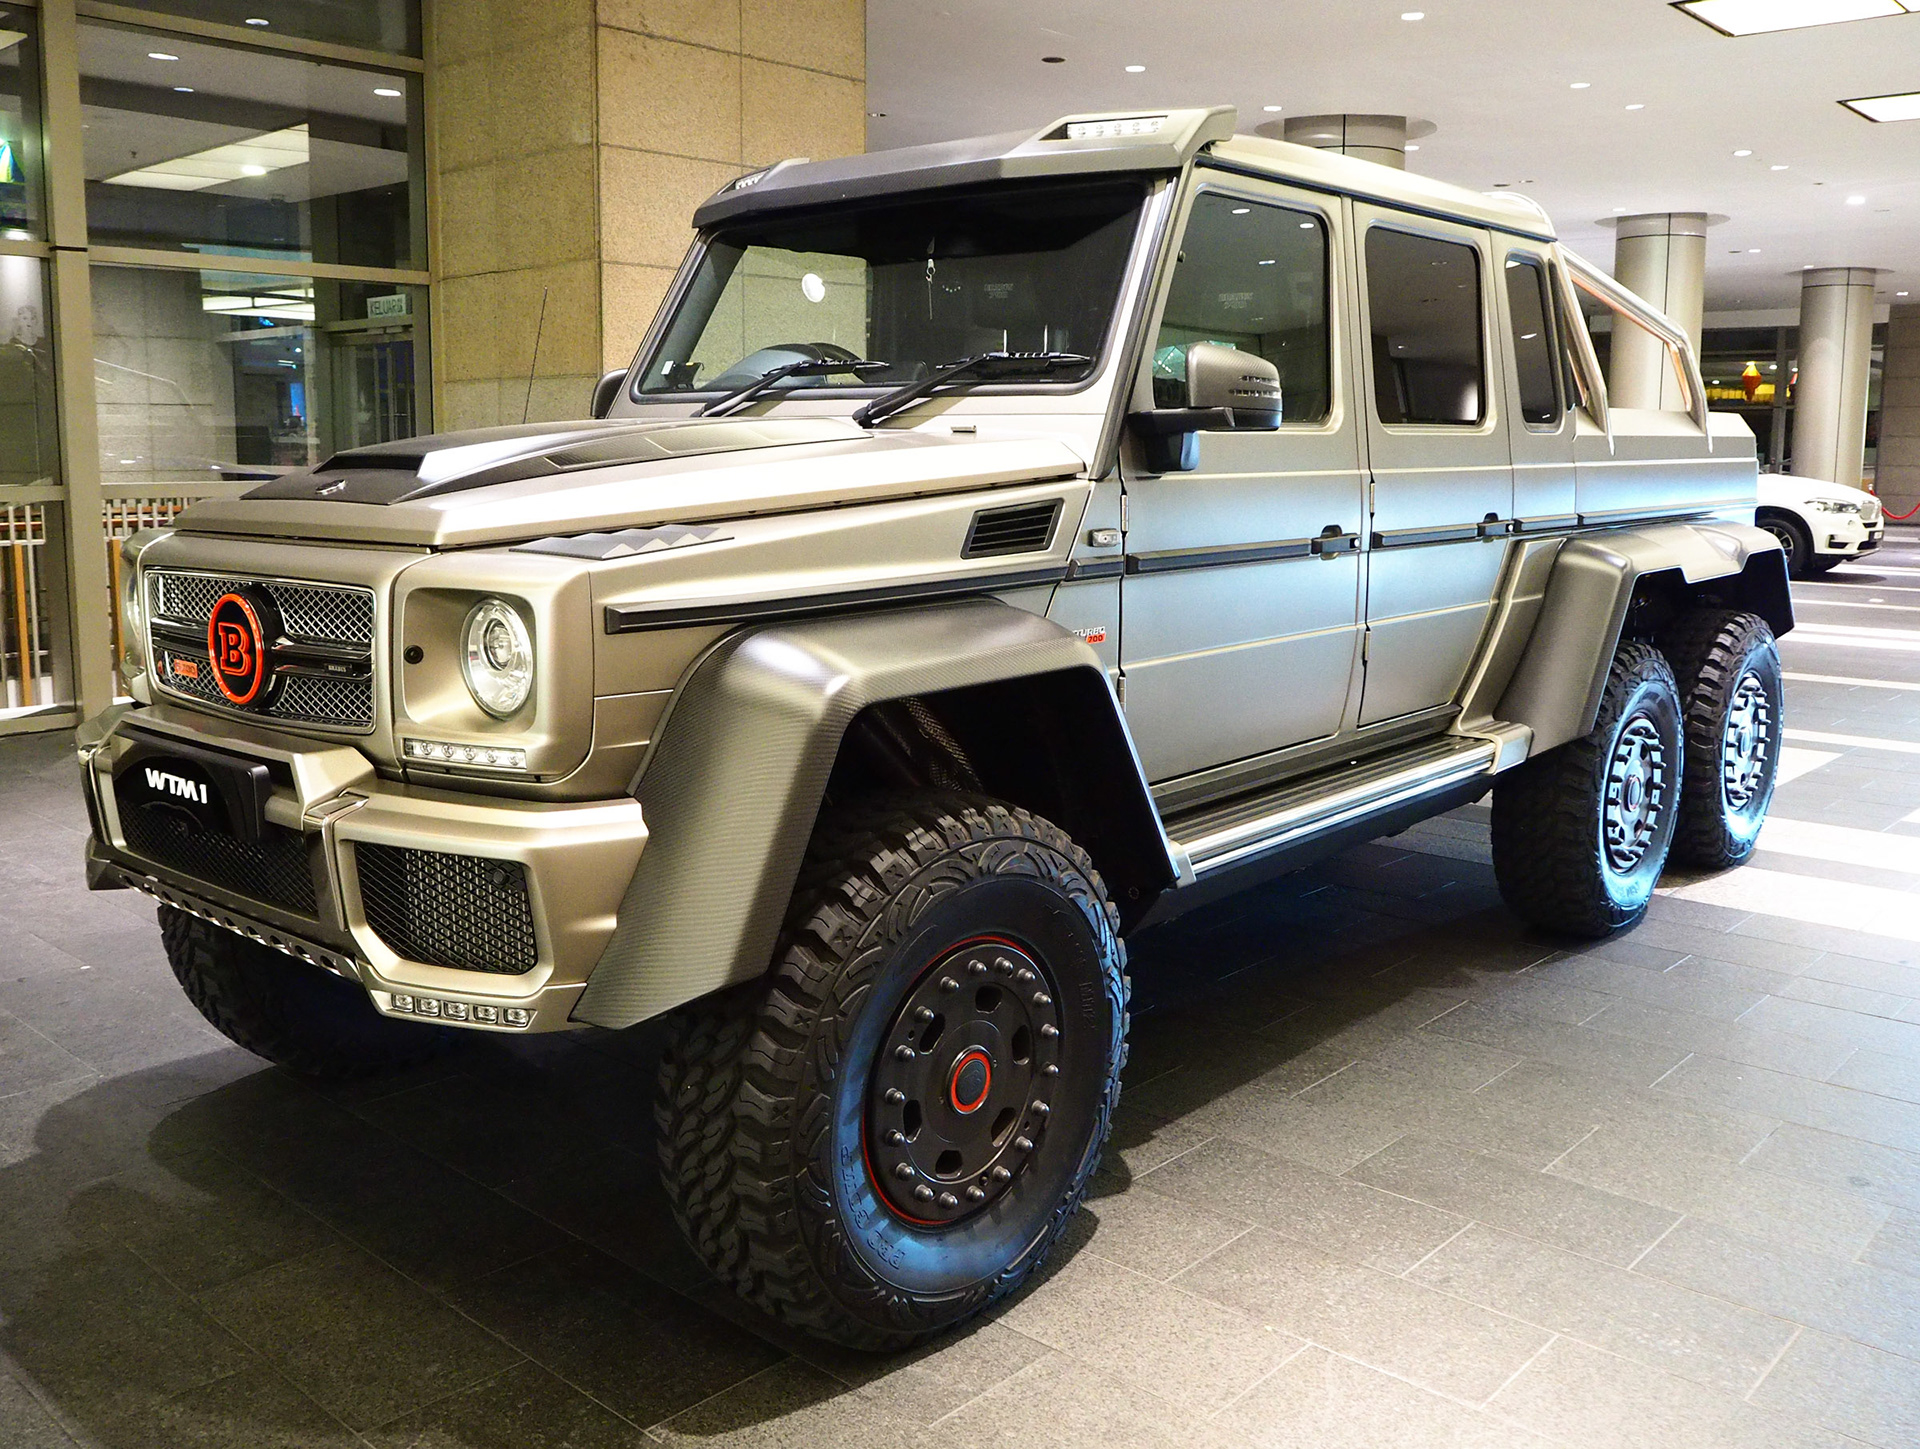
So whilst it doesn’t have the same outstanding optical quality as for example the 25 1.8 or 45 1.8, it definitely doesn’t have any issues at all taking sharp pictures, especially where the main subject is centered in the frame. And the sheer convenience of having a zoom lens that’s so incredibly compact in many cases often beats all other issues, especially when traveling. Focus speed is also snappy and doesn’t cause any issues whatsoever, and in very dim light I still found it to be fast and accurate. The below shot of the mind blowing Brabus 6X6 – one of only 15 like this in the world – was taken in very dim light at a valet while I was also dodging oncoming Ubers and other taxis, so in this case to be able to run over, quickly focus, shoot and then get off the road again was very handy!
Image Quality: Another one of the main reasons I chose the Olympus over other brands was due to its stellar reputation for jpegs being great right out of the camera, with punchy well balanced colours. Knowing that I’d be sharing these shots while still on holiday and without access to lightroom etc (I packed light, no laptop!) meant that I needed them to be pretty spot on and I wasn’t disappointed. I changed between natural, vivid and monochrome being my picture settings, with natural as the default, vivid for landscapes and colourful scenes and monochrome where I thought appropriate. I also added a +2 contrast setting to monochrome to make it a touch punchier and more dramatic while keeping the others at default settings.
I found natural to give good, flattering and balanced colours regardless of lighting and also found it to be very good at handling contrasty scenes, for example involving water. Vivid was fantastic especially for shots of bright green foliage where you really want to bring out the beautiful deep natural colours that tropical climates provide or also for colourful buildings. I shot the image below using the vivid setting in order to really emphasise the depth of the greens both in the bananas themselves as well as the leaves and really like the way its made the colours pop.
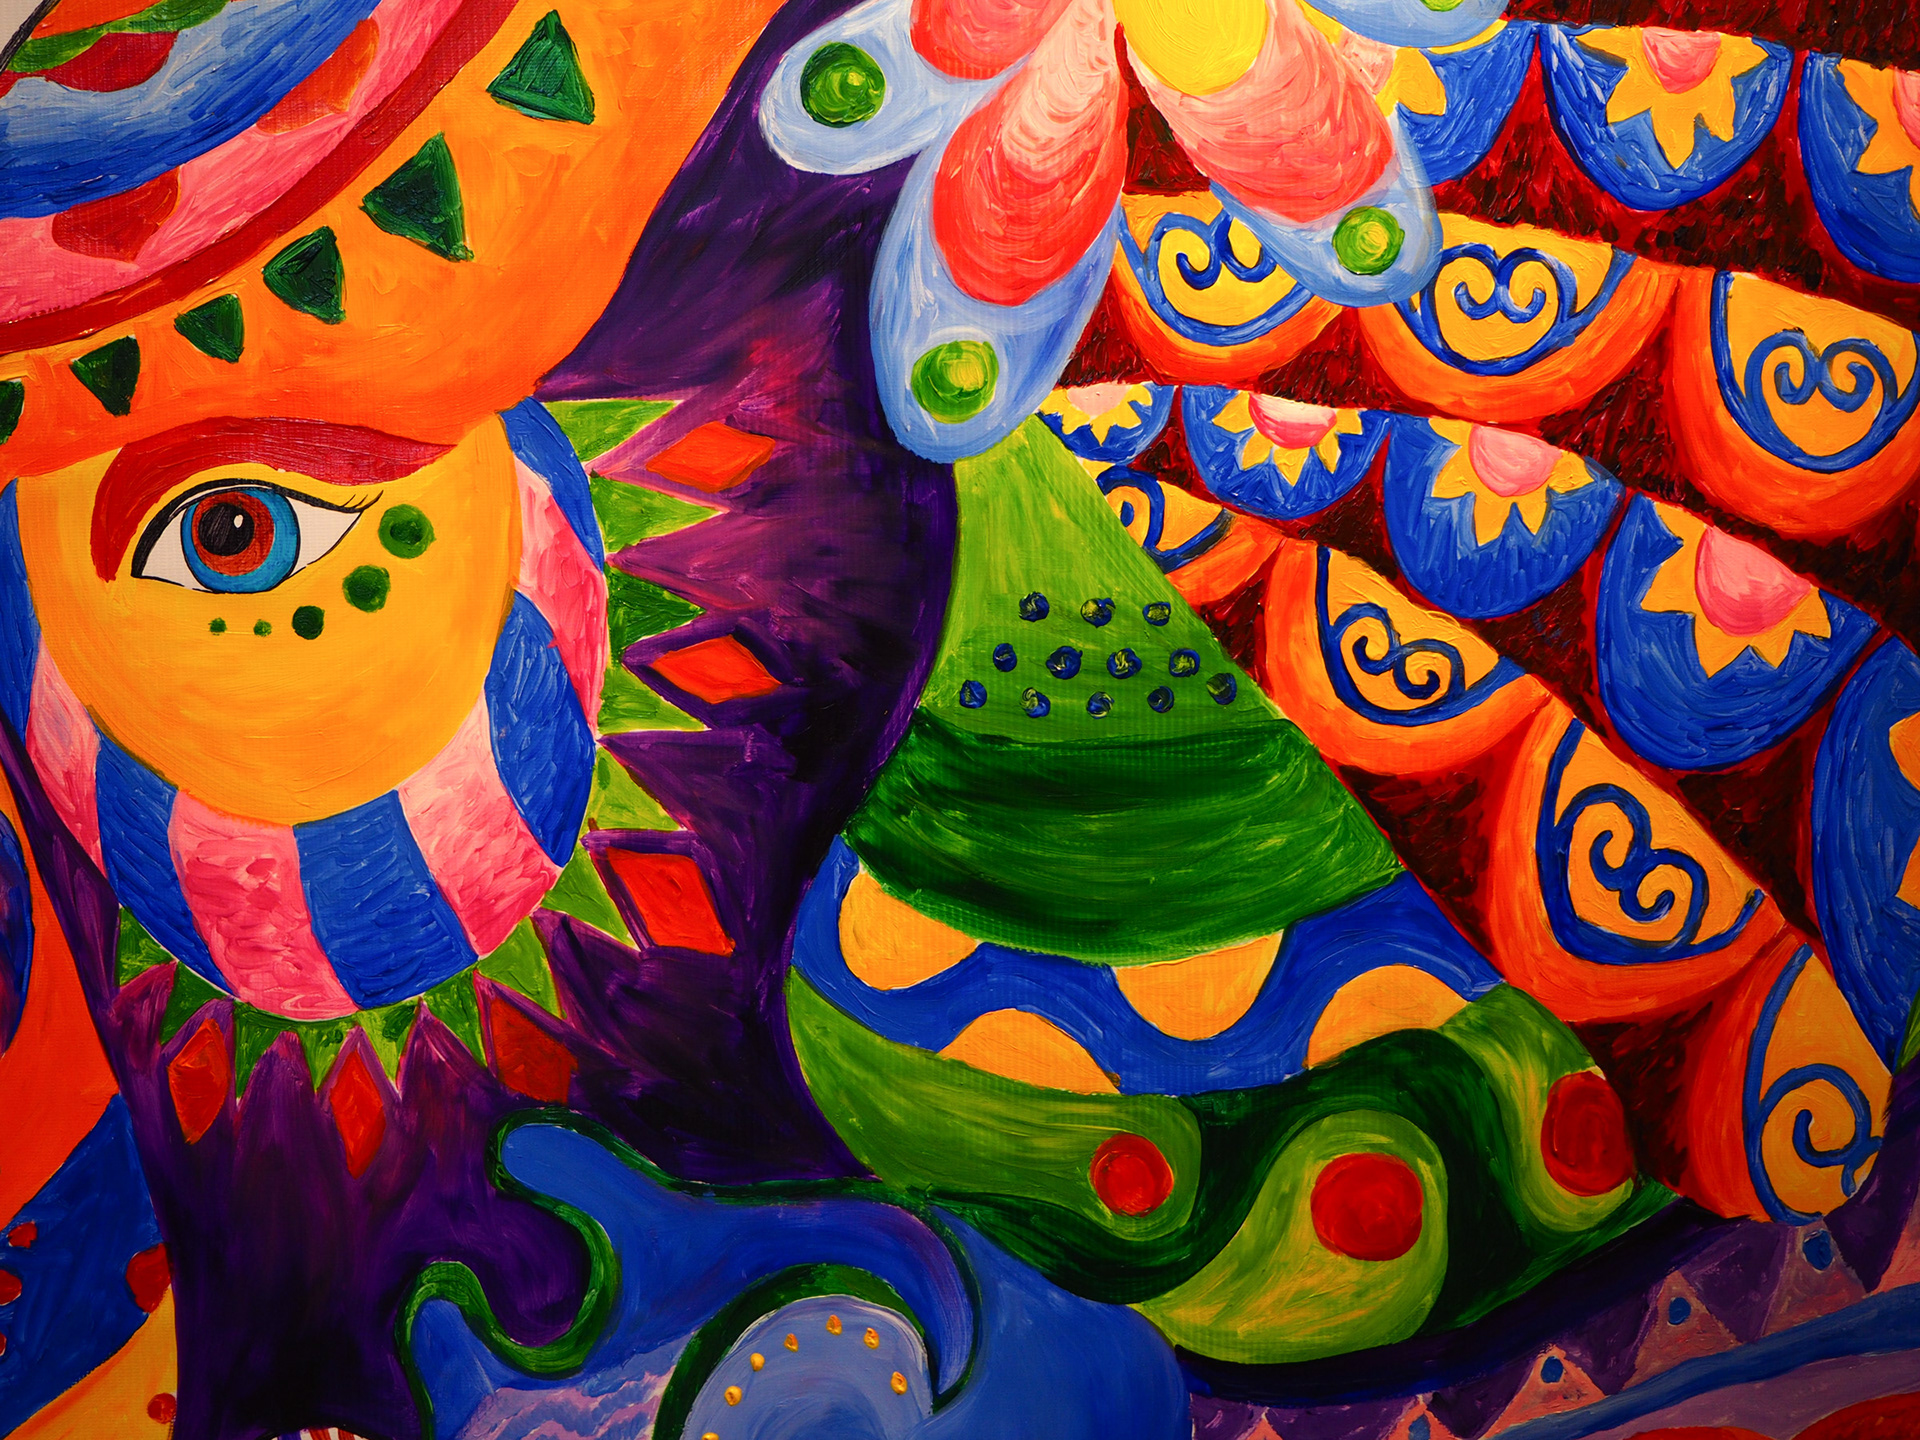
While we were over in KL it was also Deepavali which meant lots of bright, brilliant colours to capture, and I always preferred to shoot things such as the below Deepavali painting in vivid as it ensured you really got to enjoy the full range of beautiful bright colours.
In bright sunny conditions with people and shadows I found vivid can be a touch too much with the shadow transition being quite harsh, however reverting back to natural quickly fixes this issue. Monochrome was also a setting I often used as I found it to give excellent results especially once tuned to my particular preferences for black and white. Both highlights and shadows are handled very well and mid-tones are generally very smooth, while if you’re looking for a slightly grittier appearance there’s also the grainy film setting however for most shots I prefer to use monochrome as I just like the way these shots appear more.
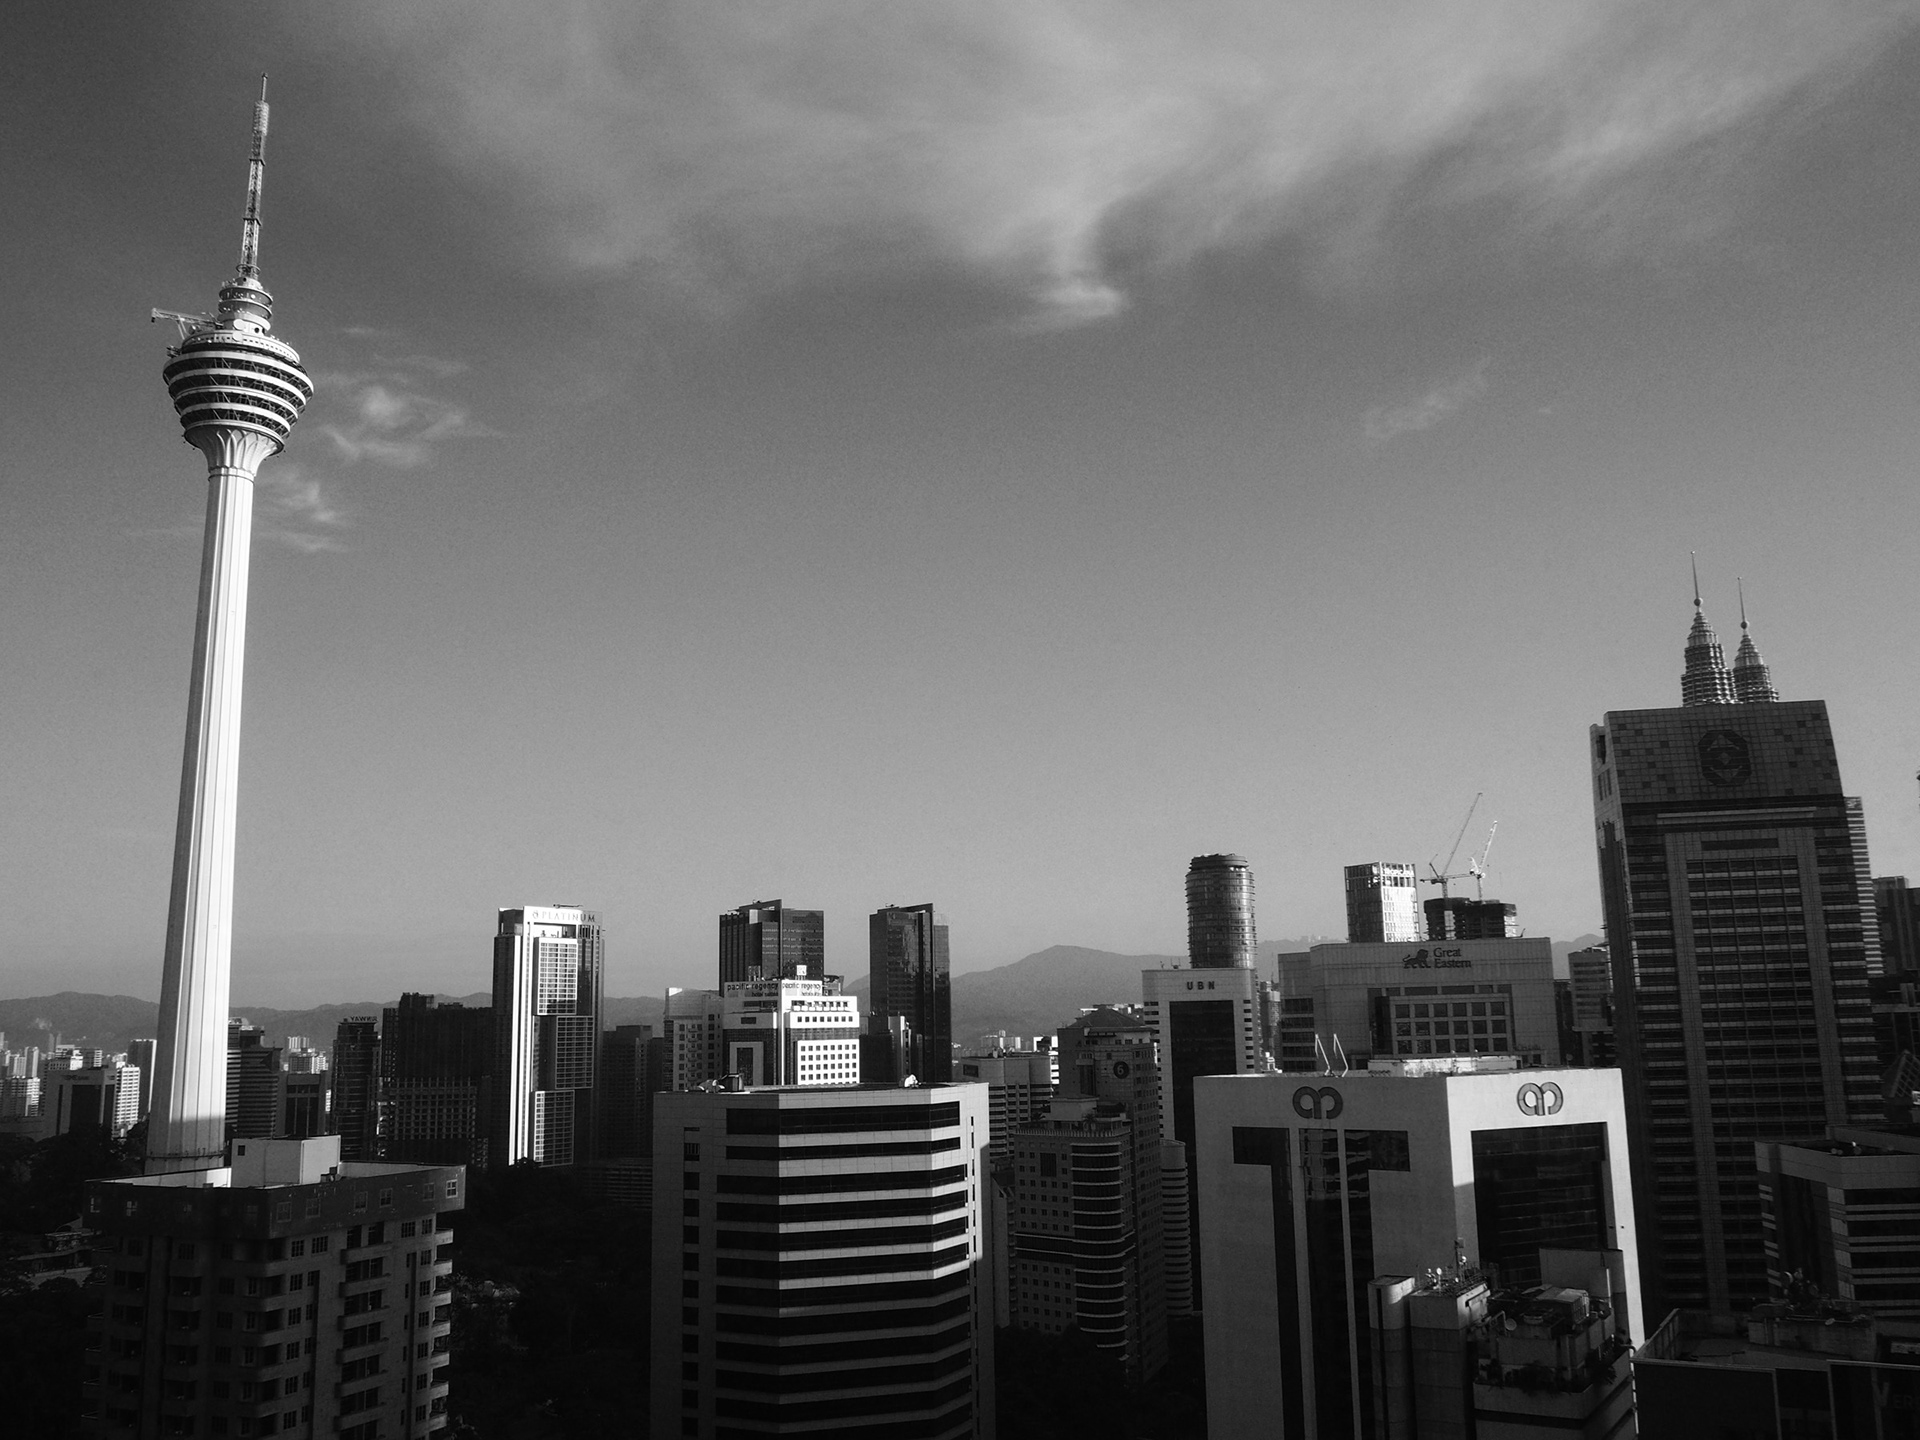
The shot below was taken on monochrome at iso 200, 14mm, f9.0, 1/125 and shows wide angle capabilities of the 14-42 lens shot at 14mm. This shot was also taken using the ‘red’ filter which adds a beautiful dramatic tone to the skies, especially with the rich blue skies that I was working with. I usually kept the red filter on while taking shots such as this outdoors as it gives shots a nice touch of extra depth within its tones, adding interest to areas such as skies and clouds that can otherwise become lost.
I never found image noise to be an issue with the OM10 MK II, and despite the fact I was in effect using a kit lens, I was still very impressed with the sharpness and resolution of shots taken. I also found the OM10 MK II to be usable right up to 6400 with no real issues. As long as the shot isn’t underexposed, I usually added +0.3-+0.7 exposure compensation, then shots were usually more than satisfactory. This was especially useful when my wife and I went out to dinner late at night and I was still able to get some pictures I was happy with, all while still using the 14-42 EZ lens.
These shots below were both shot at 6400 in very dim lighting at the amazing Manja restaurant in KL and have had no noise reduction whatsoever applied.
As can be seen, all colours are still rendered well and noise certainly doesn’t detract from the subject. These images are straight out of the camera and while detail obviously won’t be as fine as it is at a lower iso, it certainly gave results I was more than happy with.
Wi-Fi and Image Transfer: After traveling without a laptop, the wi-fi capabilities of the EM10 MK II meant that I had no problems at all transferring images from my camera to my phone via the OI Share app and then sharing them on social media, all which can be done in a matter of minutes. While it does take a bit to get used to, once you’re used to the app, it’s a super quick process which usually meant for me that after a day out, I could sit down and review my images on the camera’s rear screen before selecting the ones I want to transfer over and then share with family and friends.
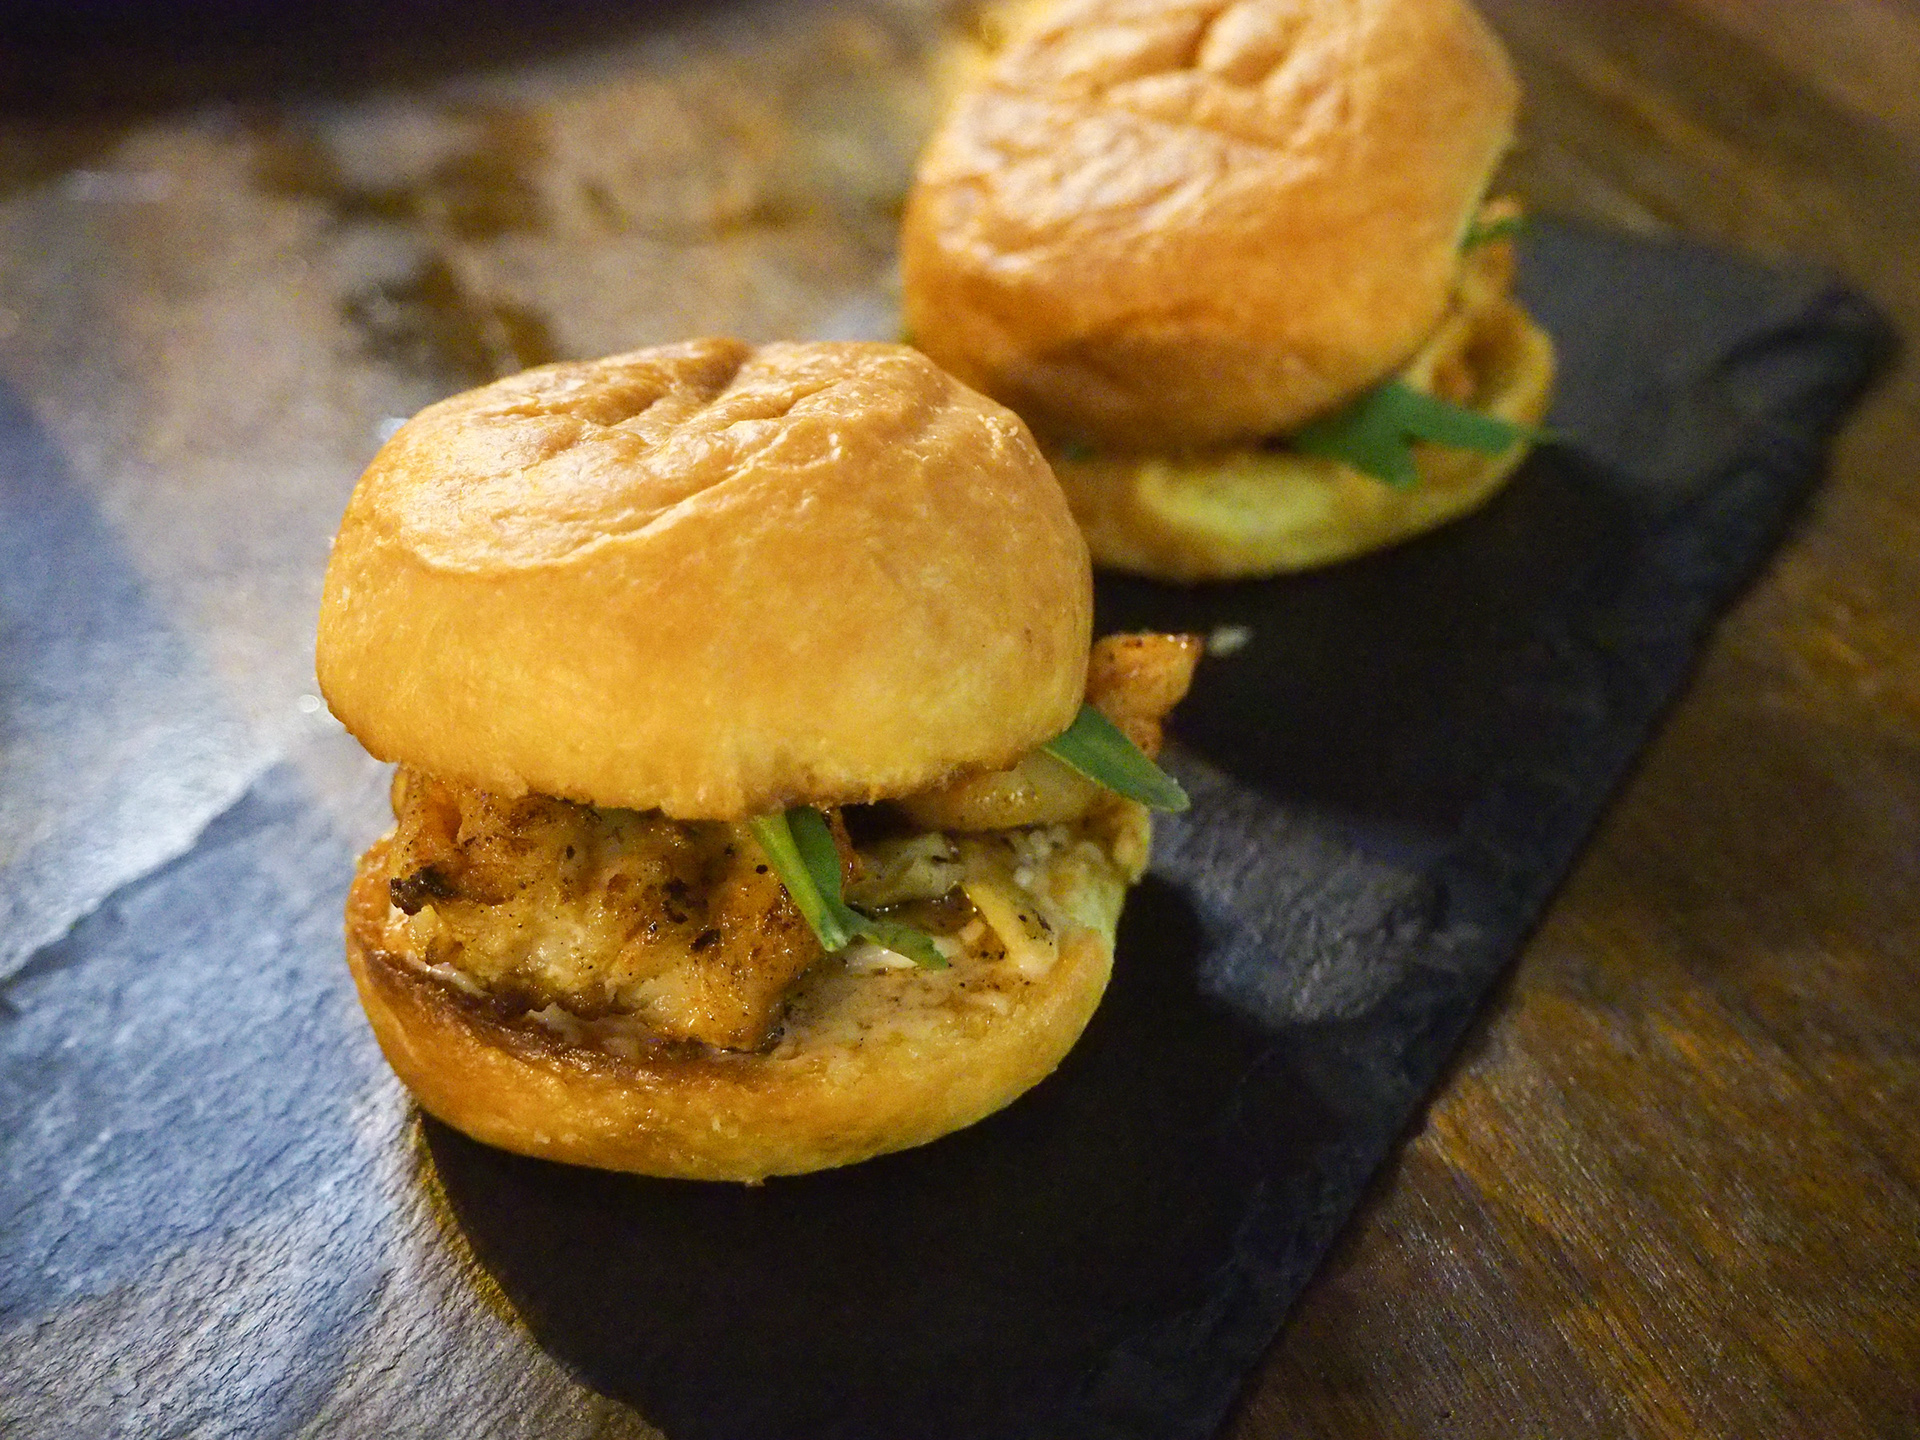
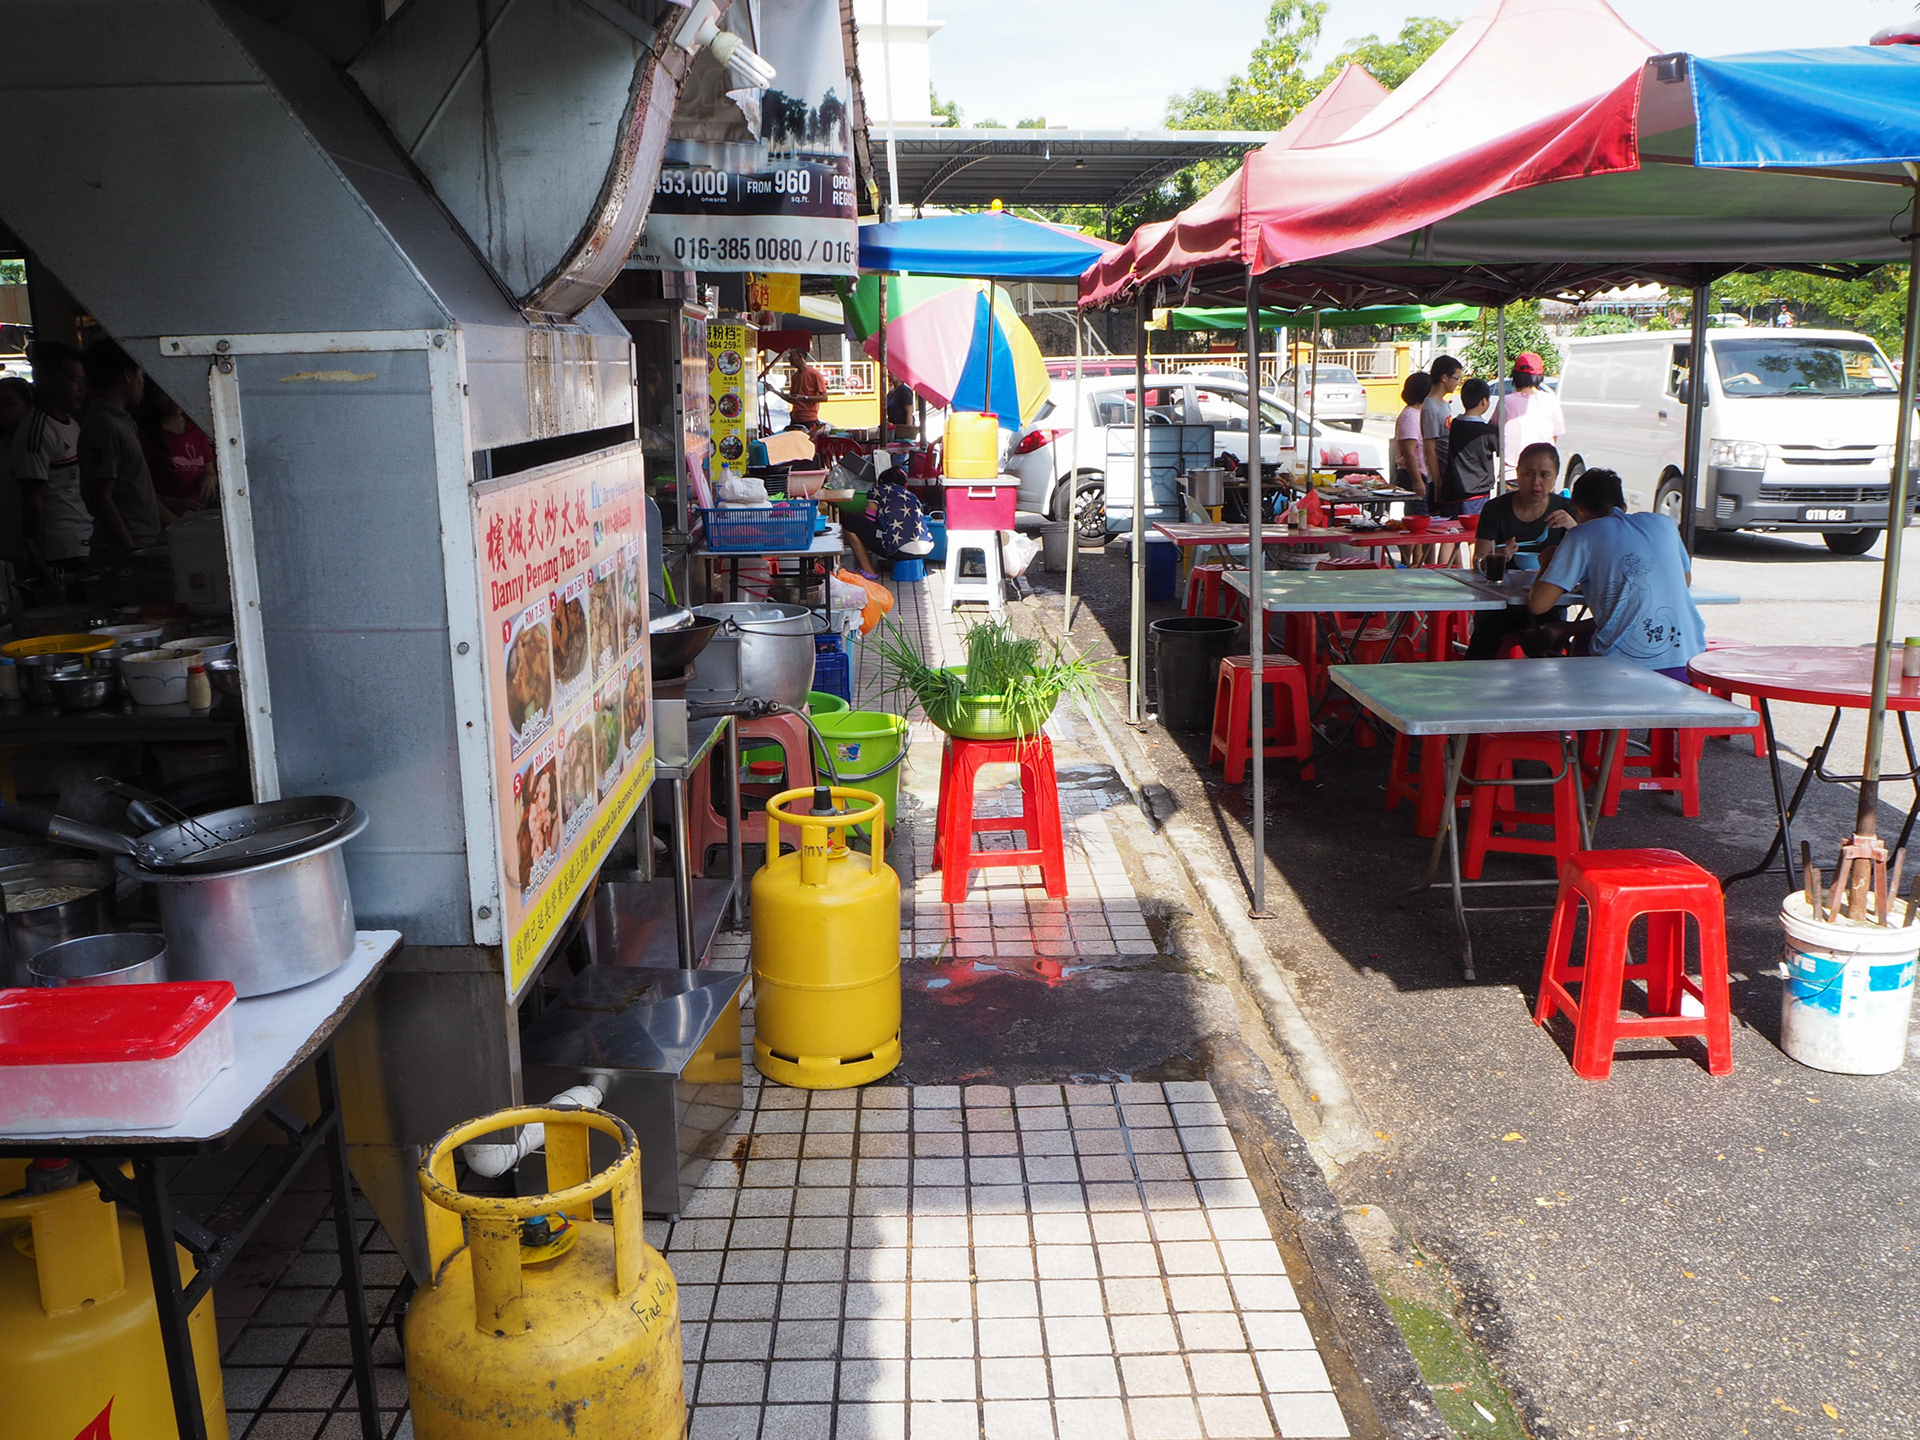
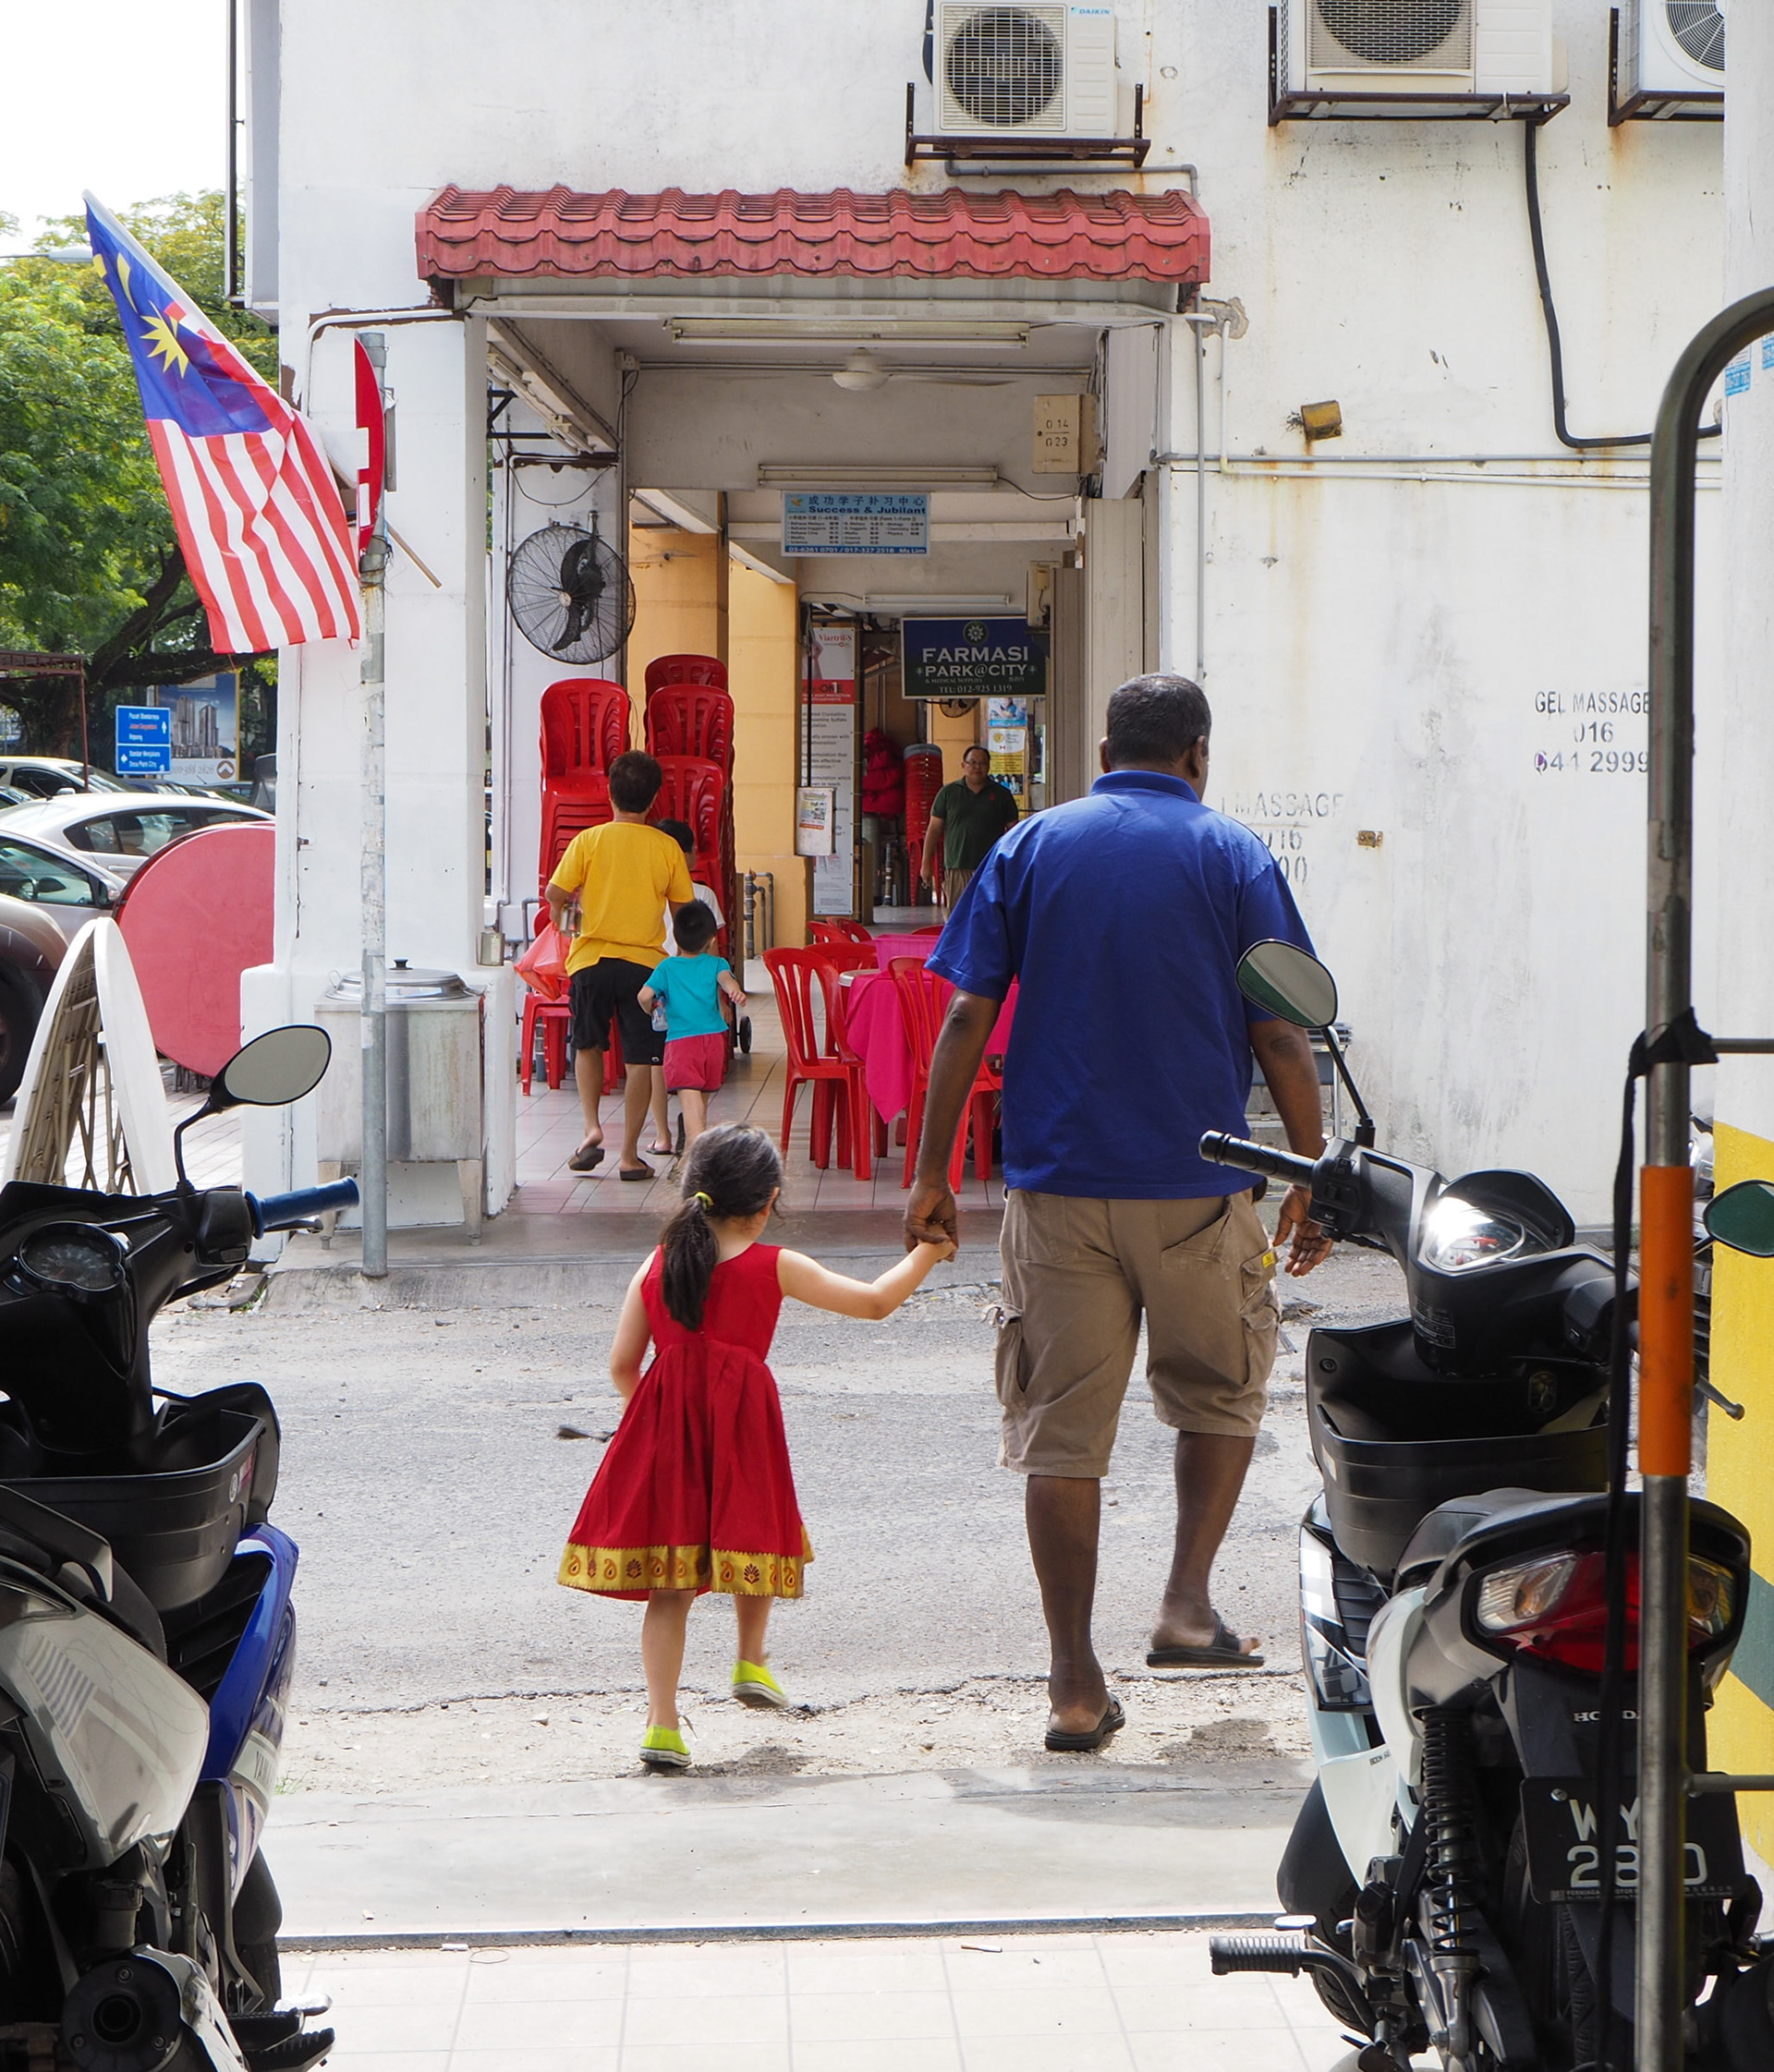
This is another huge benefit of knowing how good Olympus jpegs are straight from the camera, as it means there’s no issues with colours being washed out etc. And if you want to make basic adjustments to shadows etc, this can even be done in camera before transferring over which can be really handy if you want to give your images a slightly different look. It really did make it much less stressful not having to sit down and go through images every day in front of a computer screen, and this in turn meant having more time and energy to take more shots, such as this one at a fantastic food court near where my wife grew up, best ever cream cheese buns can be found here! And also our oldest daughter going for a walk with her Uncle Richard, who spoils her rotten! It was fantastic to see our girls enjoy KL so much.
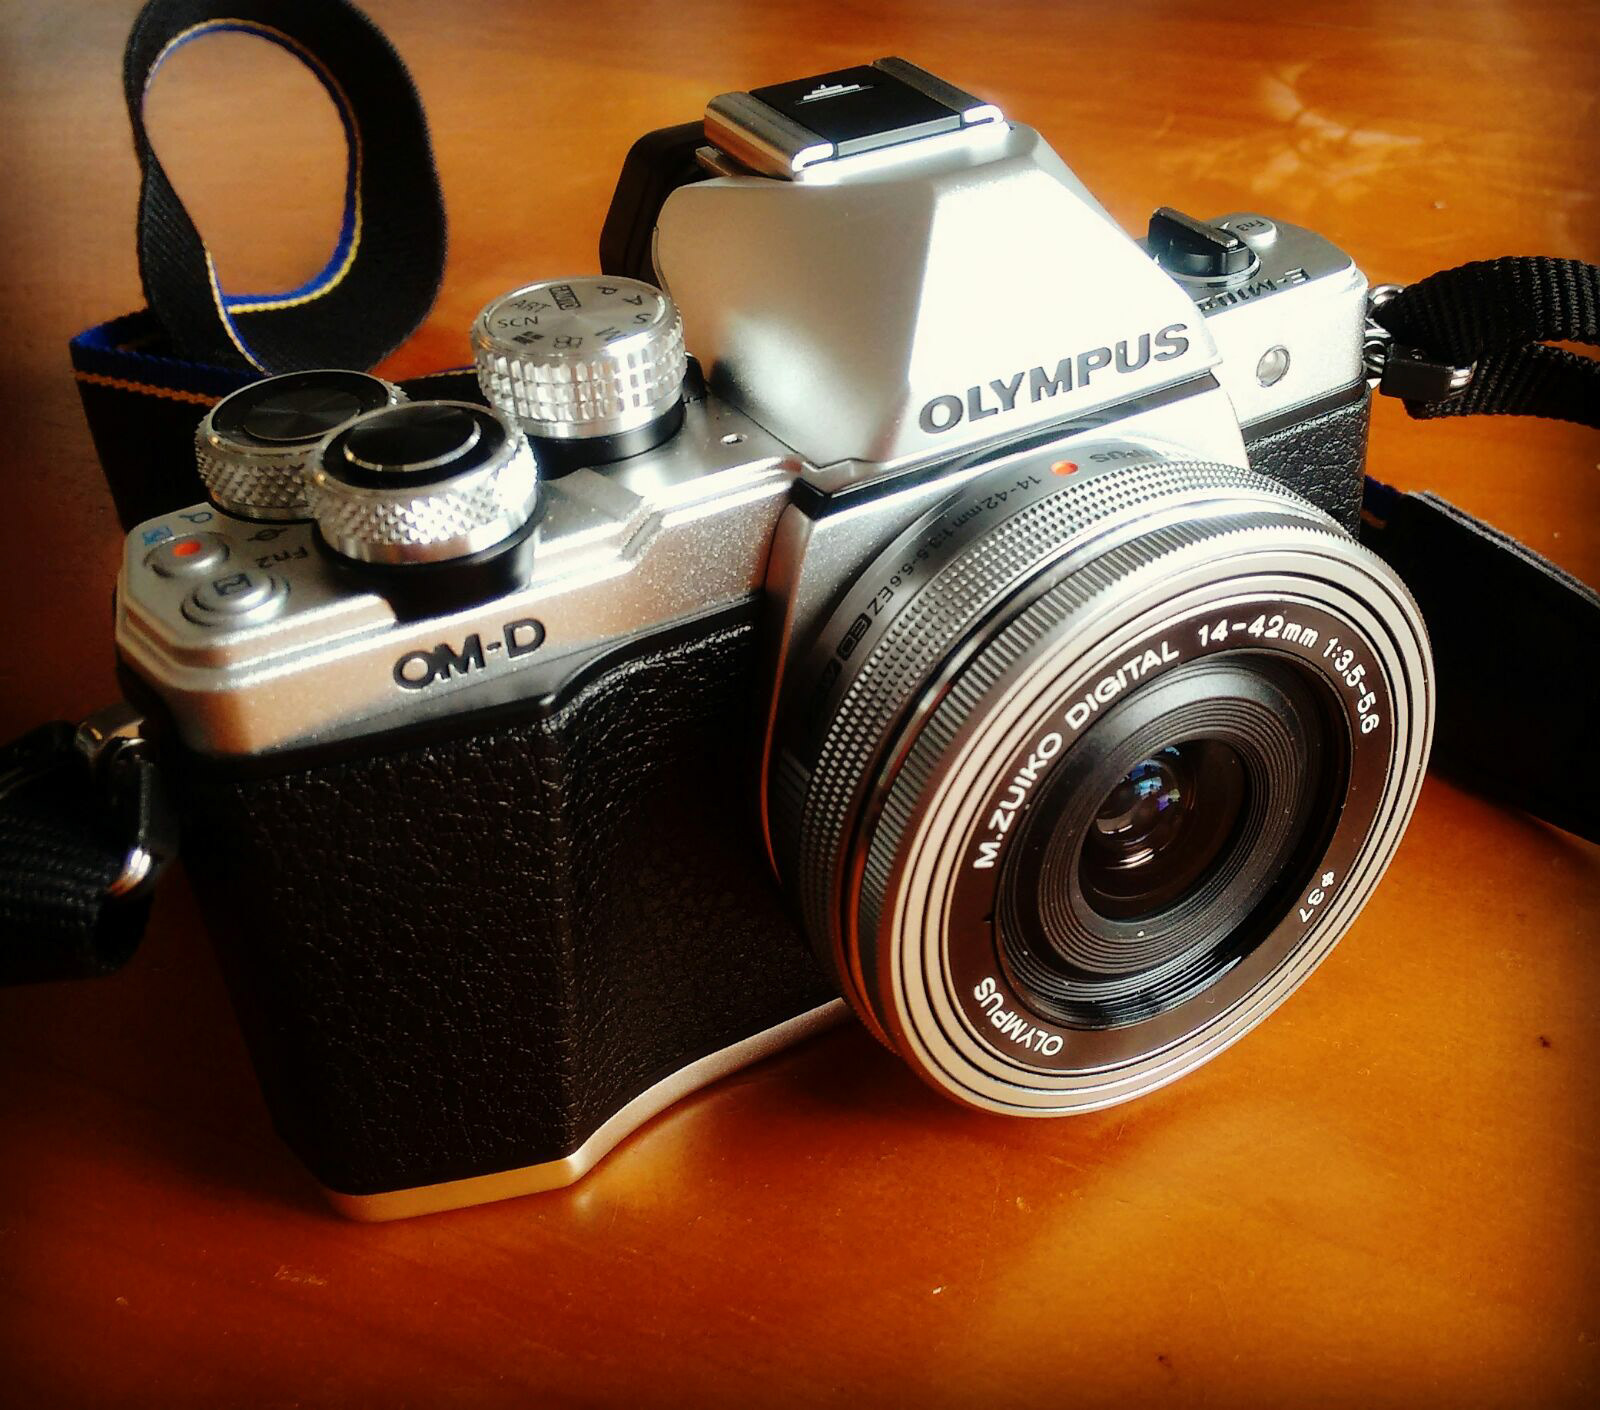
And another thing, how good does this little treasure look! A real throwback to the Olympus film cameras of yesteryear, I went with the silver one and love it. So all in all, so far it’s been a great journey with this camera and between its size, ease of use and all around practicality it was an amazing camera to take on holidays and performed fantastically in a huge variety of conditions from bright sunny days to nearly pitch black monsoon conditions. Couldn’t be happier, and look forward to putting a gallery together of all my images from KL!
JOIN OUR FACEBOOK GROUP
“I’m from the South West coastal region of Victoria, Australia. I’m experienced in stock and portrait photography but nothing quite captures my imagination like travel photography due to the creative freedom it allows you. I was lucky enough to grow up watching my Dad always taking photos and developing them in his darkroom at home, which as a kid was always so fascinating and showed me how important it is to document your travels.”

